Summary
The article explains how to create an IDX real estate website using WordPress. It walks through setting up a WordPress site and integrating IDX to display MLS listings.
It also covers choosing themes, installing IDX plugins, customizing property pages, and optimizing the site for real estate search and leads.
Are you looking to create an IDX real estate website using WordPress?
To create a successful real estate website, it’s important to include specific features that cater to the industry’s unique needs.
These features may not always be available on pre-made websites, but don’t worry; we’re here to help you.
Whether you’re a new agent or an experienced broker, we will easily guide you through creating an IDX real estate website using WordPress.
Responsive Starter Templates is the best plugin to import Website Templates – Get it for free.
What is IDX?
Internet Data Exchange (IDX) is a software standard real estate professionals use to display MLS (multiple listing services).
Real estate websites use IDX to display current MLS property listings, generating leads for real estate businesses.
How To Make an IDX Real Estate Website?
If you want to create a website for your real estate business, you can hire a web designer or do it yourself. While hiring a web designer may be a good idea, it can turn expensive.
However, there is an easier and more affordable solution.
You can make an IDX real estate website by yourself, using a real estate website template and an IDX WordPress plugin.
Before you get started, you’ll need these pre-requisites:
- A domain name that users will type in their browsers to visit a website, such as cyberchimps.com.
- A web hosting account where your website’s files will be stored.
- A real estate website template
- An IDX WordPress plugin
Ready? Let’s get started.
Step 1: Choose Hosting and Domain Name
Before building your website, you need to take two important steps:
Pick A Hosting Plan
You must create an account with a web hosting provider. Web hosting allows storing all the necessary files and information on a server accessible via the Internet.
Selecting a quality hosting provider is essential as it can affect your website’s speed and user experience.
Kinsta is an excellent option for WordPress users, but other web hosting companies exist, such as Bluehost, Placester, and DreamHost.
Kinsta offers premium WordPress hosting focusing on performance and security, using the fast and globally distributed networks of the Google Cloud Platform for an excellent user experience.
Check out the complete review for Kinsta Hosting.
Sign Up And Choose A Domain Name
When choosing a domain name, ensure it is memorable, short, and relevant to your brand name. Go for a.com domain name with the highest search engine optimization (SEO) value.
Check out the article the beginner’s guide to domain names and web hosting for more information.
Step 2: Install WordPress
After purchasing hosting and a domain name, the next step is to install WordPress.
WordPress is a user-friendly and highly customizable content management system trusted by millions of website owners worldwide.
Fortunately, most web hosting providers offer a marketplace platform where you can easily find and install WordPress for free.
During installation, you need to enter the domain name you purchased in the previous step. Additionally, you should create a WordPress account with a unique username and password.
After installing, you may access your website’s backend by adding “/wp-admin/” to the URL.
Step 3: Install An IDX-Compatible WordPress Theme
Once you’ve installed WordPress, the next few steps are crucial as they define the performance of your WordPress website.
You will need to install a beautiful WordPress theme to make your website look attractive.
Although many WordPress themes are available, selecting one that is compatible with a modern WordPress IDX plugin is important.
That’s why we recommended using Responsive Theme by Cyberchimps for your real estate website.

It is fast, translation-ready, search engine optimized, and helps build a WordPress website quickly. It has unique features and customization options, making it superior to other themes.
Some of the distinctive features of the Responsive theme include:
- 150+ readymade starter templates
- SEO optimization
- Responsive Elementor Addons
- Integration with popular plugins like Mailchimp, WP Legal Pages Pro, WooCommerce, Yoast, WP Forms, and Contact Form 7.
Step 3.1: Install Responsive Theme
To install the Responsive theme, follow these steps:
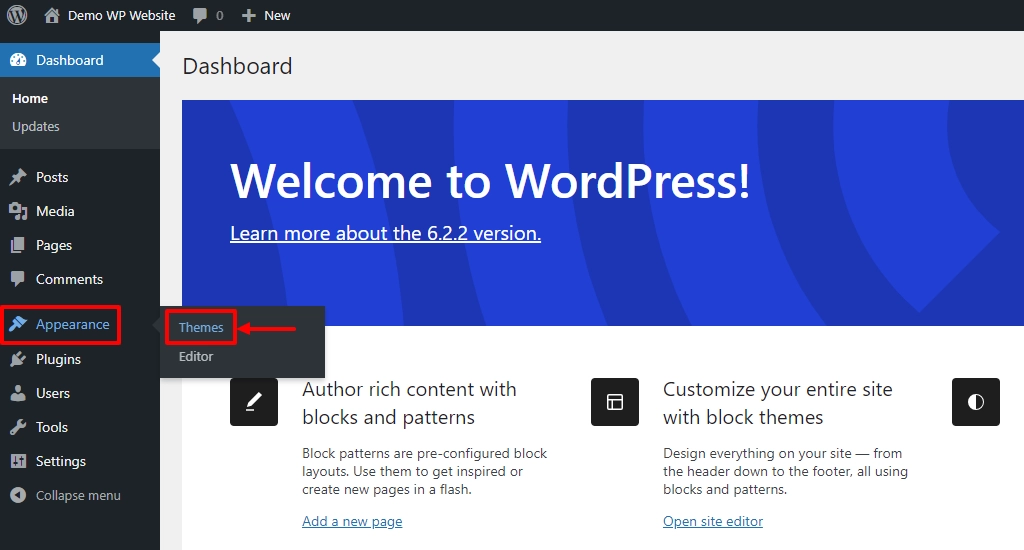
1. Head over to your WordPress dashboard.
2. From the dashboard, hover over the Appearance menu and click the Themes button.
3. Click on the Add new button.
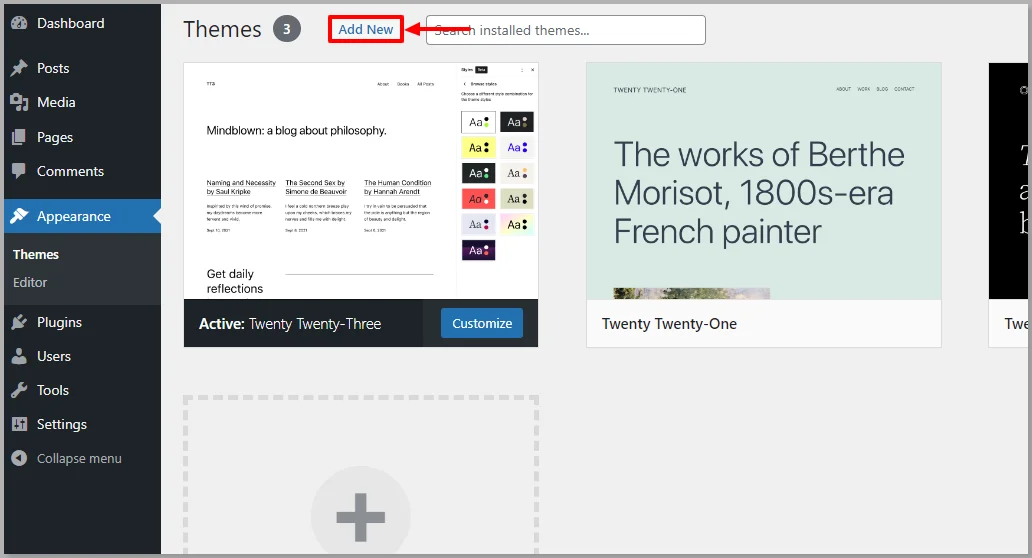
4. Search for Responsive in the search bar above.
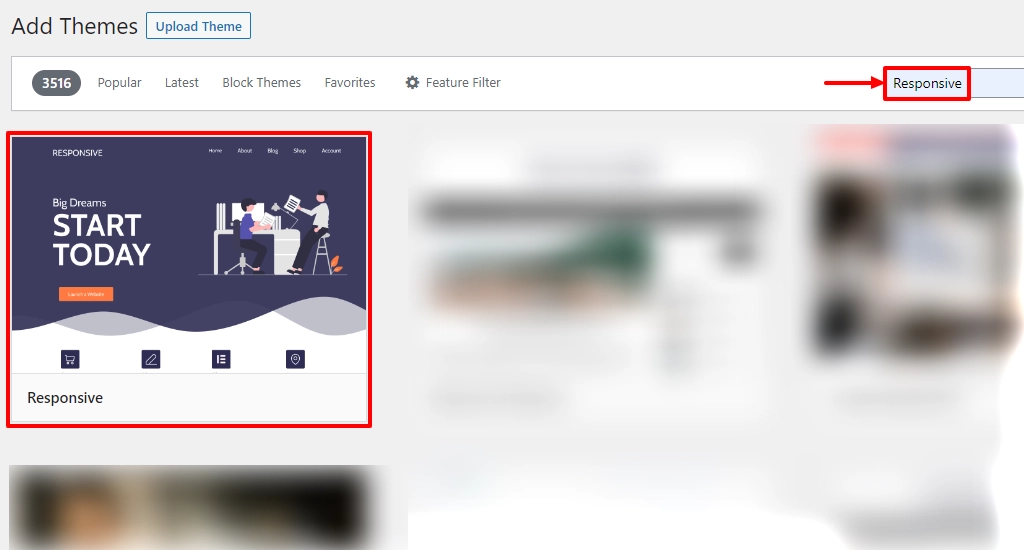
5. Hover over the Responsive theme and click on the Install button.
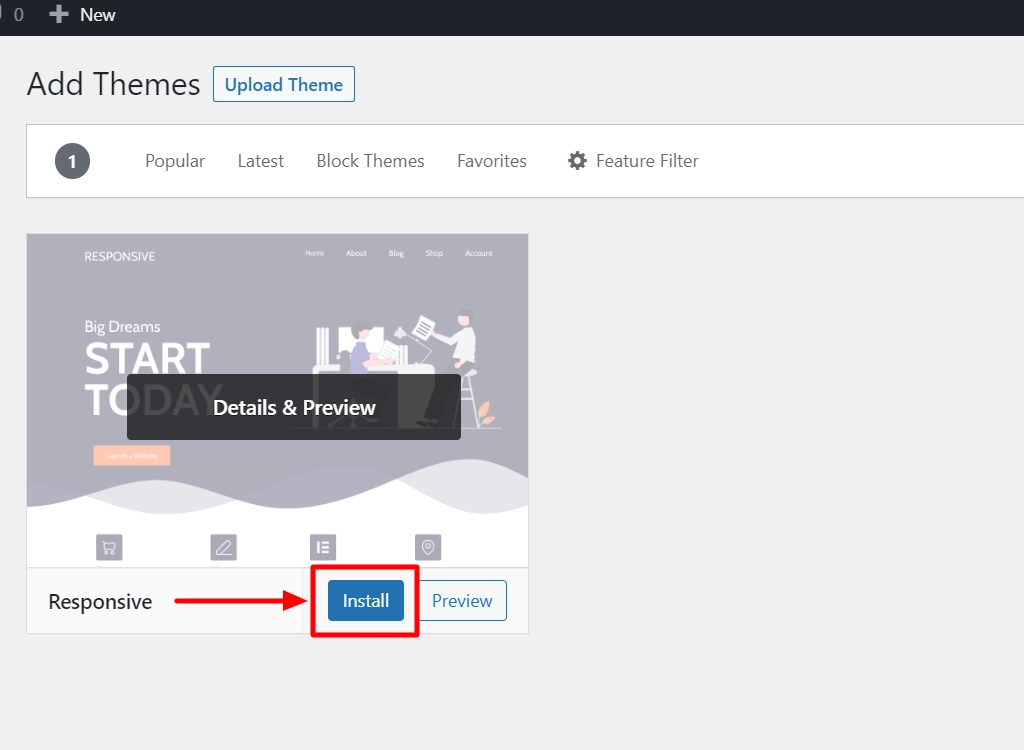
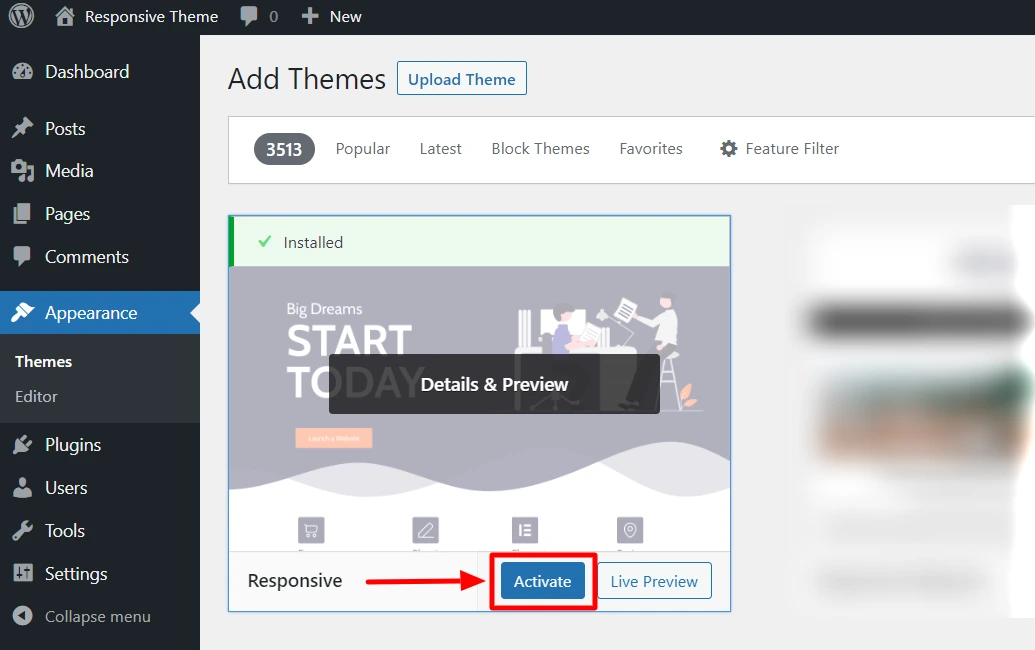
6. After the theme is installed, click on the Activate button.
Step 3.2: Install Responsive Starter Template Plugin
After installing the Responsive theme, it is essential to install the Responsive Starter Templates plugin, which provides access to 150+ pre-made templates for your website.
To install the Responsive Starter Templates plugin, follow these steps:
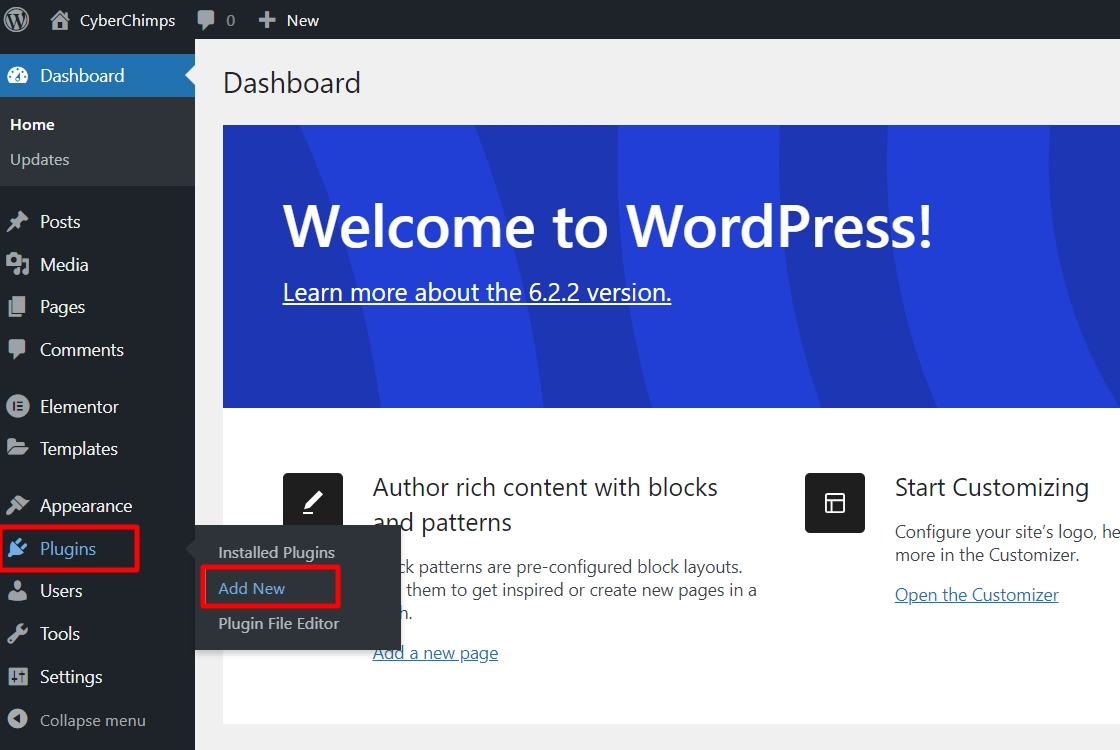
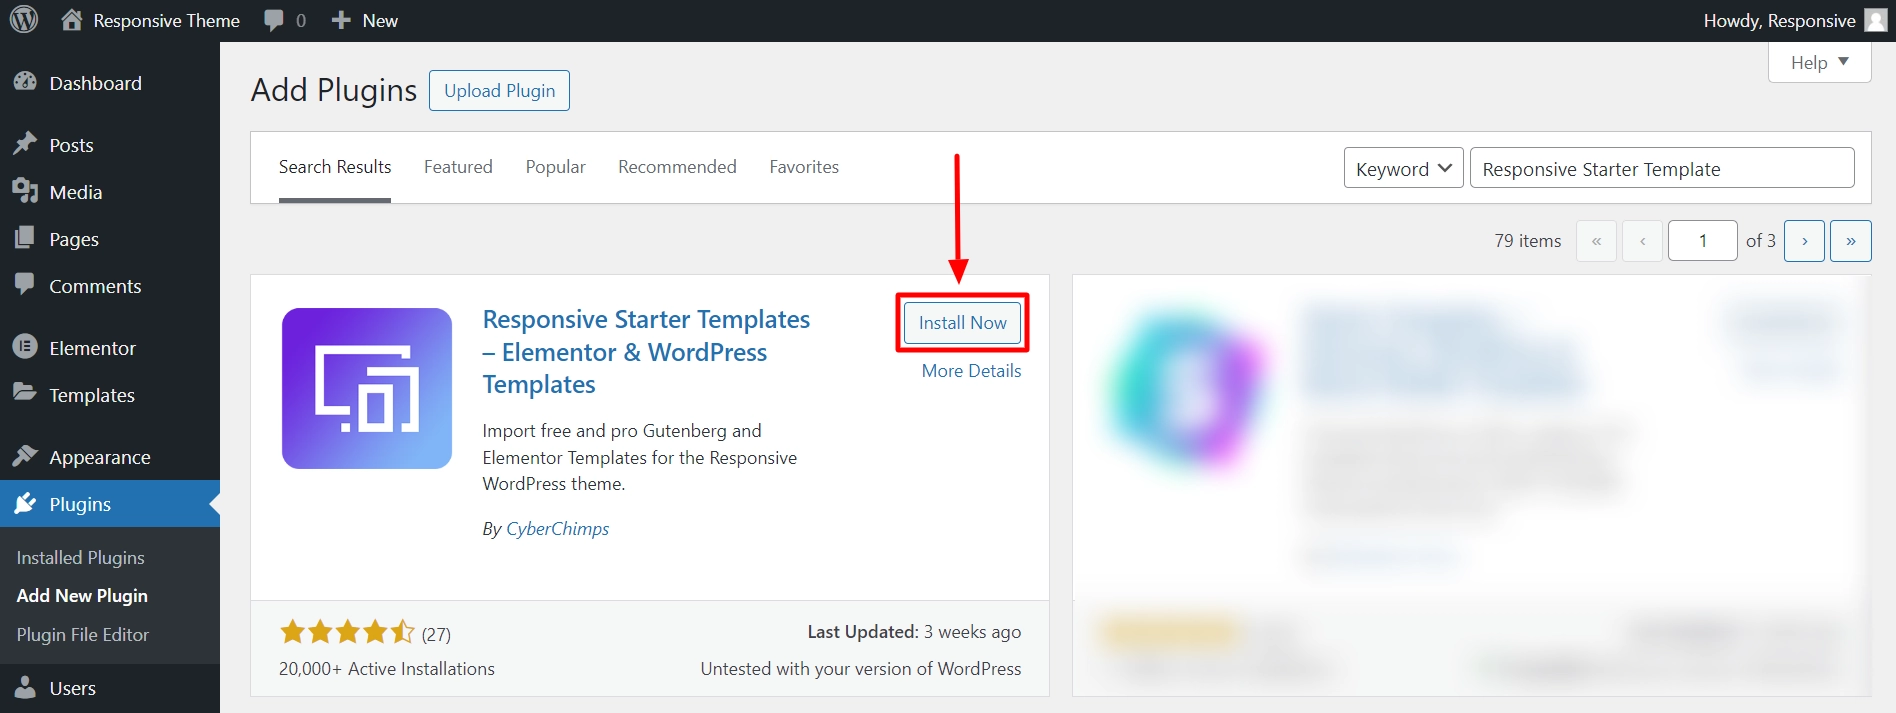
1. Log in to your WordPress dashboard and navigate to Plugins > Add New.
2. In the search bar above, search for Responsive Starter Templates.
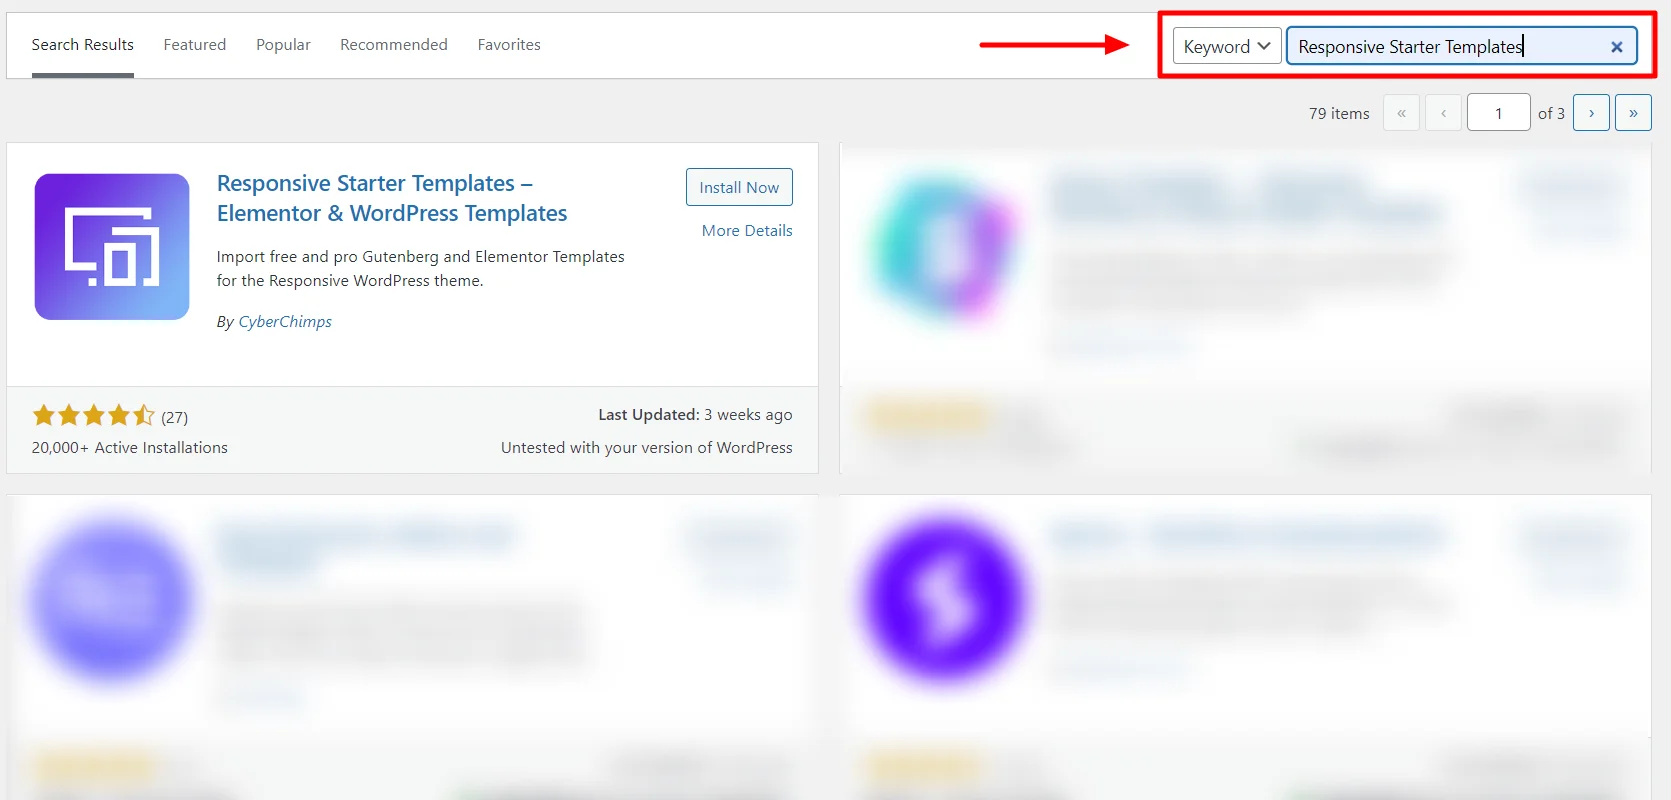
3. Next, click the Install Now button.
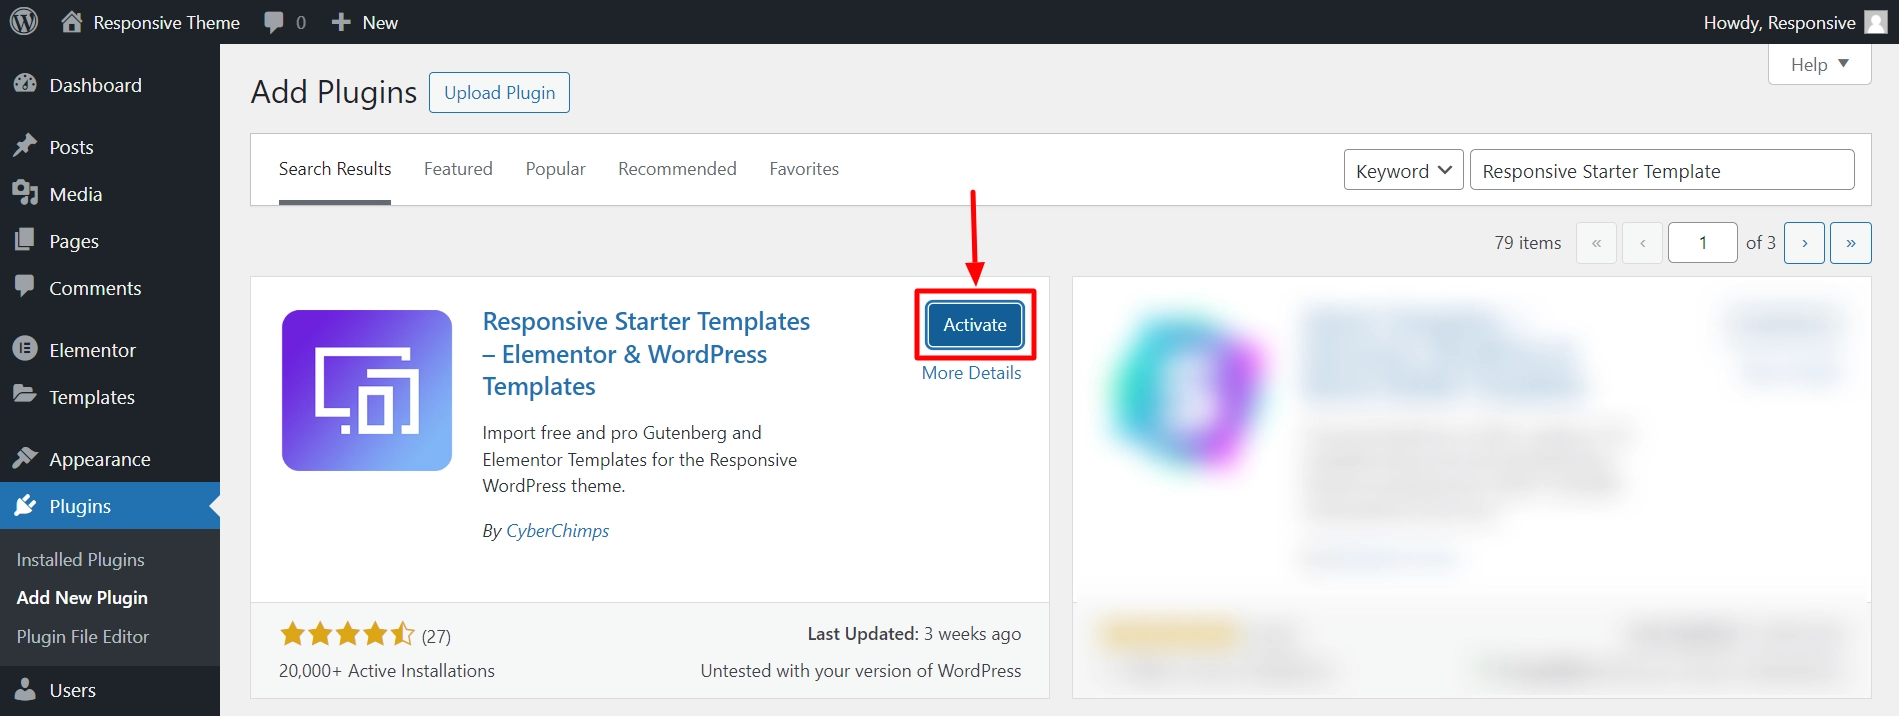
4. Click on the Activate button.
Step 3.3: Importing Free and Pro Real Estate Templates
Once you have installed the Responsive Starter Templates plugin, you can import a template by following these steps:
1. From the dashboard, hover over Responsive and click the Responsive Templates button.
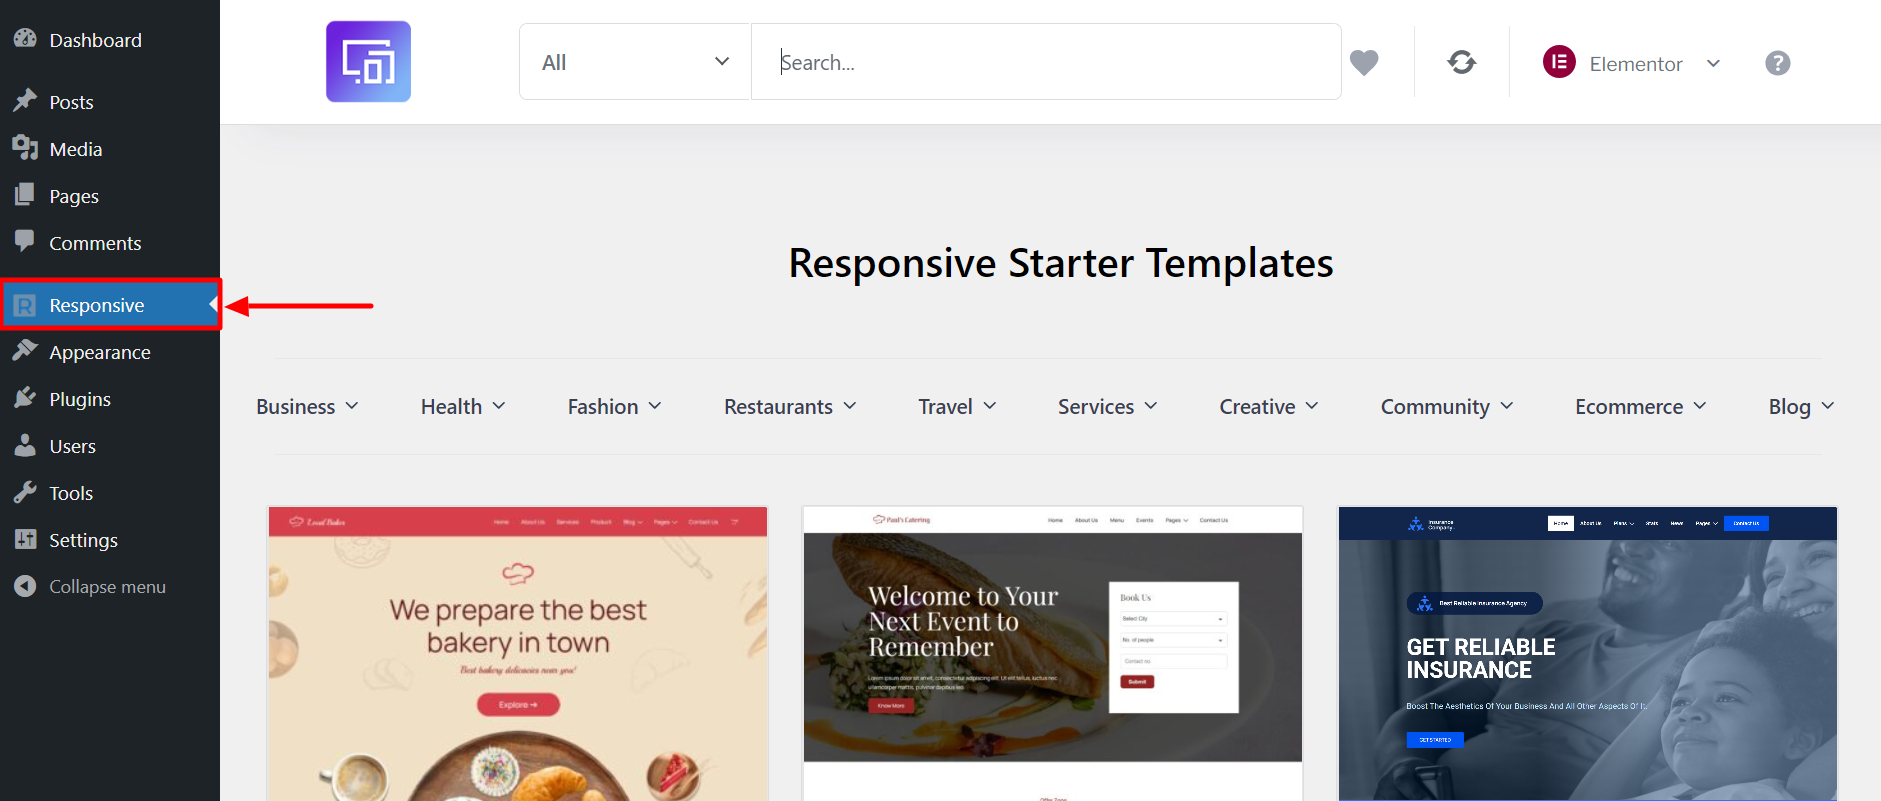
2. Search for a Real Estate template.
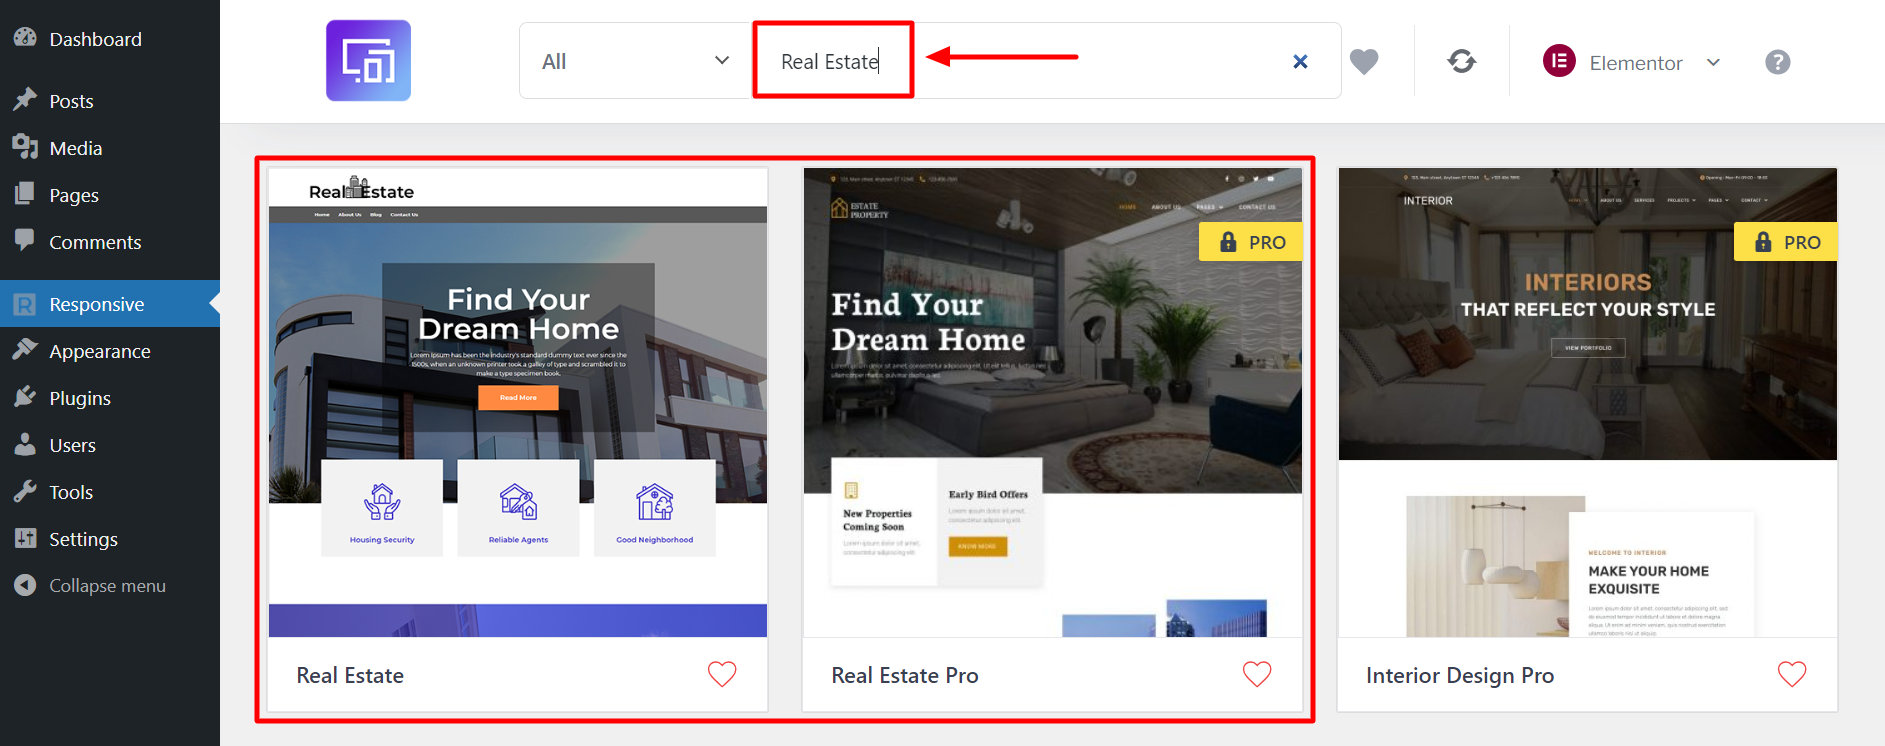
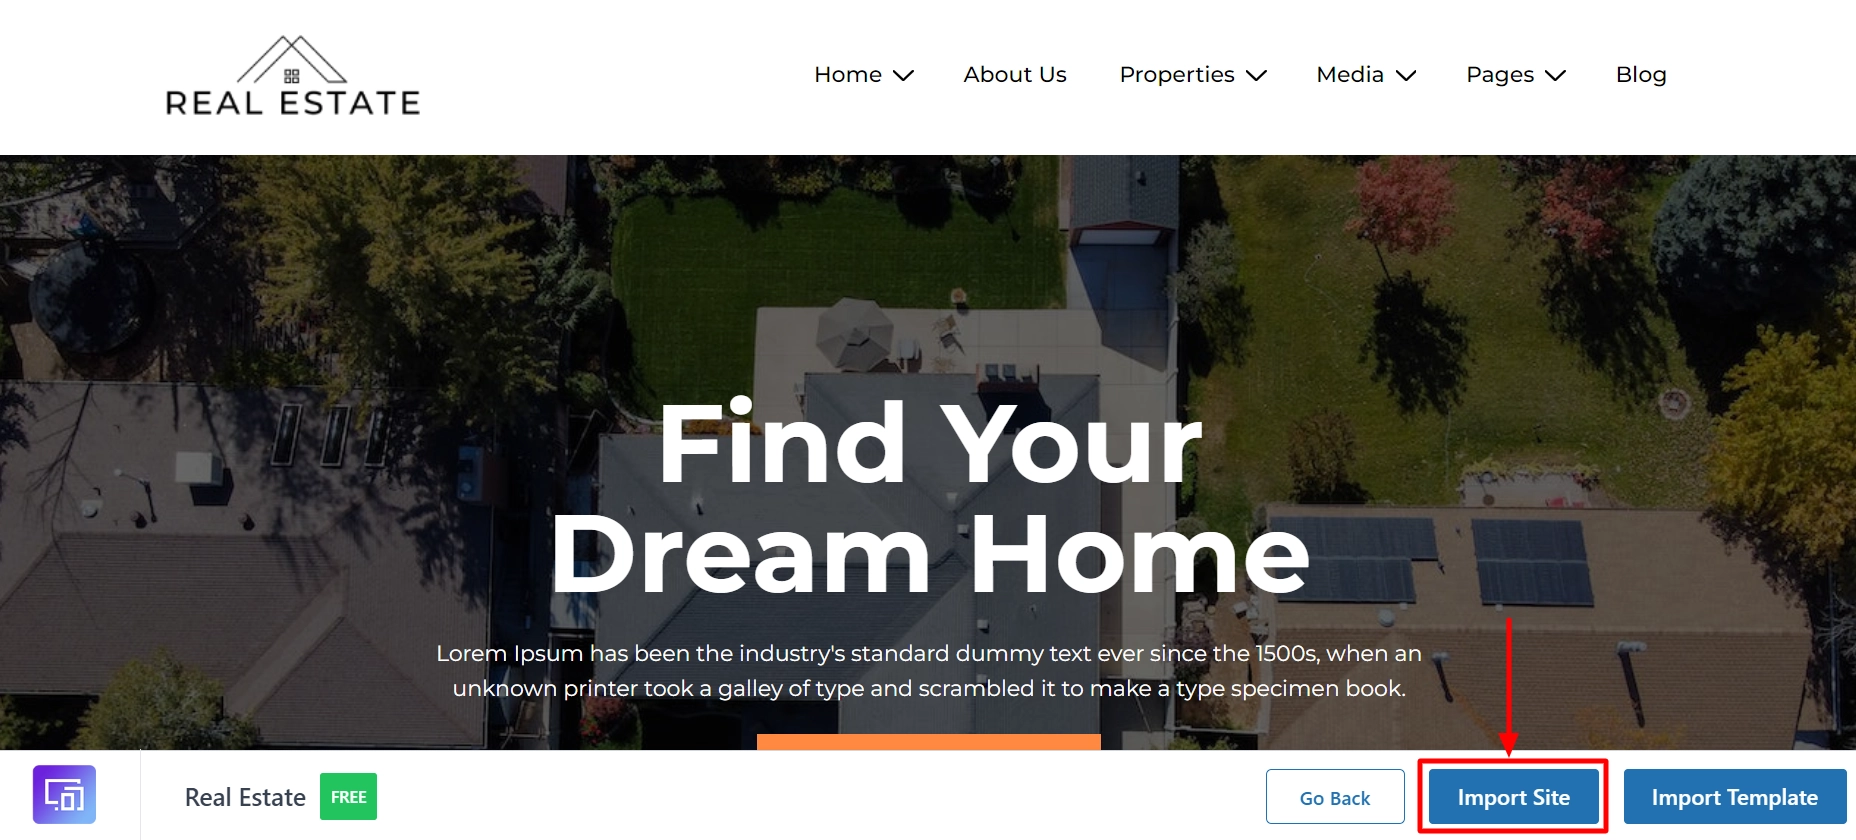
3. Select the template and click on the Import Site button.
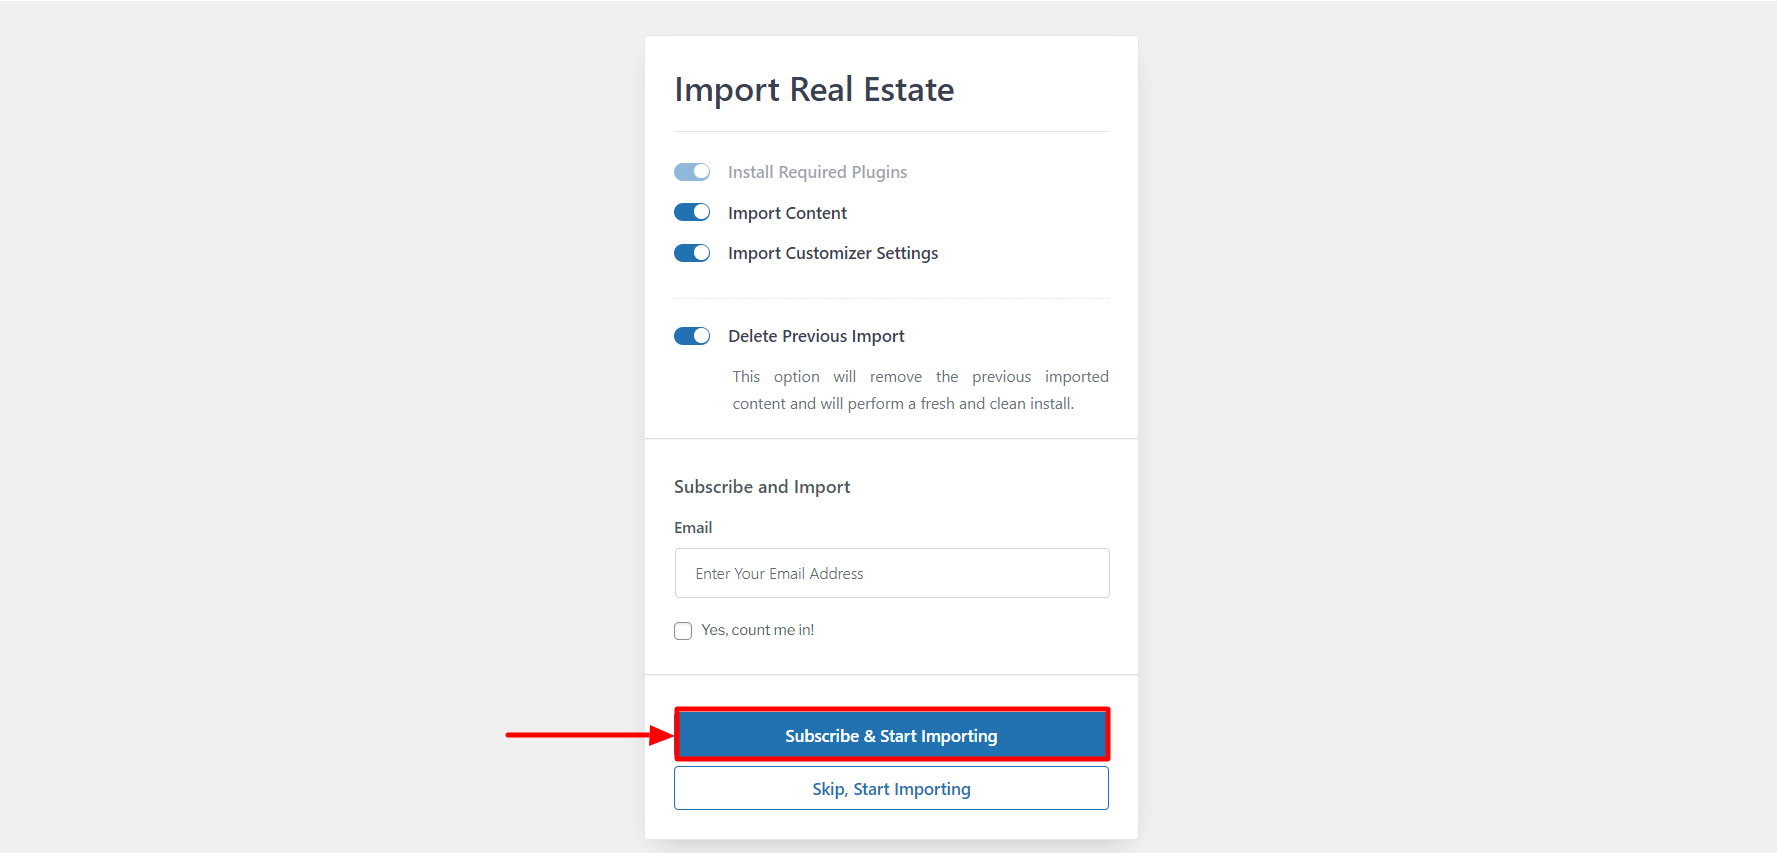
4. Enter your email address, tick all the boxes, and click the Subscribe and Start Importing button.
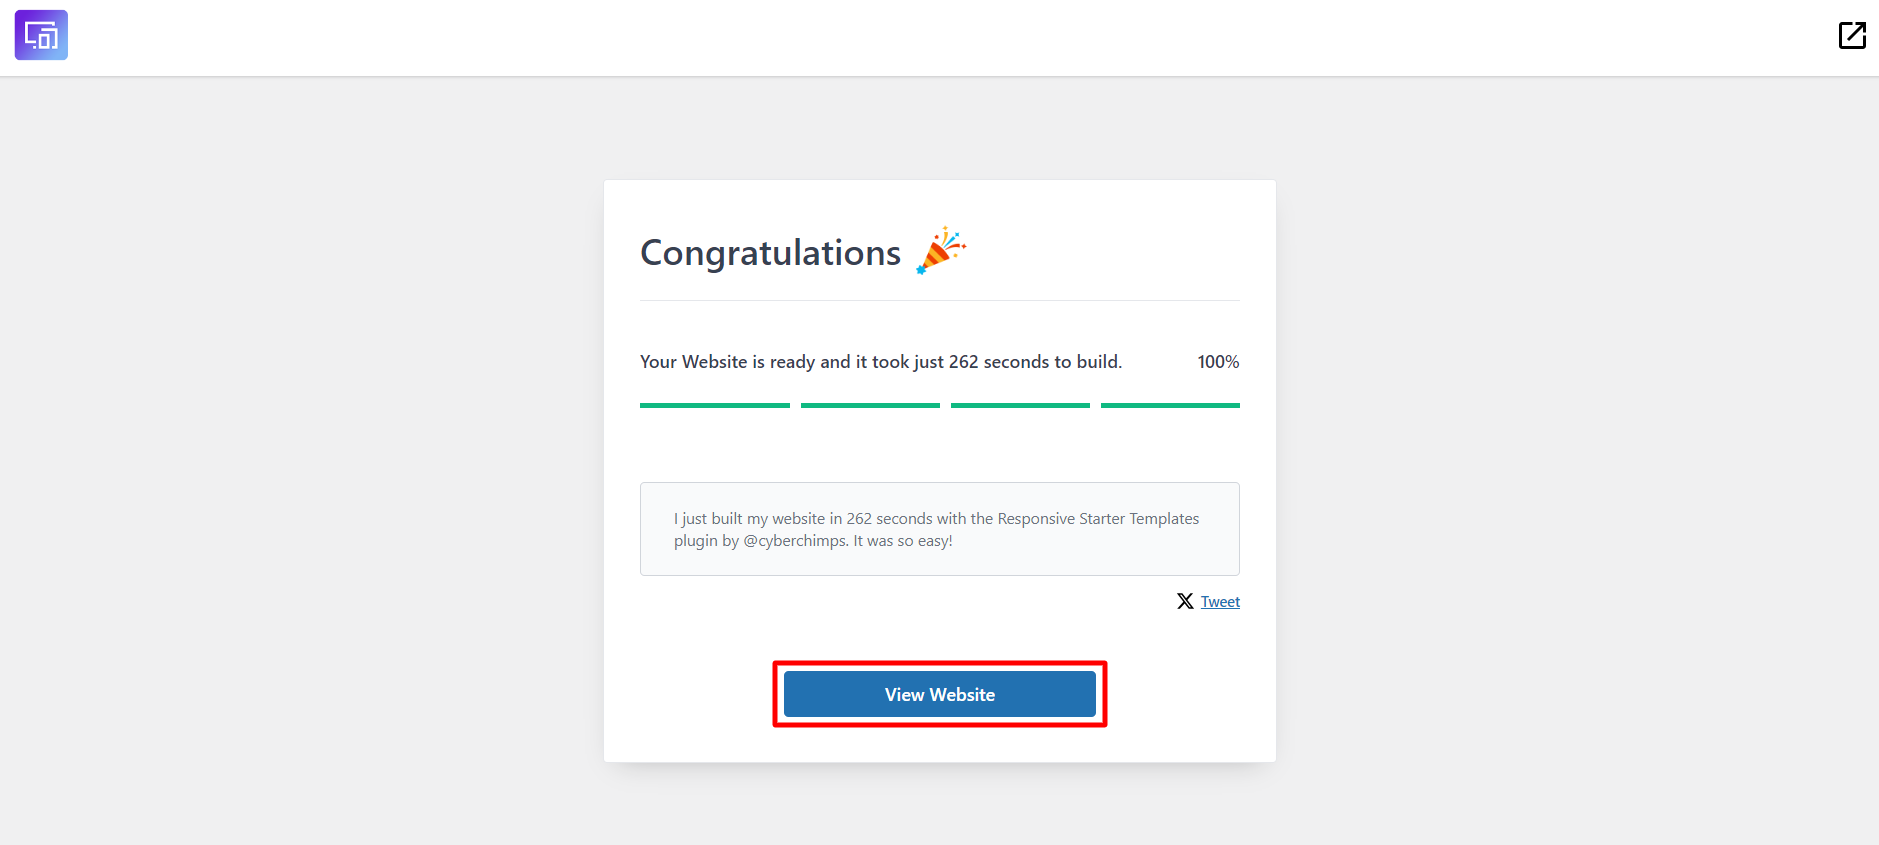
5. Once you’ve imported your template, click the View Website button.
Step 4: Install Your WordPress IDX Plugins
To set up a successful real estate website, a quality IDX plugin must be used to take care of the bulk of the work.
An ideal IDX plugin should provide features such as search and results, listing pages, mapping, and smart CRM tools.
It should also facilitate sharing information on multiple properties and creating hot sheets on various communities, neighborhoods, and searches.
Ensure that the IDX plugin is compatible with your chosen theme and easy to install and integrate into your website.
In this article, we’ll be using Estatik plugin to create an IDX real estate website.
Step 4.1: Install The Estatik Plugin
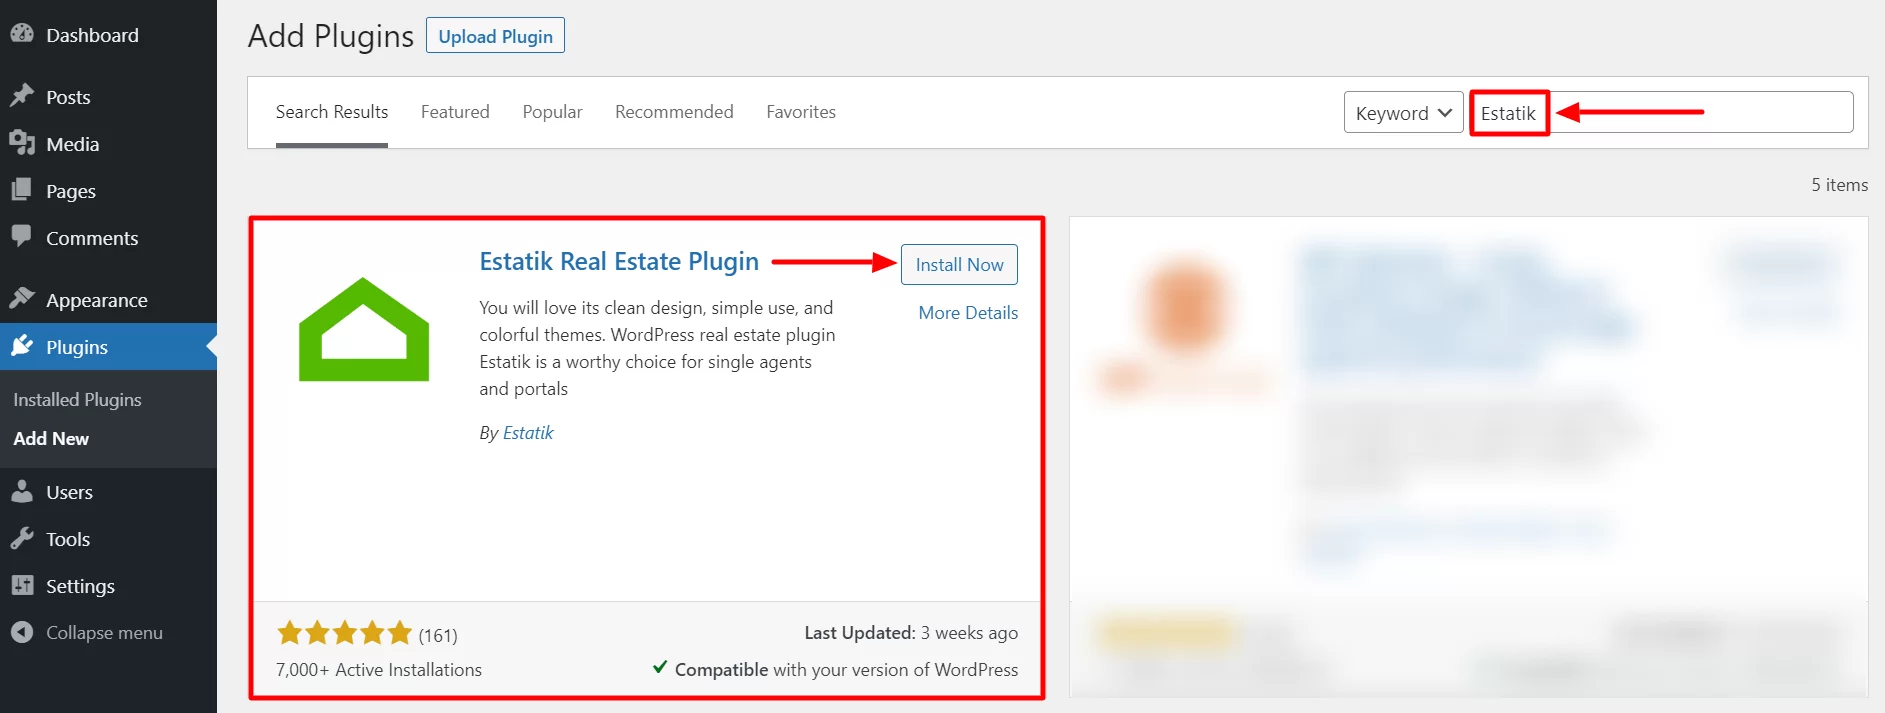
1. Navigate to Plugins > Add New.
Search for the Estatik plugin and click on the Install Now button.
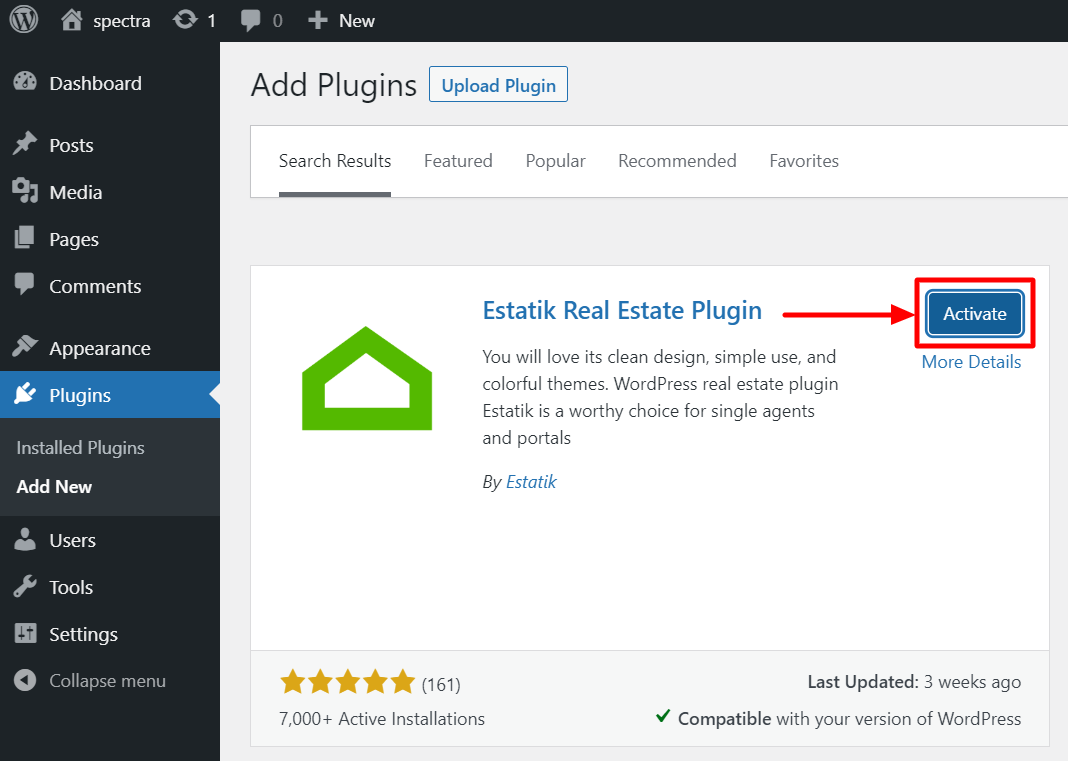
2. After the installation is complete, click on Activate.
Setup The Launch Wizard
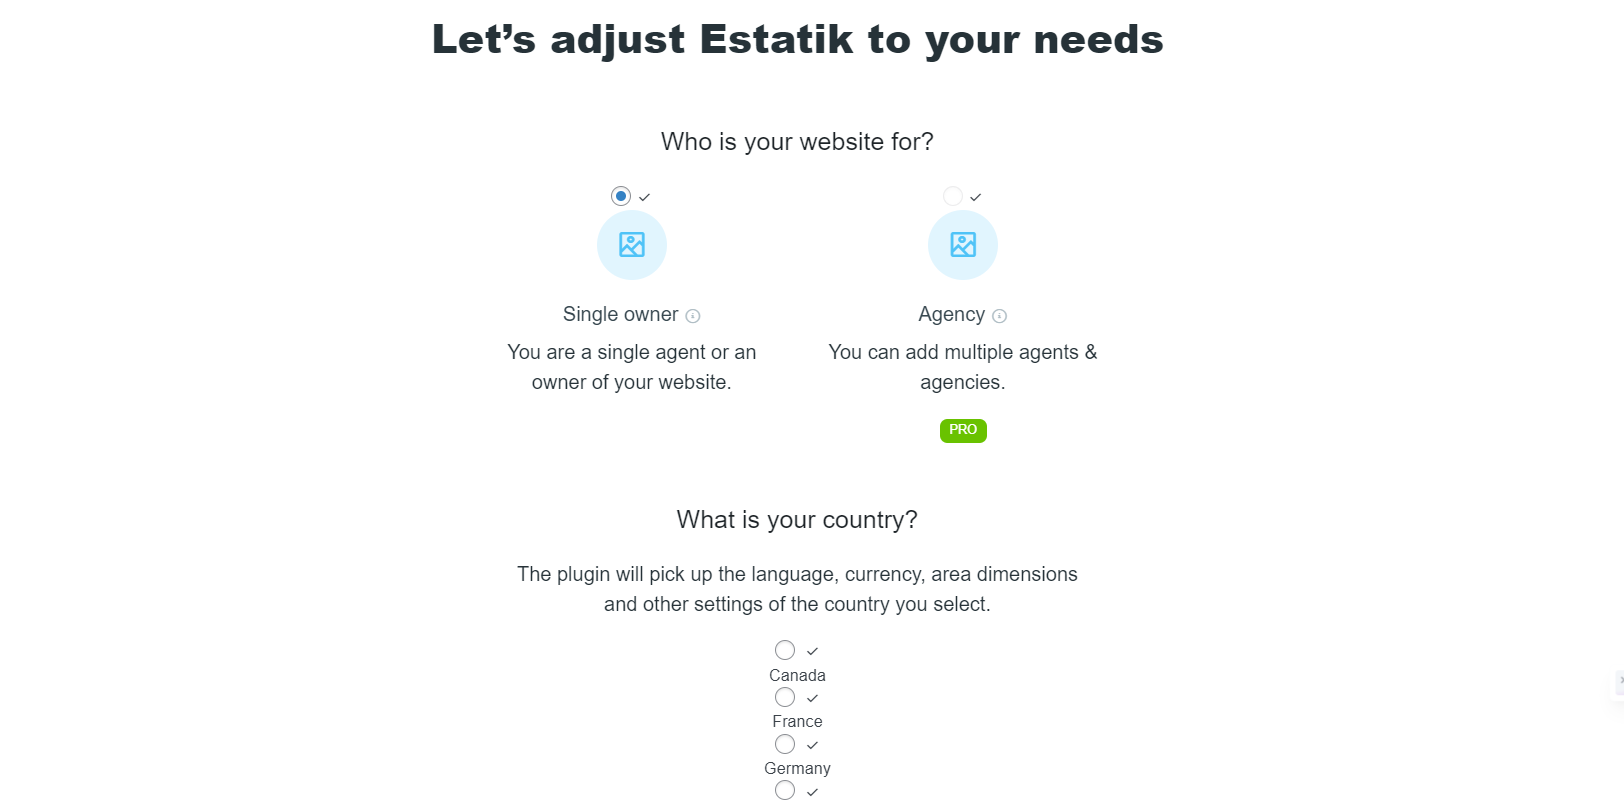
Estatik offers a launch wizard to help you customize your layouts, searches, slideshows, profiles, and other settings. It is highly recommended that you use Estatik’s launch wizard to get started.
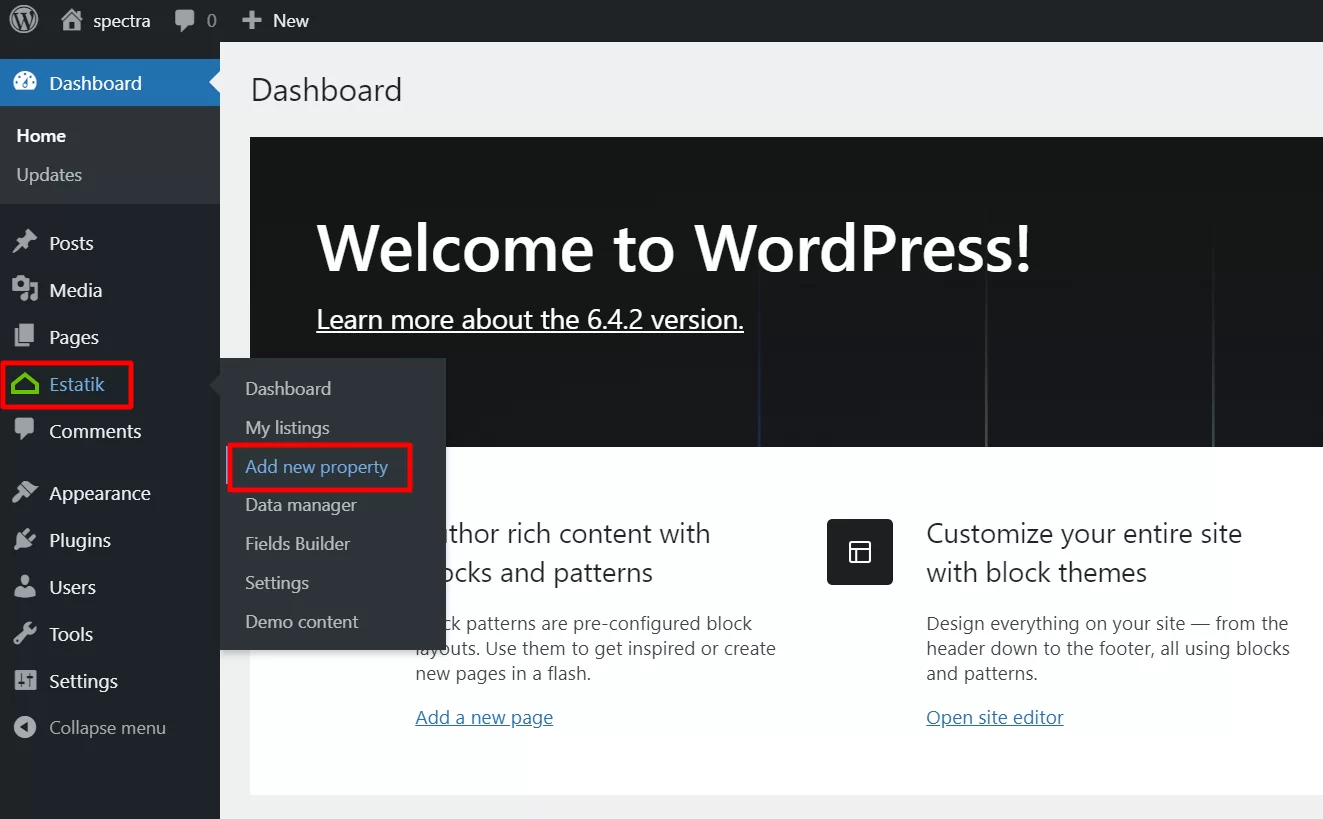
Adding Property Listings
Go to Estatik > Add New Property and fill out the listing information.
The fields builder allows you to provide more detailed information about your real estate listing. You can add titles, descriptions, images, categories, rent periods, parking, roof, exterior material, basement, and more.
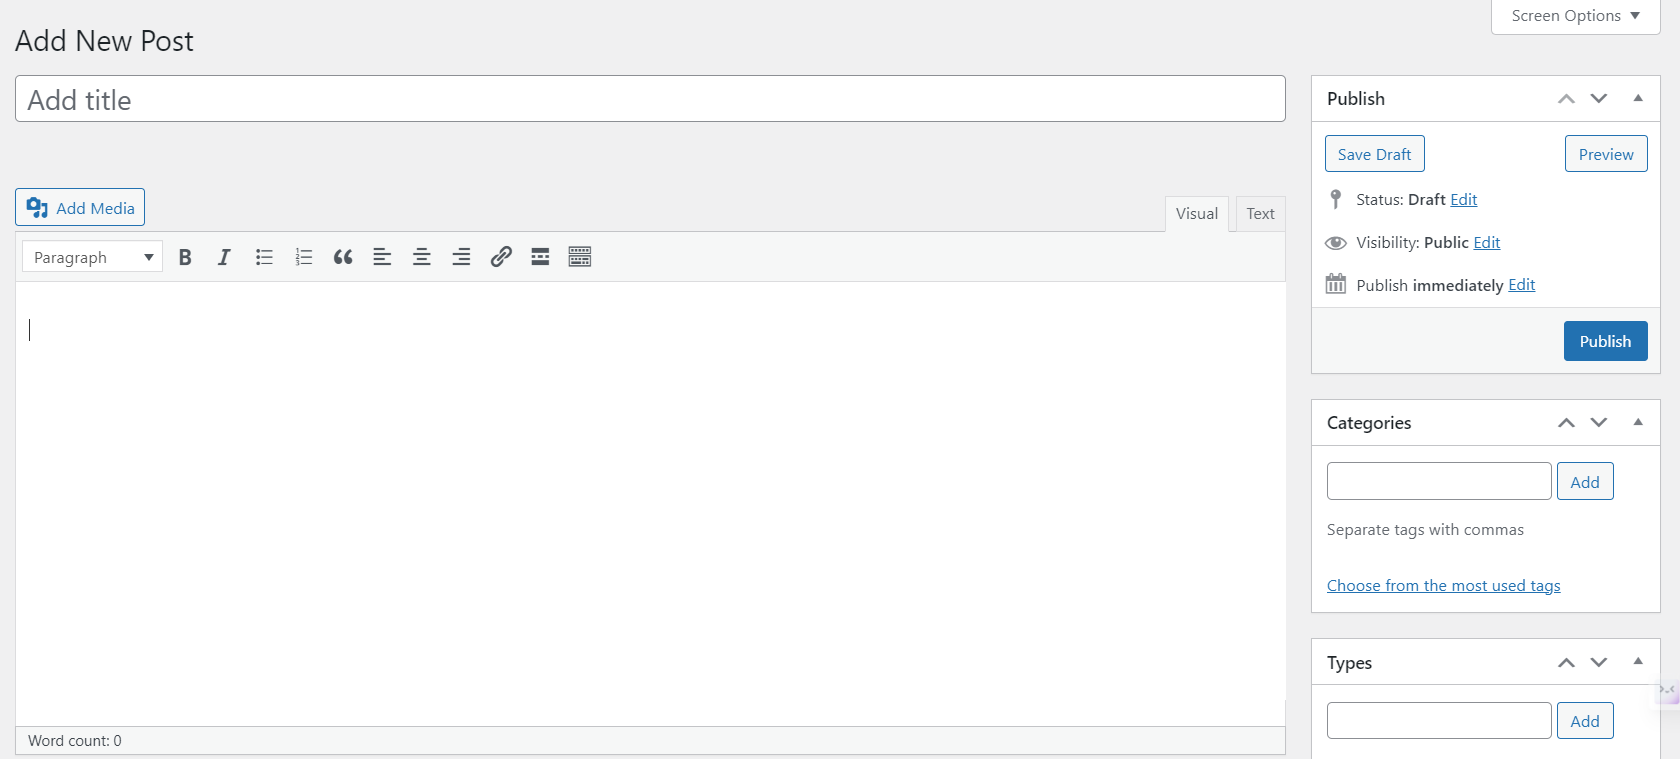
Once you are done adding the information, click on Publish button to publish the listing.
Preview The Listings
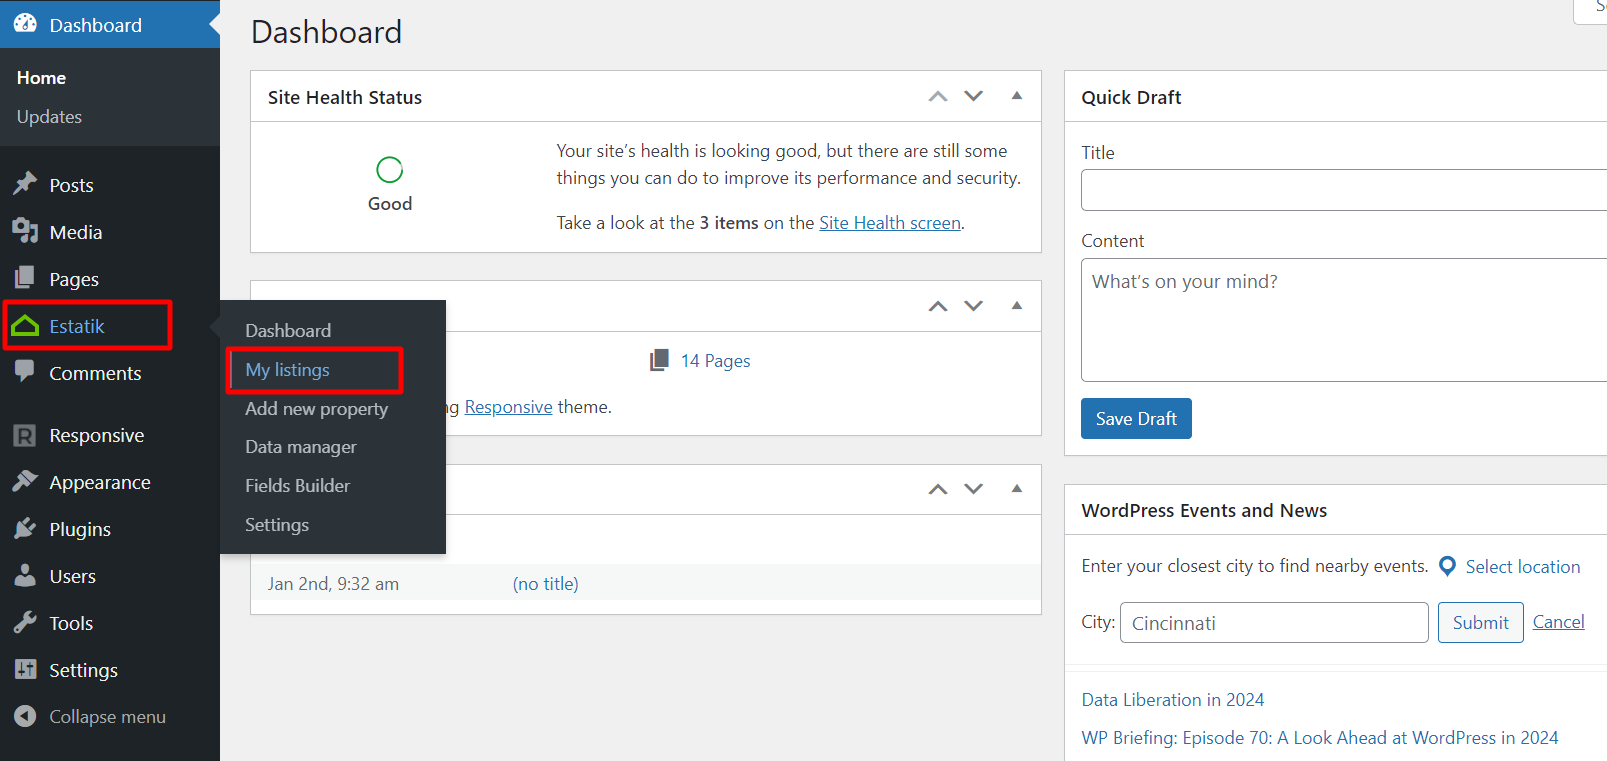
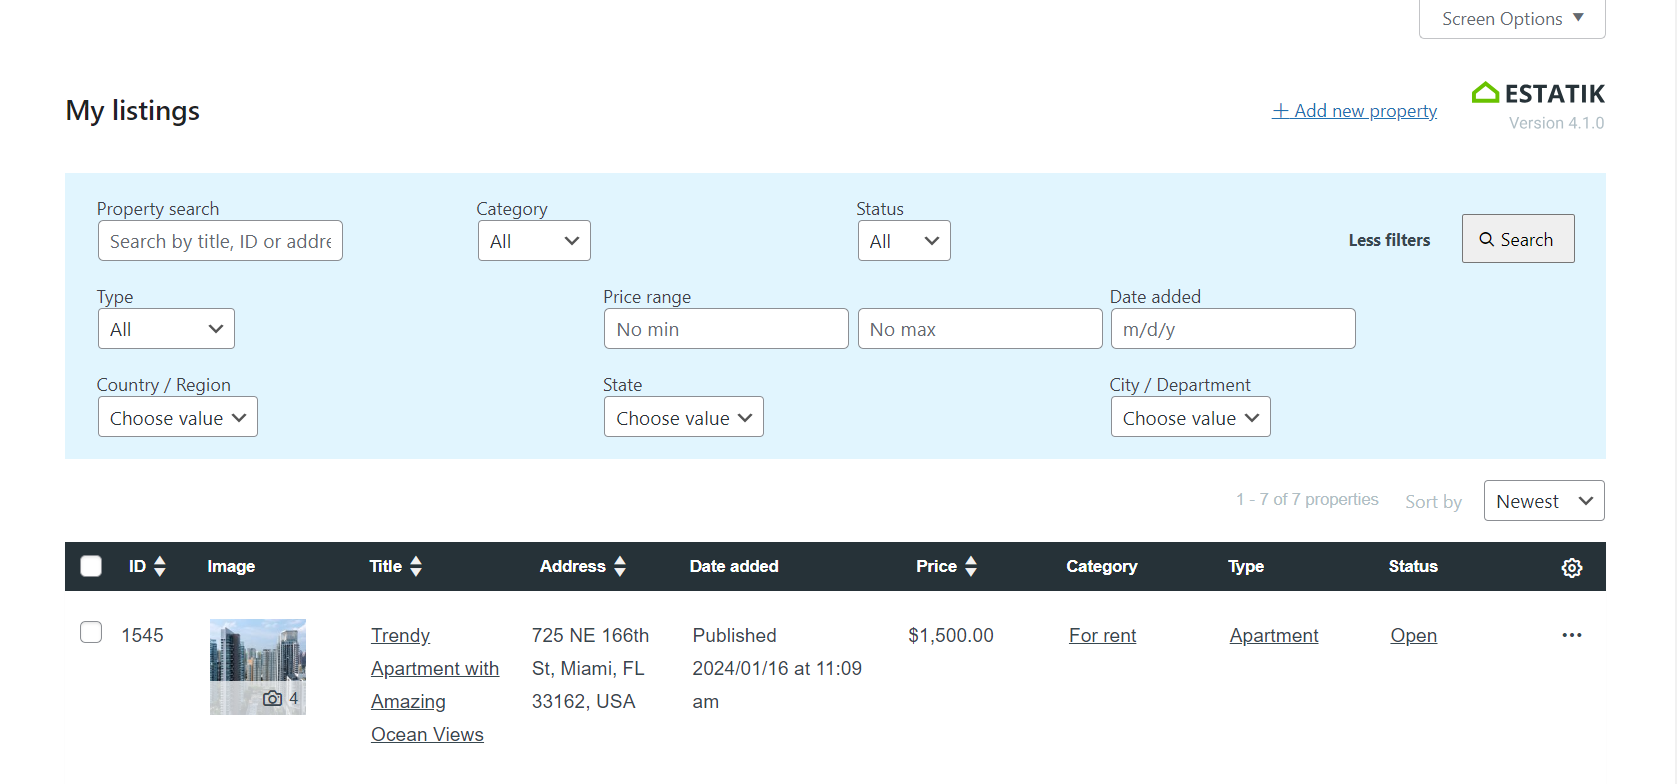
To access your property listings, navigate to Estatik > My Listings.
Here, you can view all of your listings in one place. If you’re looking for a particular property, you can search for it using the search bar. Additionally, you can categorize your listings using tags or custom labels. Yoi can select price range, date added country, state, city.
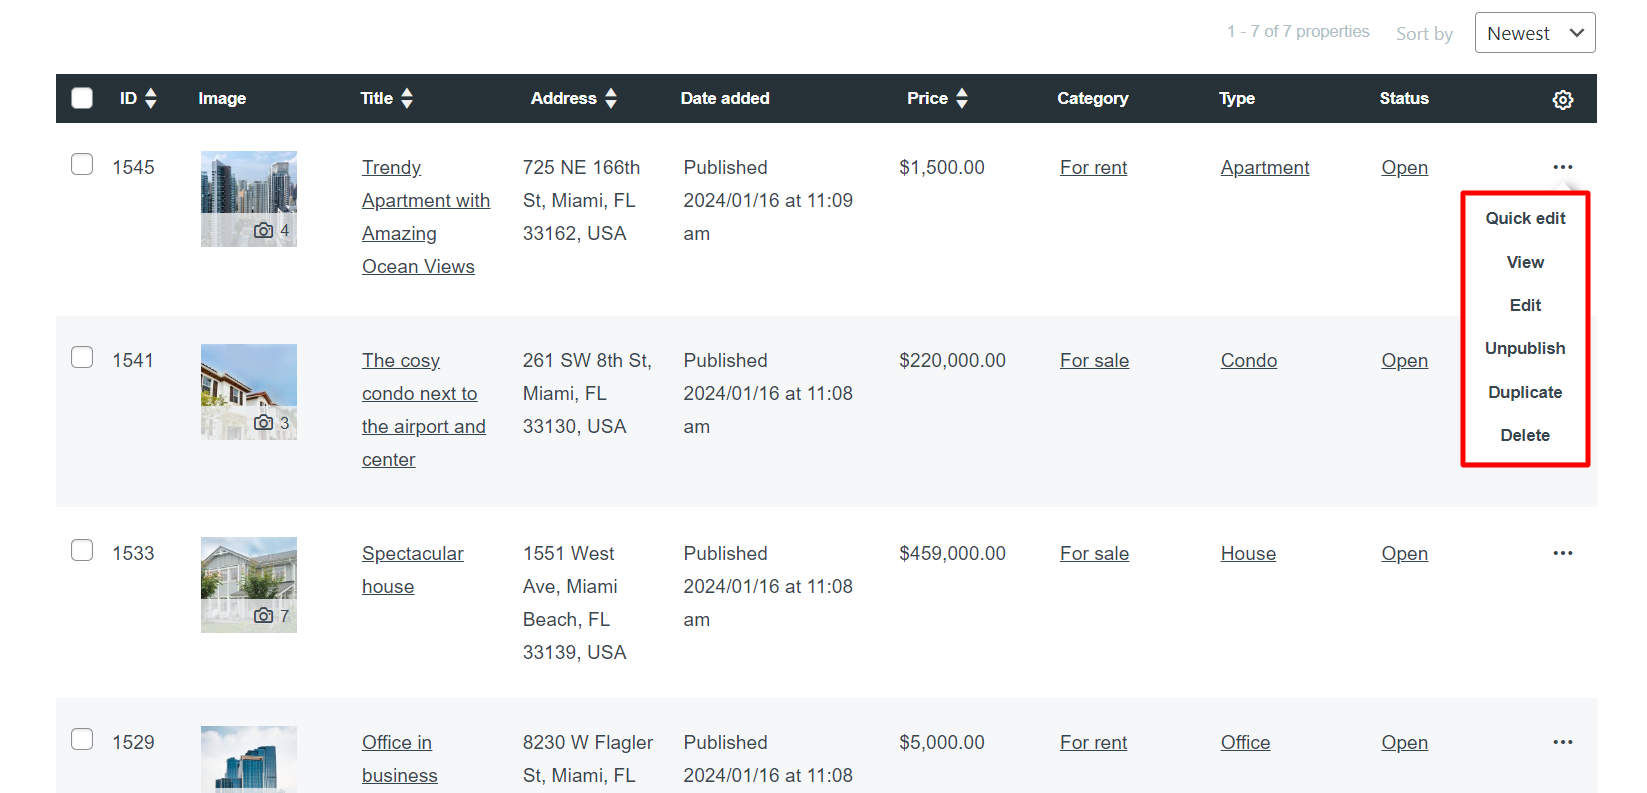
Additionally, the three dots on the extreme right side will give you option for quick settings. You can view the particular property, edit it, unpublished it, duplicate it or delete it from here.
To view the changes you’ve just made, navigate to Pages > List Layout and click View to preview the page.
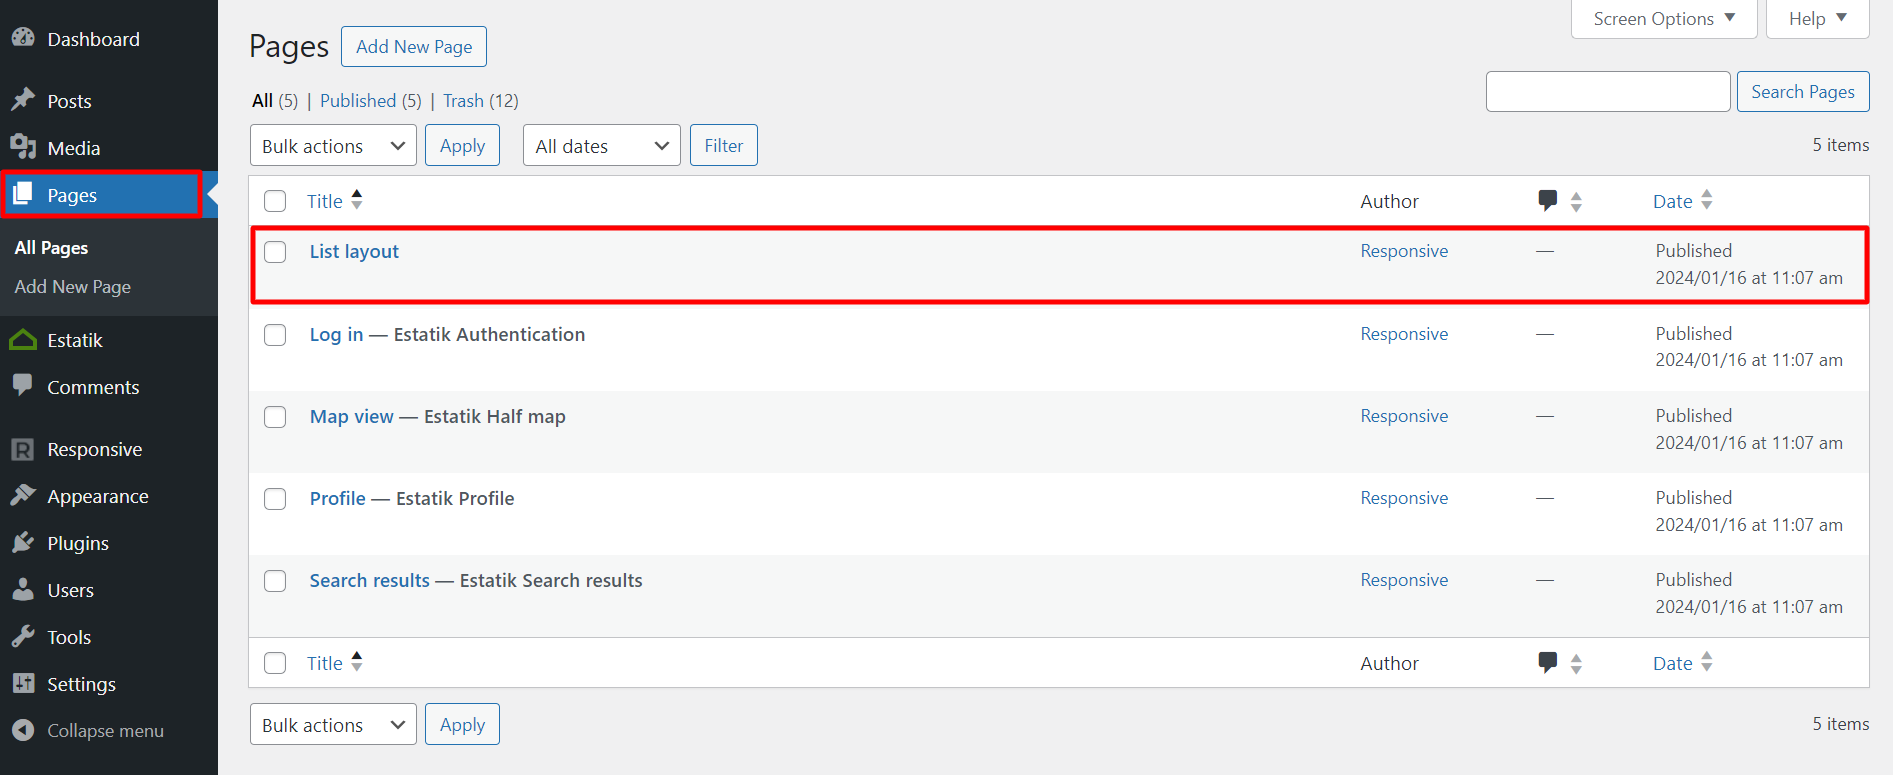
It will look like this:

Manage Agents and MLS Import
This section allows you to create profiles for agents and manage them by assigning listings, hiding property pages, and enabling agent registration. However, please note that this is a paid feature. You need to buy Estatik Pro to enable these features, but it’s worth it.
Step 5: Promoting Your Real Estate Website
Your WordPress real estate theme and IDX plugin offer you numerous options to create targeted content that can improve your search engine rankings.
For instance, you can create specific pages for real estate listings in a particular neighborhood, city or housing community. You can also optimize the listing page by adding valuable information about the area.
To enhance your WordPress SEO skills, you can follow our comprehensive WordPress SEO guide that contains step-by-step instructions for beginners.
FAQ
Yes, it is possible to create a website for real estate using WordPress. WordPress is a popular website platform used for building and hosting websites of all types, including real estate websites. Its powerful features and user-friendly interface make it an ideal option for real estate agents, brokers, and property managers to showcase their properties, receive leads, and manage listings.
Yes, with WordPress you can easily build a real estate website without any coding. WordPress provides free and premium templates that you can use to create an IDX website.
No, IDX and MLS are not the same. MLS is a database of real estate listings in a specific area, and IDX is the software that displays this information on a real estate website for the public to view.
Conclusion
Creating a real estate website using WordPress is a simple process that can assist you in displaying your listings and drawing in new customers.
By following the steps in this post, you can create an efficient website for your business.
By choosing the right theme, structure, and functionality, you can build a website that represents your brand and helps you stand out in the competitive real estate industry.
That’s where Responsive Theme comes into play.
If you enjoyed reading this article, don’t forget to give these a read as well:
- Best WordPress Real Estate Plugins
- How To Create A WordPress Real Estate Website
- Best WordPress IDX Plugins
Are you ready to build a real estate WordPress website? Grab Responsive Theme today!