Summary
The article explains what the WordPress Playground is. It defines it as a safe testing environment for trying themes, plugins, and site changes.
It also highlights how users can experiment without affecting a live site, making it easier to learn and test WordPress features.
Have you ever come across the term WordPress Playground?
Traditionally, setting up WordPress requires multiple steps, such as configuring a hosting account, conducting an install, setting up an admin account, and customizing the site.
However, the WordPress core team created WordPress Playground to make it easier for people to experience the CMS without hassle.
WordPress Playground allows you to try out open-source WordPress.org in a browser without purchasing a hosting plan.
It also lets you test plugins and themes without affecting your live WordPress website.
In this article will explain what WordPress Playground is and how to use it.
What is WordPress Playground?
WordPress requires several components to function, including a server, PHP architecture, and a database.
However, there is now a way to install WordPress without these typical dependencies.
Enter WordPress Playground, a fully in-browser platform that doesn’t need a server, PHP, or a database to run.
Instead of relying on traditional components, WordPress Playground uses other technologies to simulate or replace them.
- For example, a WebAssembly binary is used to build a PHP interpreter, while a WordPress plugin runs SQLite instead of MySQL.
- Additionally, a clever implementation of JavaScript as a Service Worker substitutes for the web server.
With WordPress Playground, you can enjoy a fresh WordPress installation that runs directly in your browser without the usual dependencies you might expect.
How to Use WordPress Playground
Now, let’s see how to use WordPress playground:
Get Started With WordPress Playground
To access WordPress Playground, enter this domain name in your web browser WordPress Playground
Once you arrive on the website, give it a few moments to set up.
templateNext, you’ll see the front end of the website, which features the default WordPress theme.
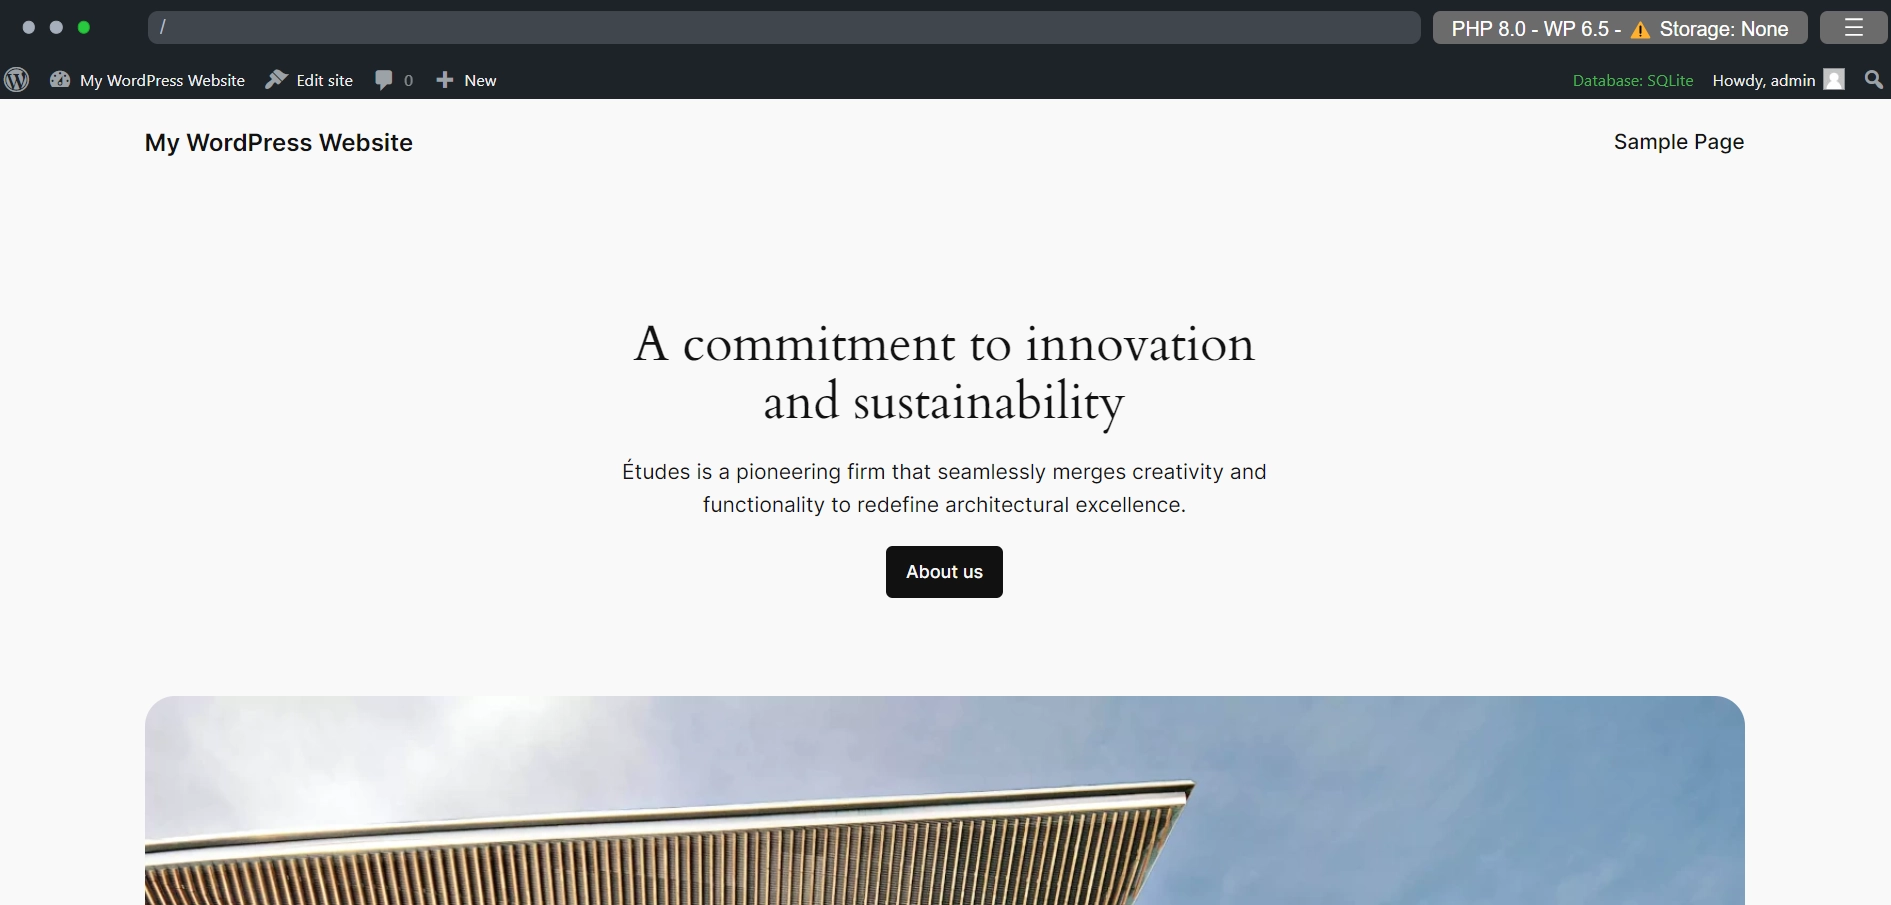
If you’re using WordPress Playground for testing purposes, you can customize the environment to resemble the WordPress software used on your actual website.
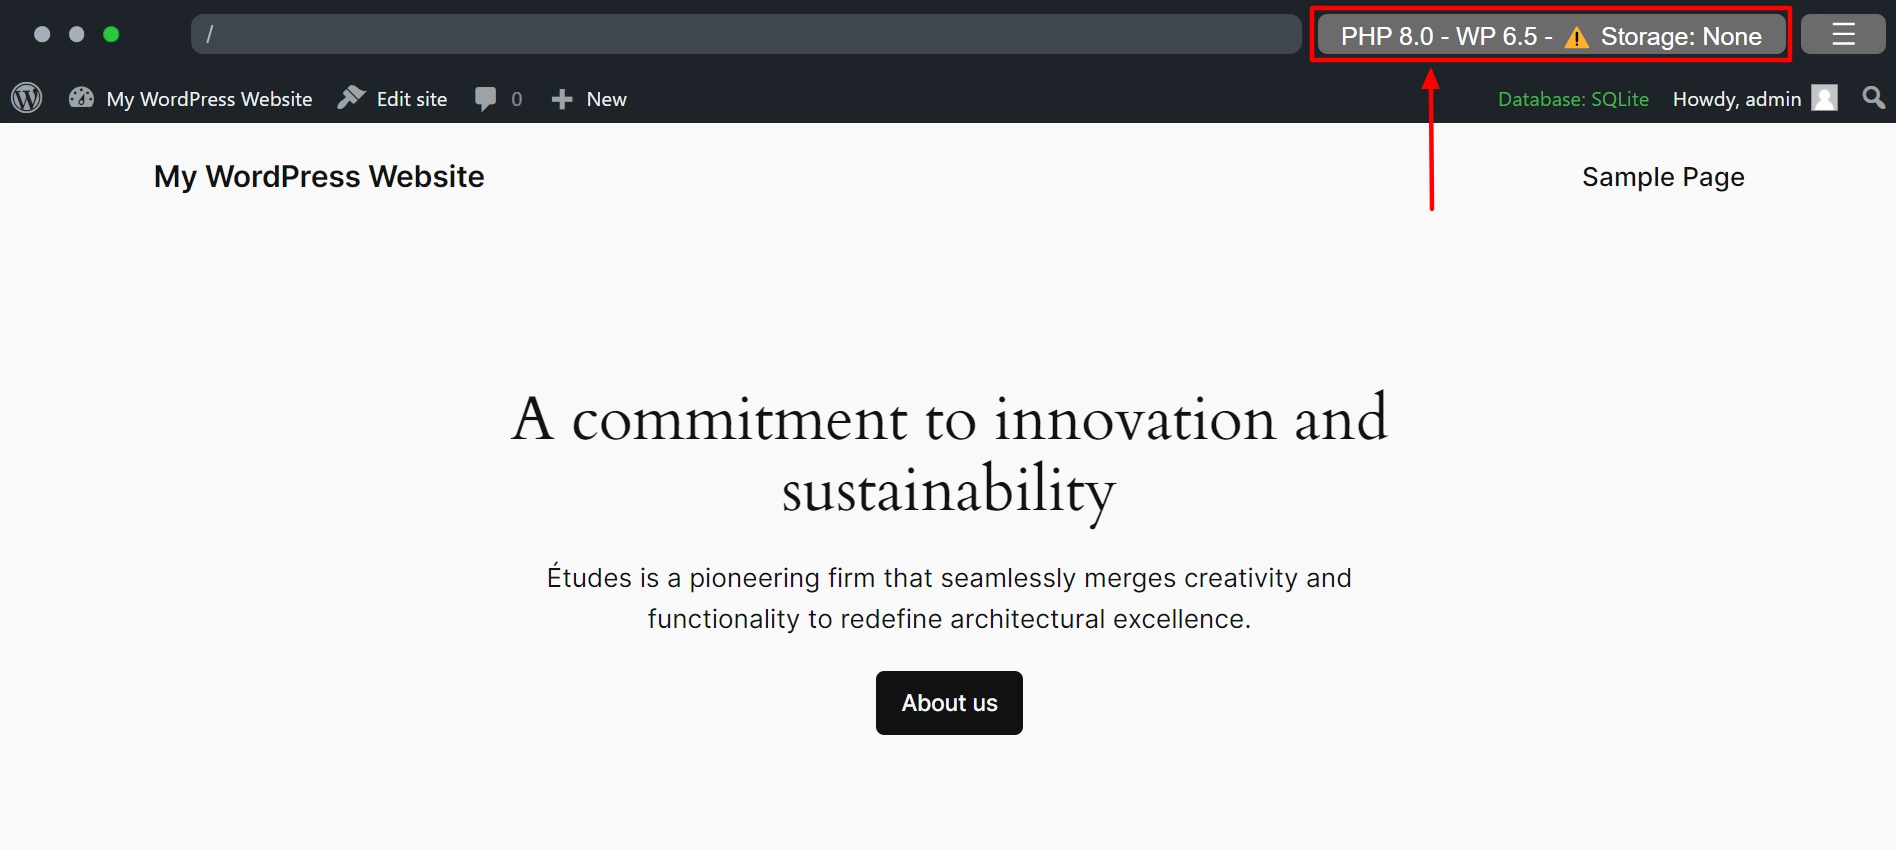
To do so, click the PHP 8.0 WP 6.5 – Storage: None menu.
Configure WordPress Playground
To get started, you first need to configure the storage type. There are three options:
- None: If you select ‘None,’ all changes made will be lost once you refresh the page.
- Browser: On the other hand, the ‘Browser’ option stores your changes in the browser, but they will disappear if you close the browser tab or clear your cache.
- Device: You can save your changes on your computer by selecting ‘Device.’ This option allows you to choose a folder in your computer to store your WordPress Playground files, similar to creating a localhost WordPress site.
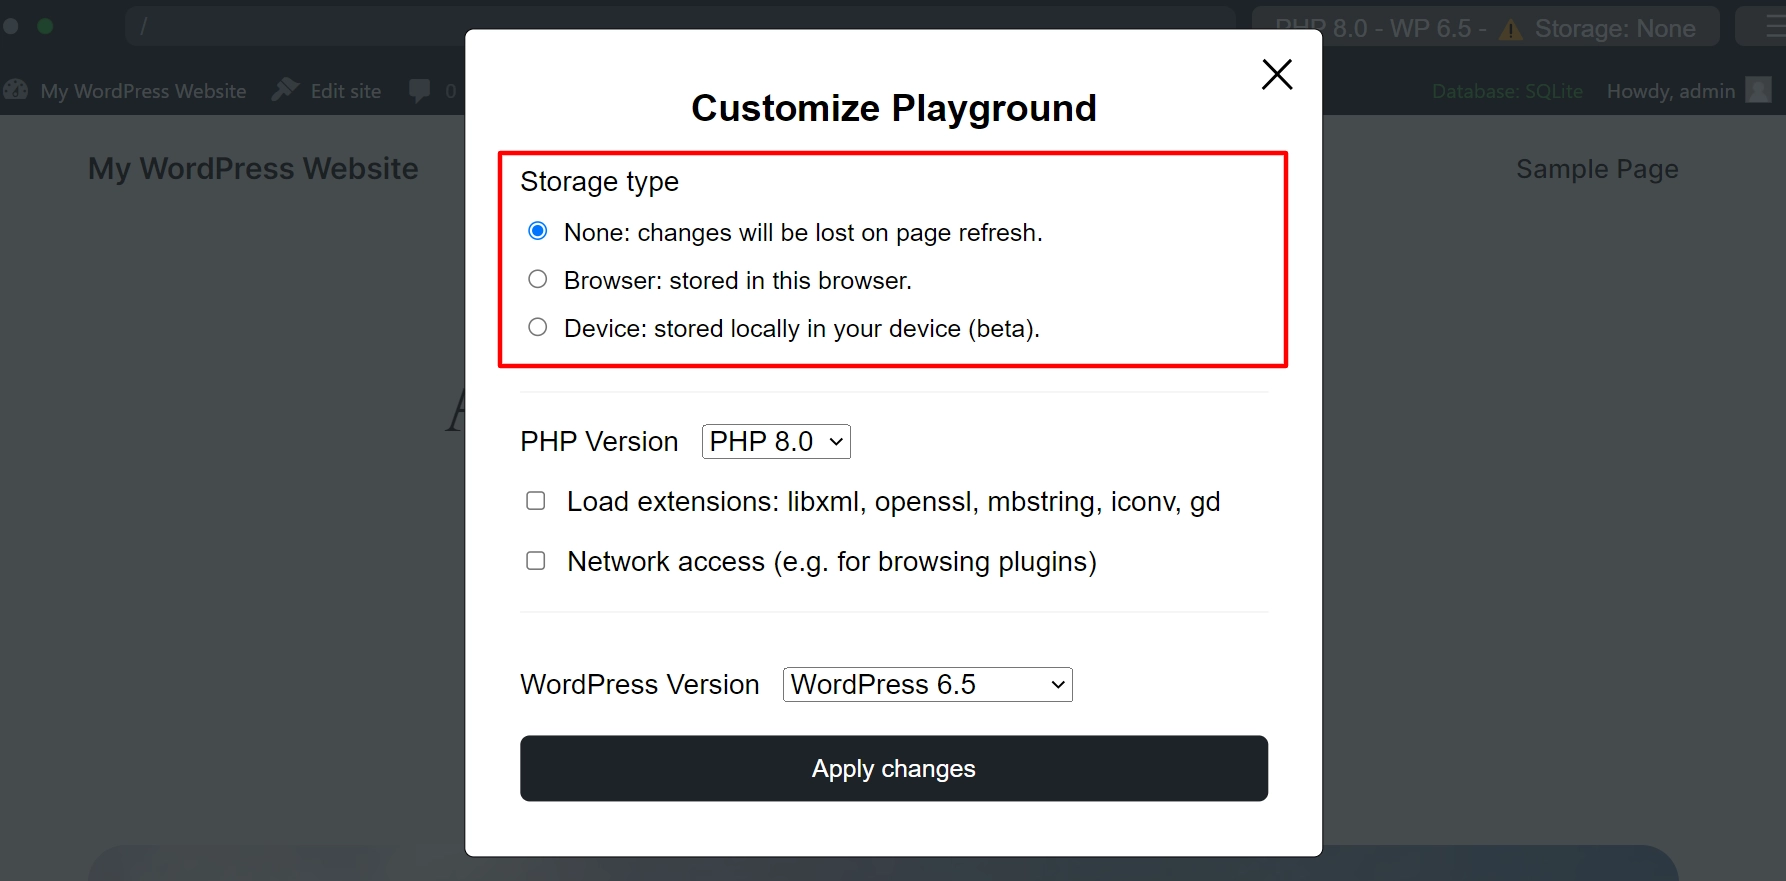
The next step is to configure the PHP version. We suggest choosing the same version as your website, though older versions prior to 7.0 may not be available.
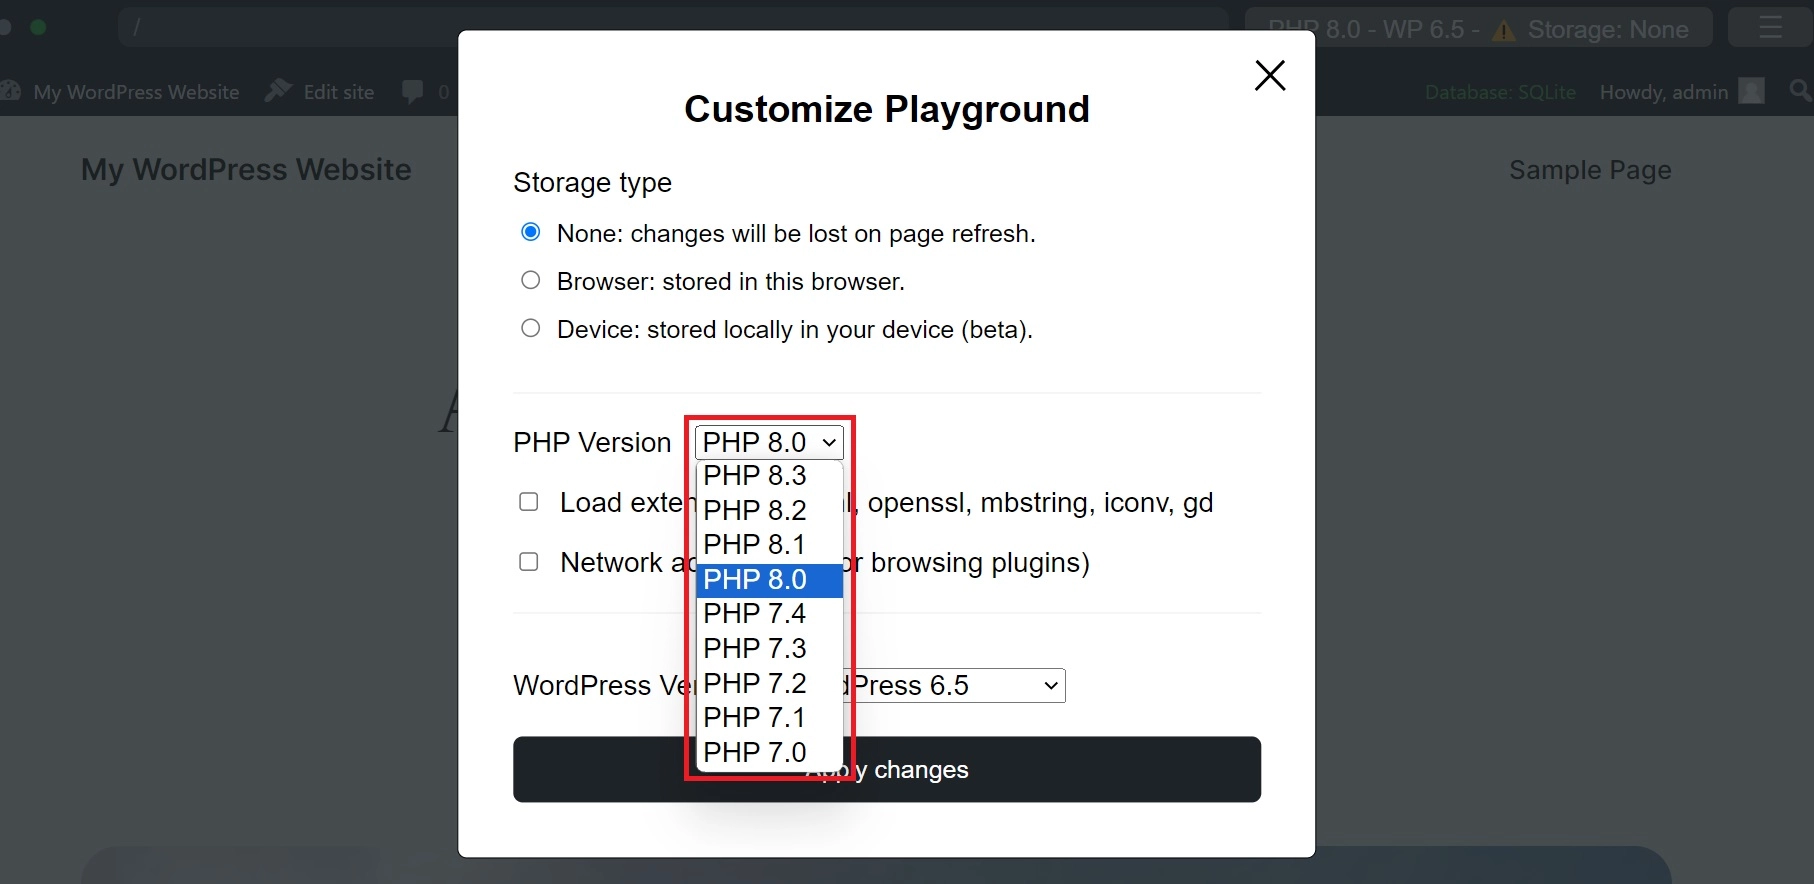
Below that, you can enable two settings:
- Load extensions: libxml, openssl, mbstring, iconv, gd: This setting loads specific PHP extensions to enhance your WordPress Playground. However, these extensions are not necessary.
- Network access (e.g., for browsing plugins): Network access is a beta feature that connects your WordPress Playground to the official plugin directory. This allows you to install WordPress themes and plugins directly from the environment.

Before proceeding with the Playground setup, you need to choose the version of WordPress you want to work with.
It is recommended to select the version that you currently use for your WordPress website or blog.
In addition to the standard version, WordPress also offers a WordPress Nightly version. This version is used for testing purposes and contains the latest updates made by the WordPress development team.

Once you have made your selection, click on Apply Changes to save the settings.
That’s it for the settings!
You can now proceed to test the sandbox in the admin area.
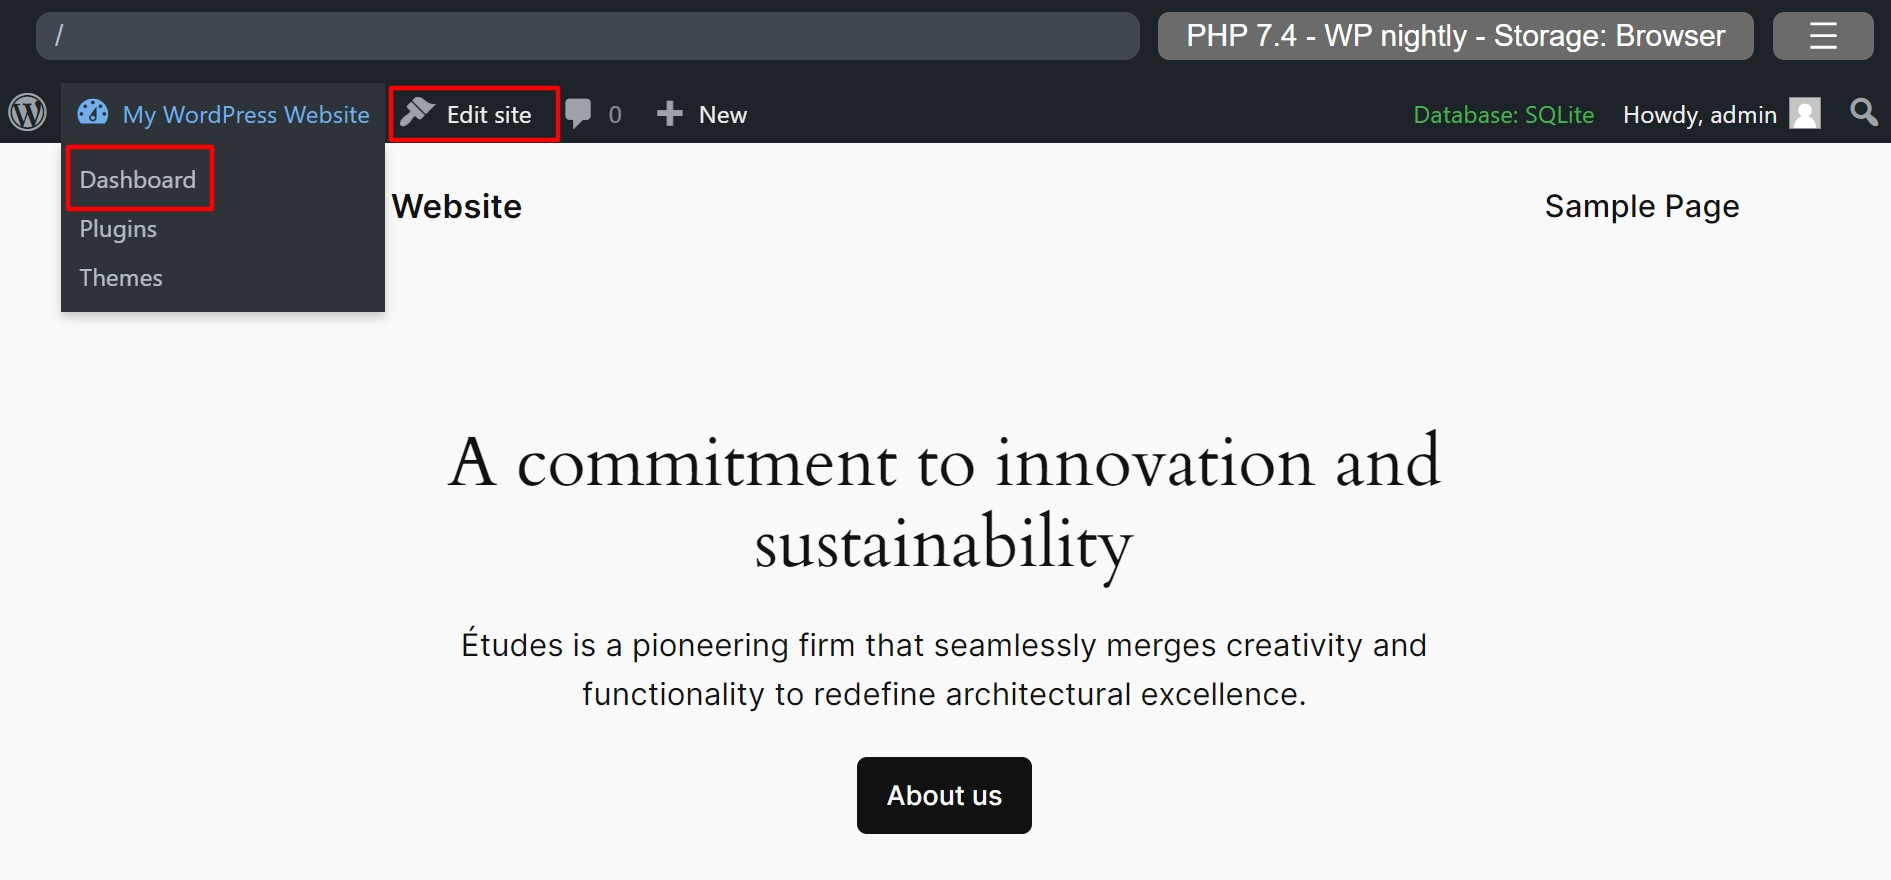
To access the admin area, hover over the site title menu and select Dashboard. Alternatively, you can click on Edit Site to go to the Full Site Editor.
How to Install Themes and Plugins in WordPress Playground
There are two methods to install WordPress themes or plugins in WordPress Playground.
Method 1: By Directly Searching in WordPress Repository
If you choose Network access during the setup process, Playground can connect to the Plugin or theme directory and work like any typical WordPress dashboard.
You can install free themes and plugins without any hassle.
WordPress Playground has a default theme pre-installed when you first use the Playground.
For those new to WordPress, installing the Responsive theme could be a good starting point.
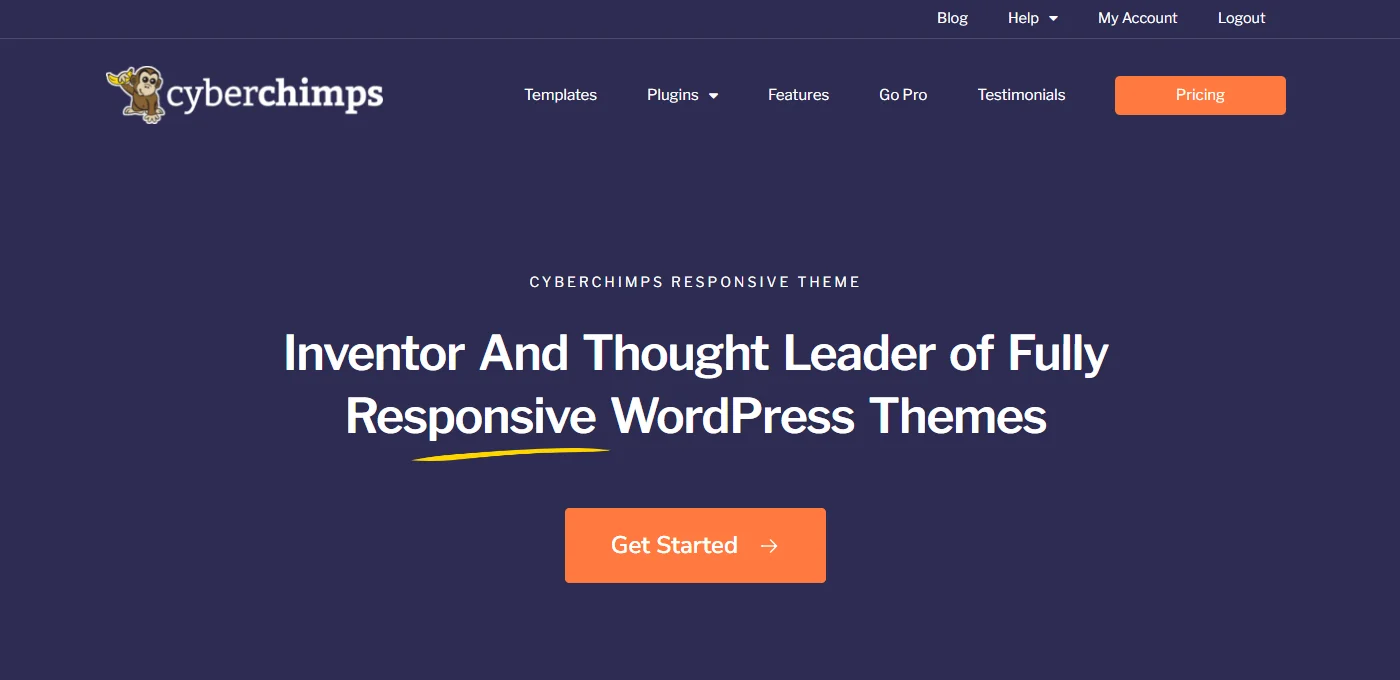
It’s lightweight, free, SEO-optimized, and translation-ready. With over 150 starter templates, you can find a suitable one for your website, be it a blog or a complicated eCommerce platform.
Here’s how you can install and activate the Responsive theme:
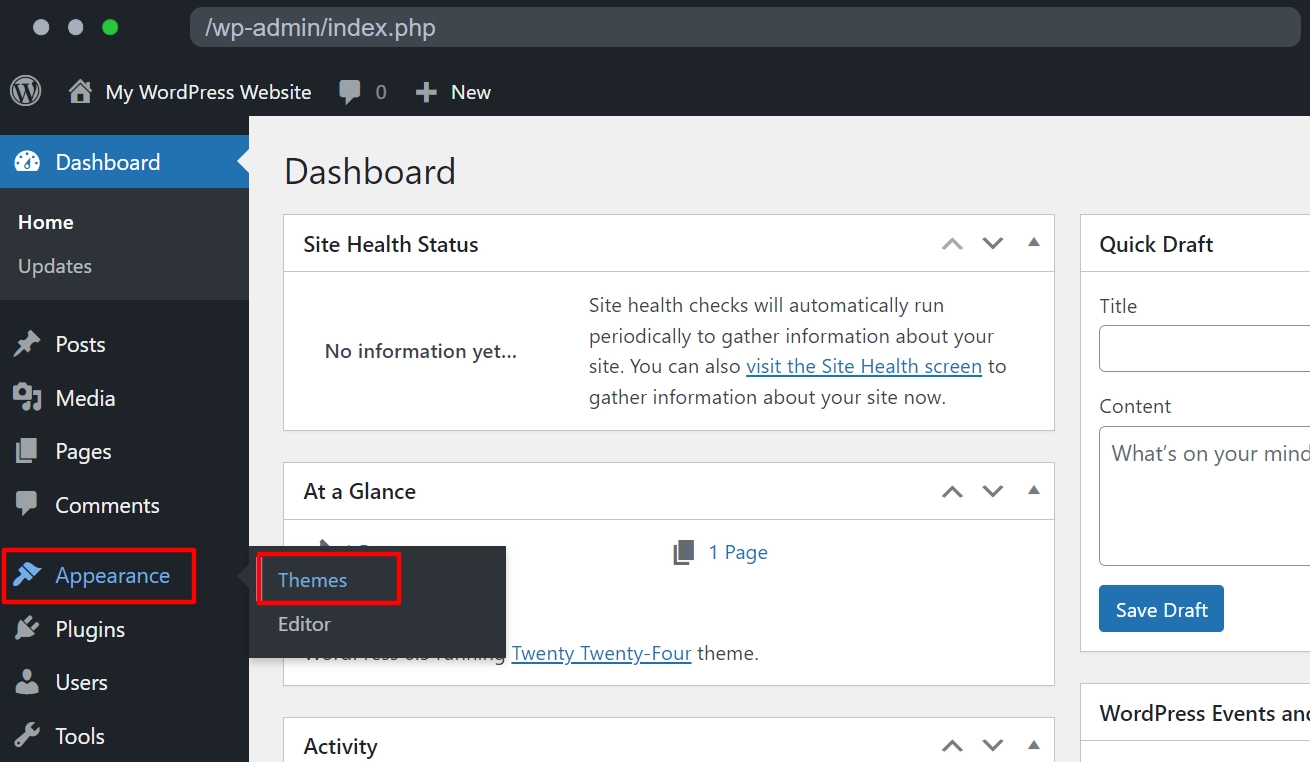
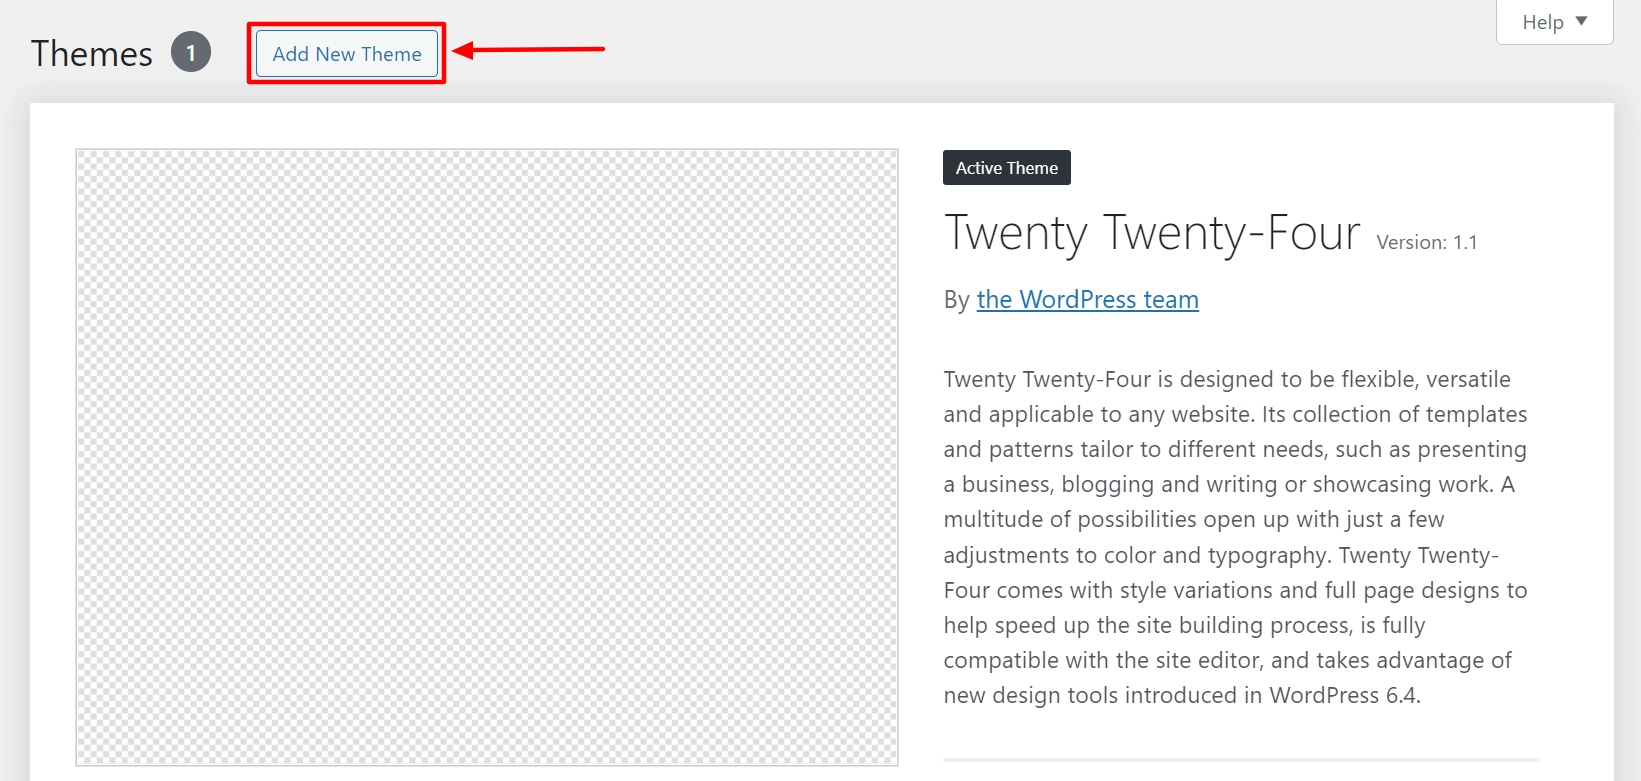
1. Go to the WordPress admin dashboard and navigate to Appearance > Themes.
2. Click on Add New Theme.
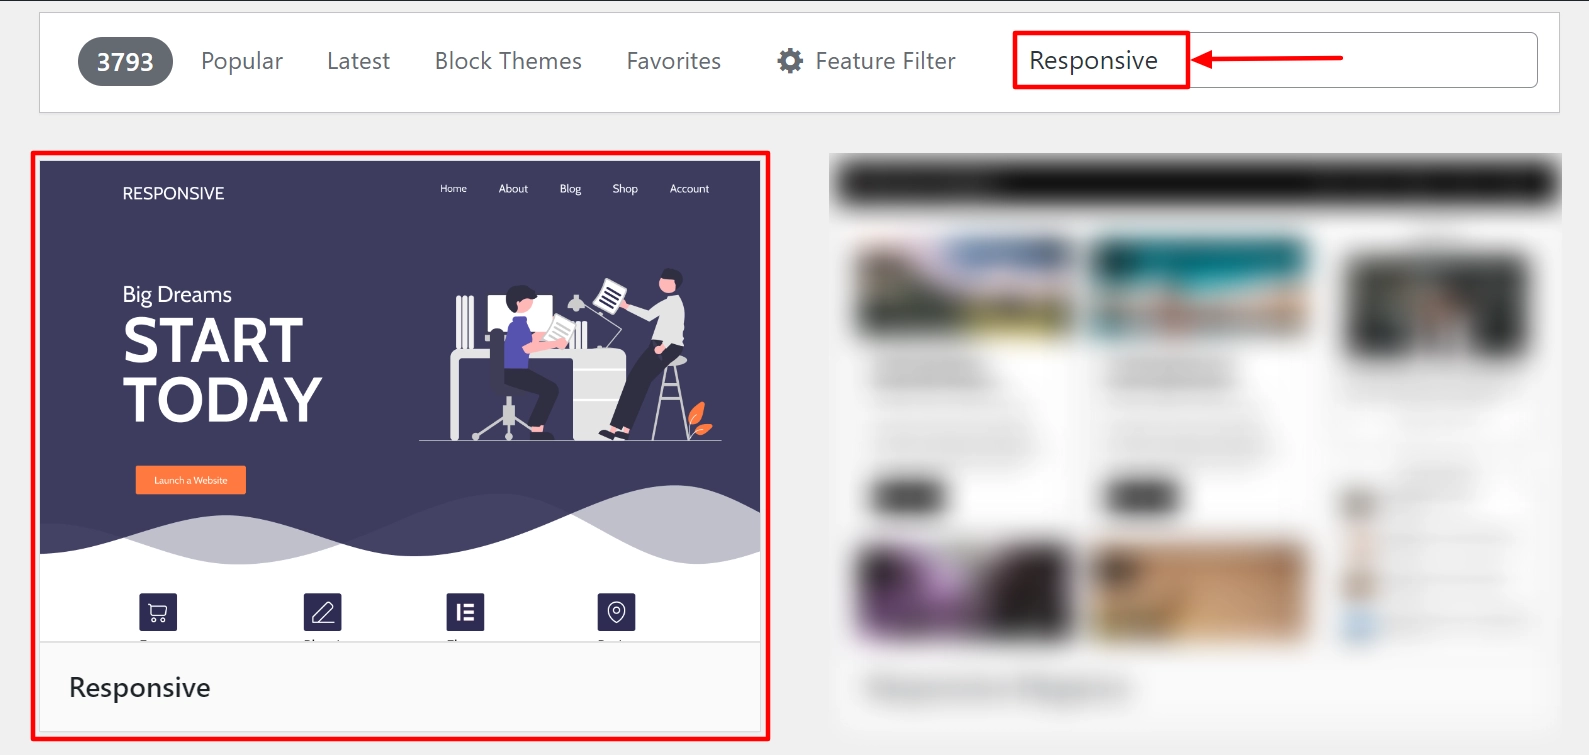
3. Search for Responsive theme.
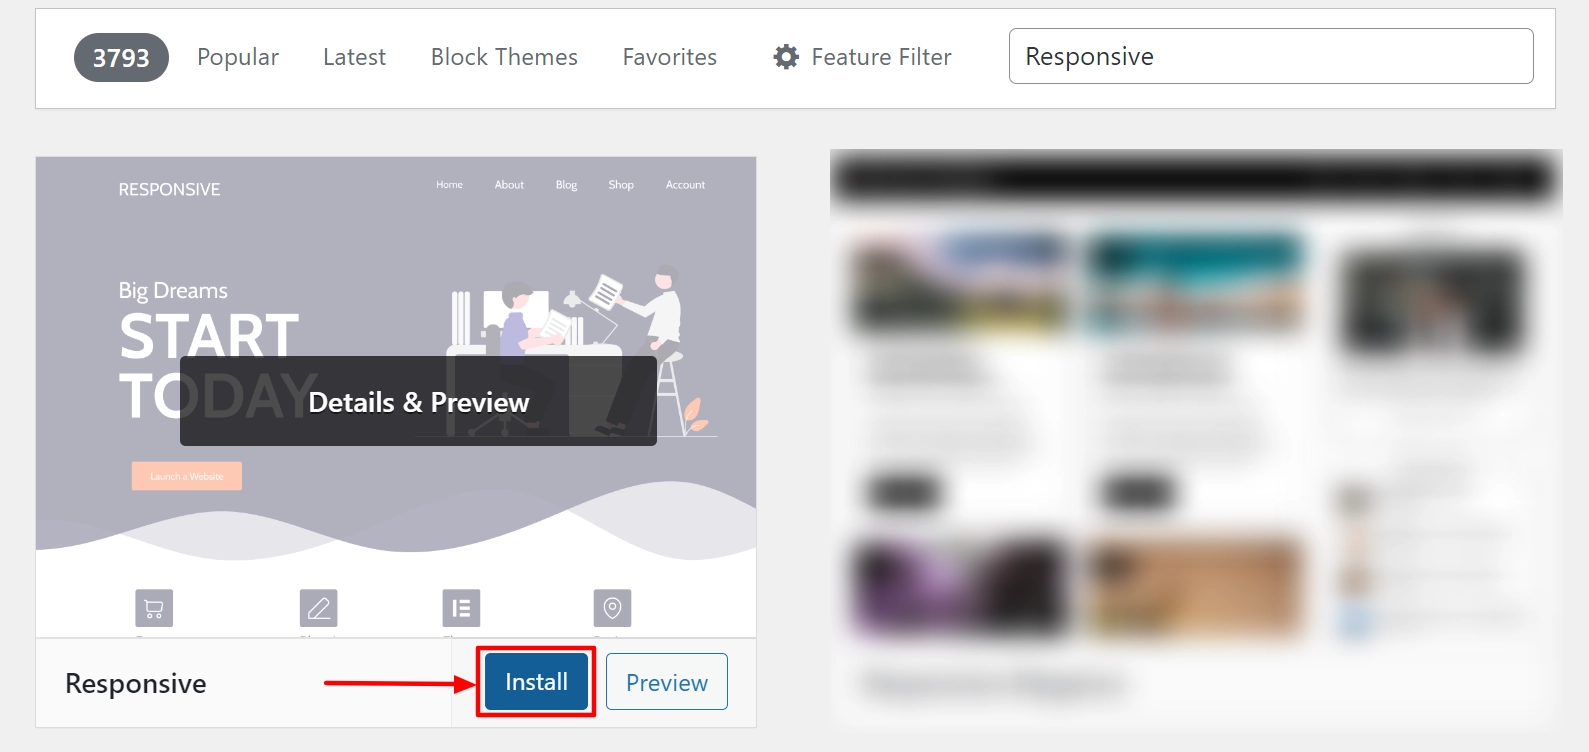
4. Click on the Install button.
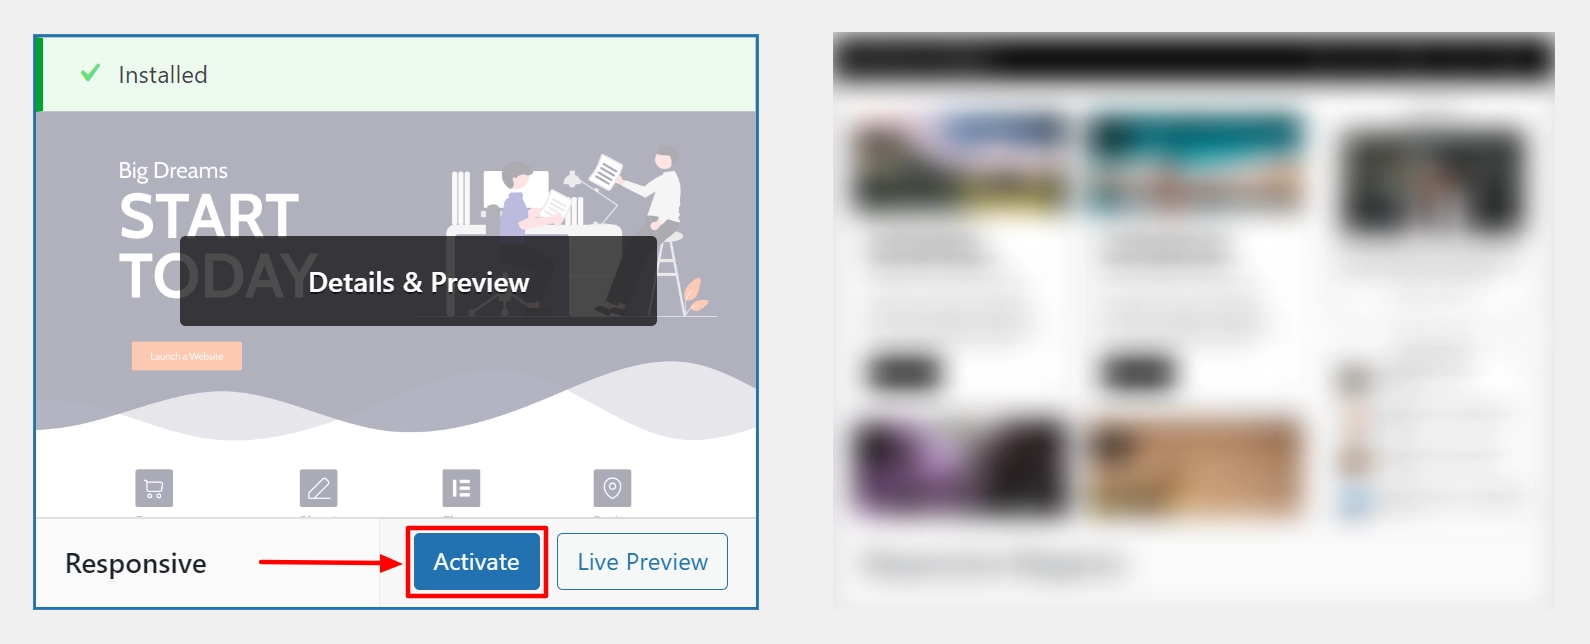
5. Click on Activate to activate the theme.
Likewise, you can install and activate the Responsive Blocks Plugin to access 50+ Gutenberg widgets.
Method 2: By Manually Uploading Zip File
If you didn’t select Network access during the setup process, WordPress Playground won’t be able to connect to the Plugin or theme directory.
In this case, you can still install and activate WordPress themes and plugins manually.
To do this, go to the plugin or theme page on WordPress.org and click the Download button to save the Plugin or theme’s zip file to your computer.
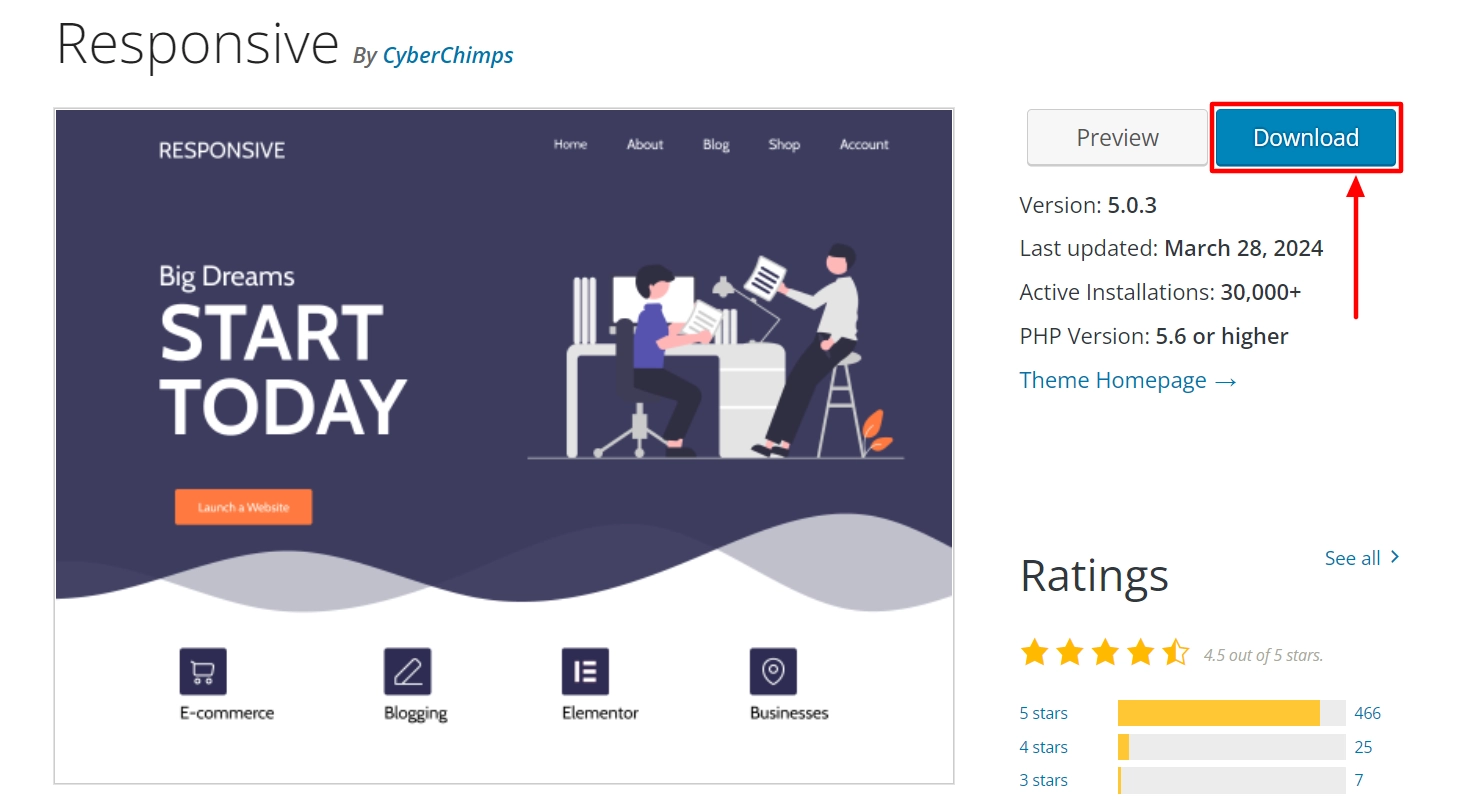
After that, follow the step-by-step guide to install the plugin or theme.
1. Go to the WordPress Playground dashboard and navigate to Appearance > Themes > Add New Theme. Click on the Upload Plugin button.
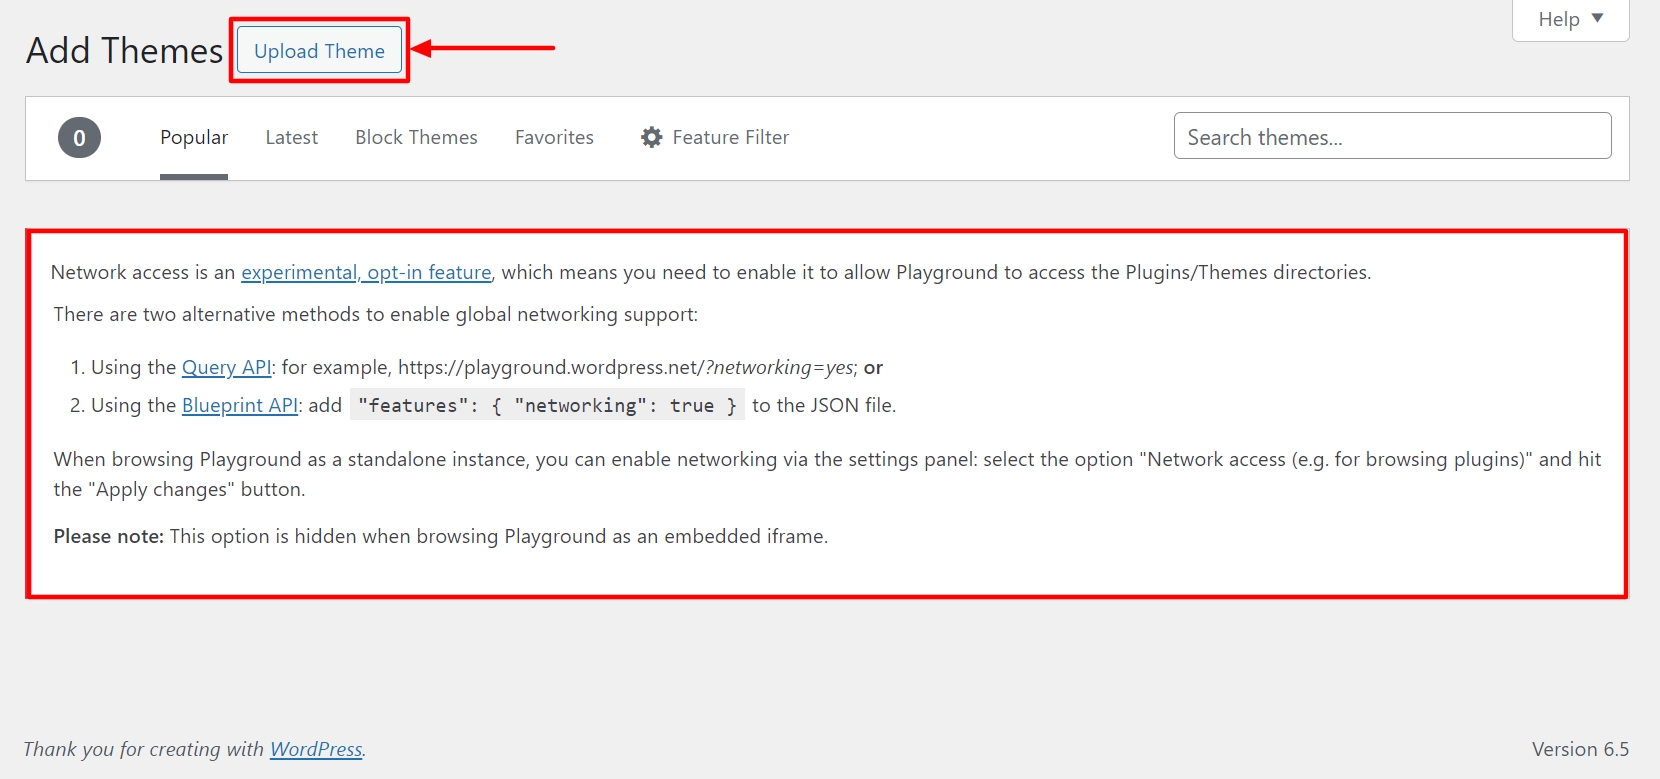
Here, the error message indicates that you need to enable network access to access the plugin and theme directories.
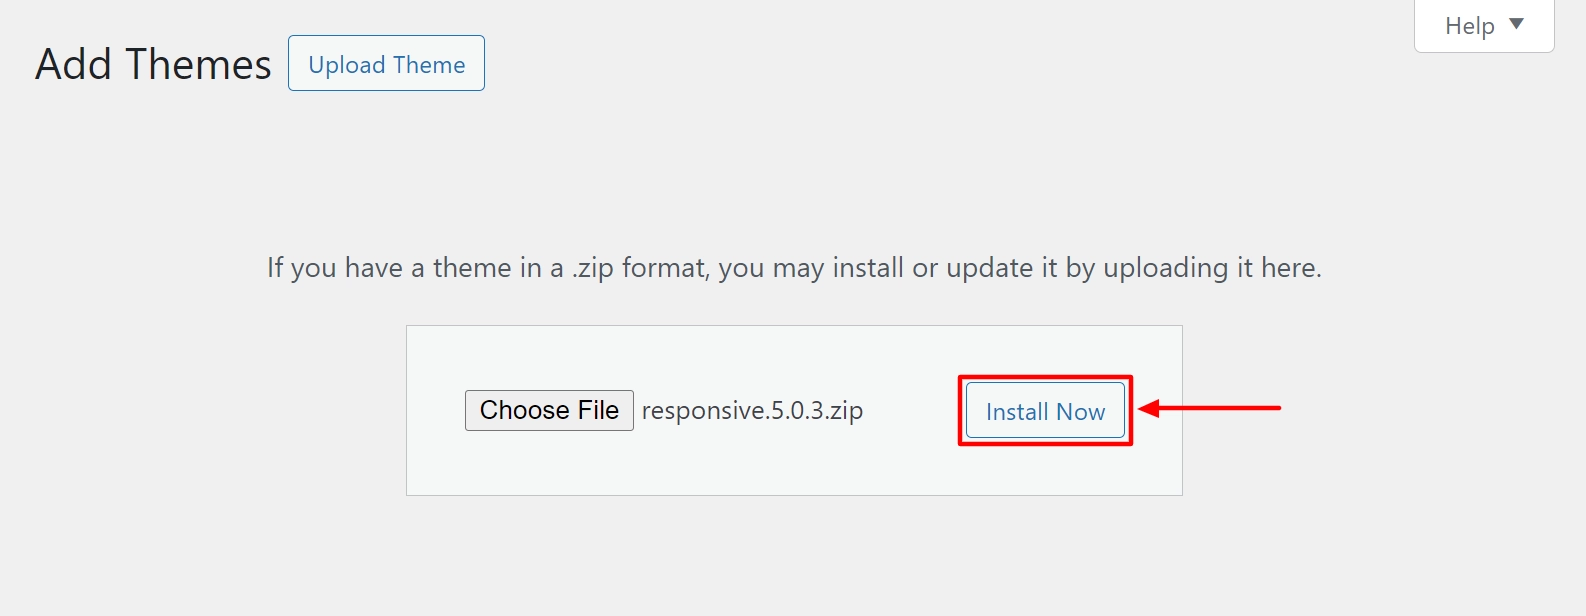
2. Now, select the plugin zip file you previously downloaded and click Install Now.
4. Click on the Activate button to activate the plugin.
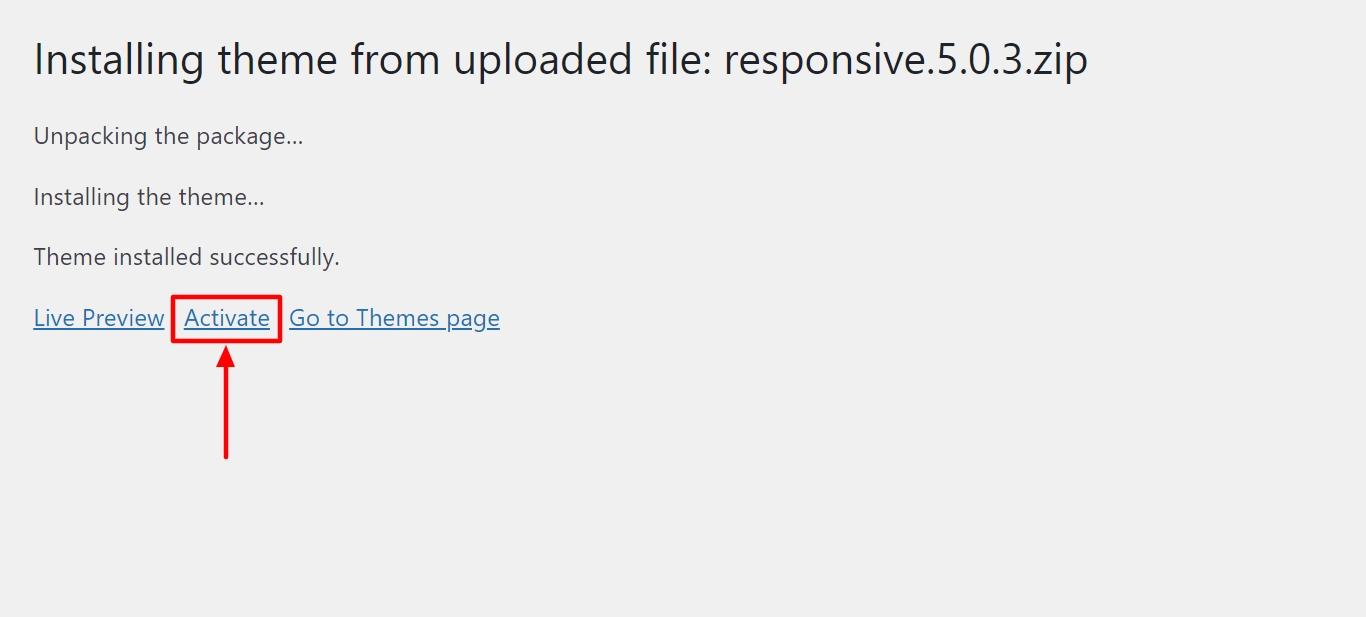
And it’s done!
Similarly, you can upload and install any plugin and start using it on the WordPress playground.
Limitations of WordPress Playground
WordPress Playground is a new project that offers a temporary instance. However, this service has several limitations.
- Temporary instance: Customizations made on WordPress Playground are temporary, and if you don’t save them in the browser, you risk losing your progress if you accidentally refresh the page. Even the Web Archive’s Wayback Machine won’t capture it.
- No direct access to theme and plugin directory: You must install themes and plugins by manually downloading and uploading them. However, a network access beta feature aims to solve this problem.
- iFrame issues: If you embed a WordPress Playground instance on your web page, you may experience iFrame issues, from accidental refreshes to iFrame not working.
- WordPress Playground is a relatively new project: You can expect some hiccups here and there as you explore the environment.
The development team is continuously working to release new features and bug fixes to enhance the user experience.
FAQ
Yes, you can use WordPress in your browser. WordPress Playground is a browser-based platform that tests WordPress.org without a hosting plan. You can also safely test plugins and themes.
Yes, you can install custom theme and plugins WordPress Playground. It’s a free local development environment for WordPress that lets you design and develop websites without affecting your live site. You can test and experiment with features and functionalities and install custom themes and plugins just like on a live WordPress site.
Yes, WordPress Playground is free to use. It’s a free staging site provided by WordPress.com that allows you to test and develop your website before launching it live.
Conclusion
WordPress Playground enables users to experiment with building a website and modify its components from any device.
It uses WebAssembly, SQLite, and Worker Threads API to run WordPress functionalities on a web browser.
Although it has some limitations, it is a great resource for exploring PHP and WordPress development in a safe environment.
Additionally, it allows users to run a complete version of WordPress in their browser without the need for a server, database, PHP, or lots of other dependencies.
If you enjoyed this tutorial, make sure to check out the following articles as well:
- How To Build Free Landing Pages In WordPress [Without Coding]
- How To Change Font Size In WordPress
- How To Find Your WordPress Login URL – Beginners Guide
Don’t have a WordPress website? Grab the Responsive theme now!