The Responsive Starter Templates plugin, aka Responsive Addons plugin, allows you to import individual page templates like you would import an entire website.
This library offers a variety of templates for home, about, services, blogs, contacts, testimonials, and many other page types.
Each template has a unique color scheme, design, and layout. You can combine and match pages from different templates to create a website design that is truly your own.
In this document, we will guide you through the process of importing and combining single pages successfully using two different methods.
Method 1: How to Import Single-Page Template on Your Website #
To import a single-page template, you need to first install and activate the Responsive Addons plugin.
Once done, follow these simple steps:
1. Install and activate the Responsive Addons plugin.
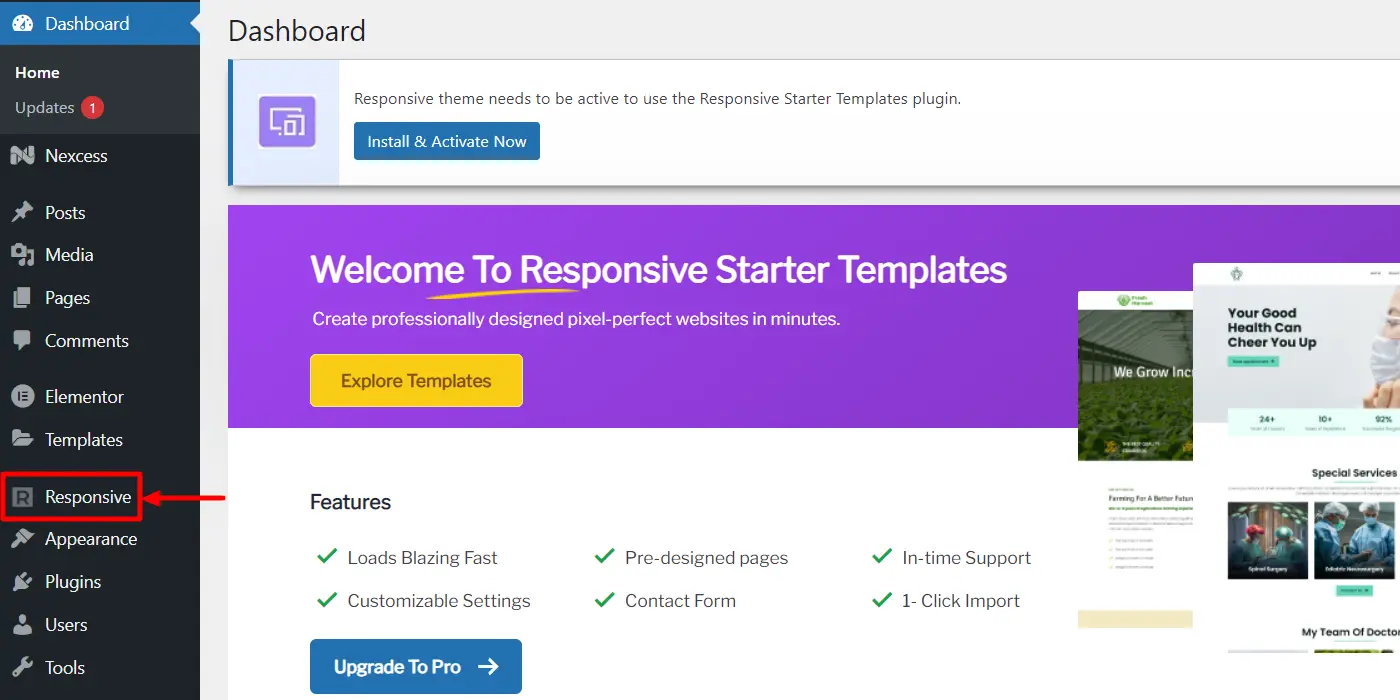
2. From your WordPress admin dashboard, navigate to the Responsive tab.
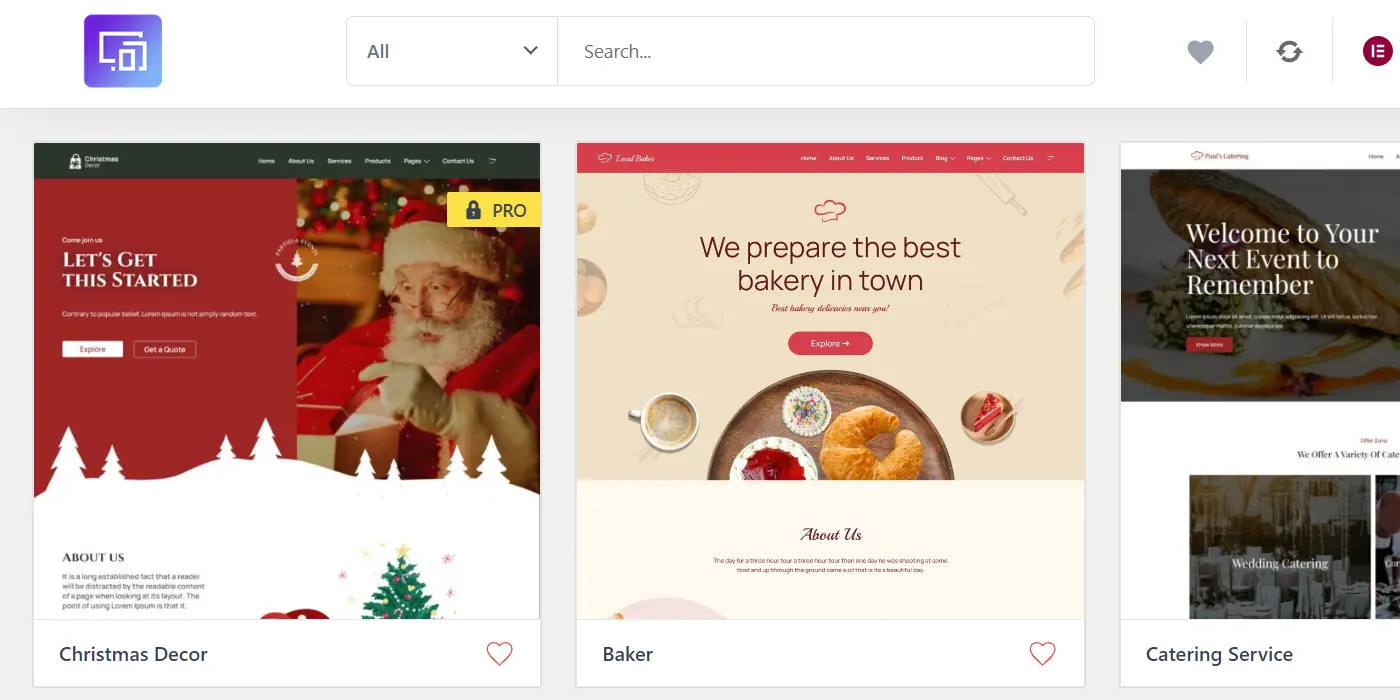
3. Select the template you want to import.
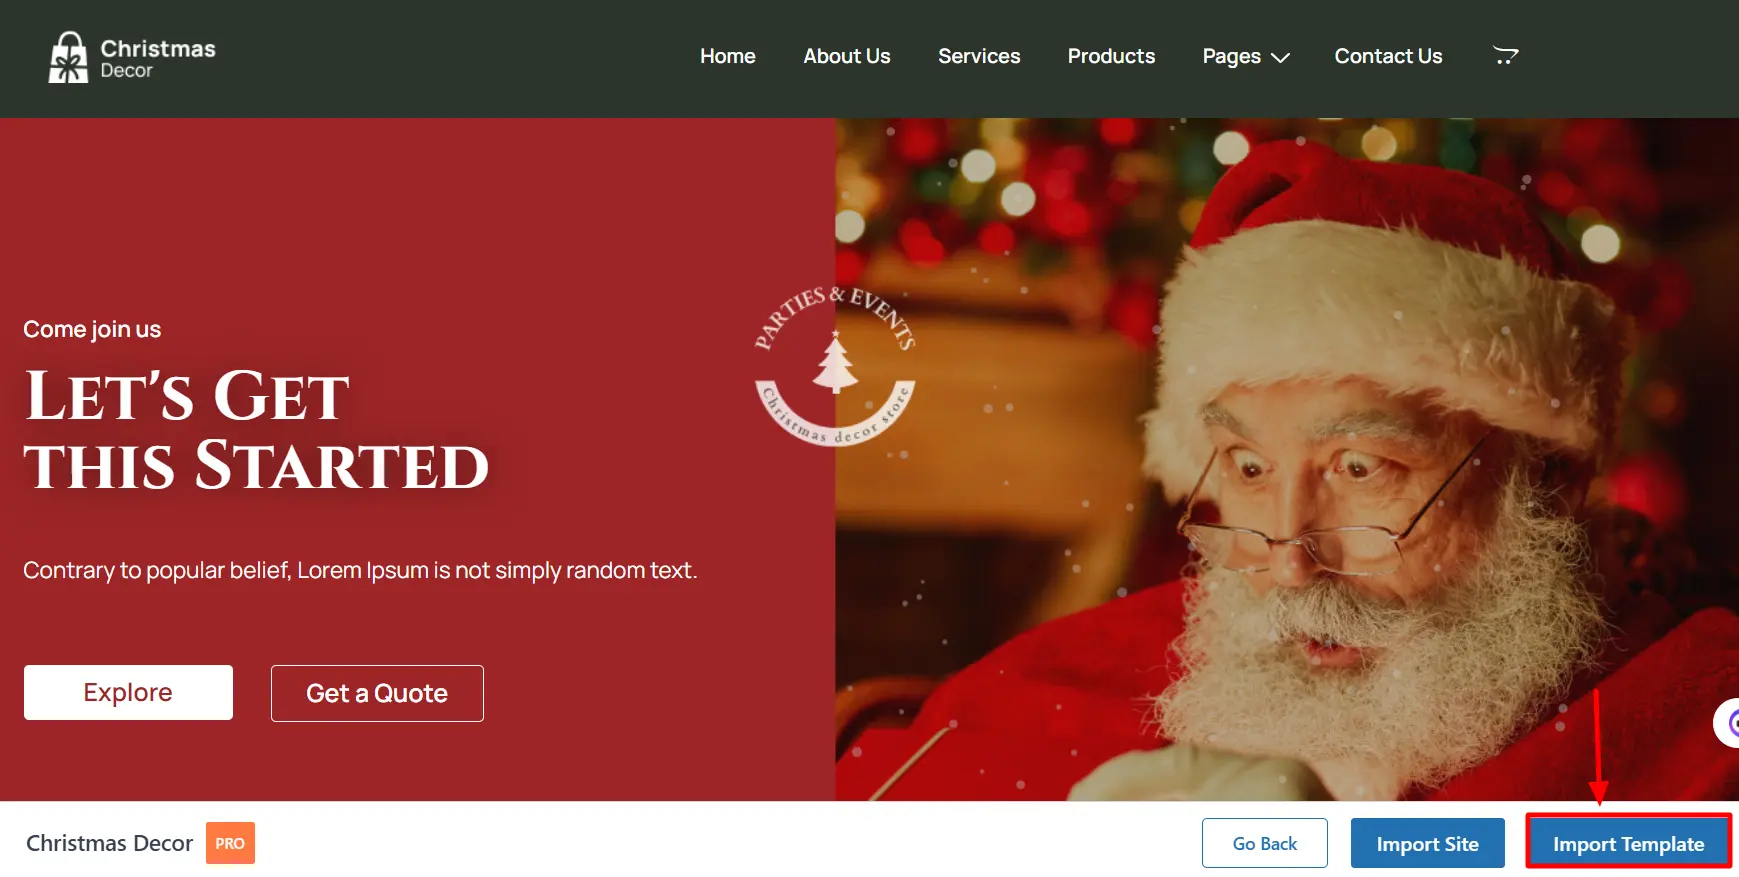
4. Click on the Import Template button.
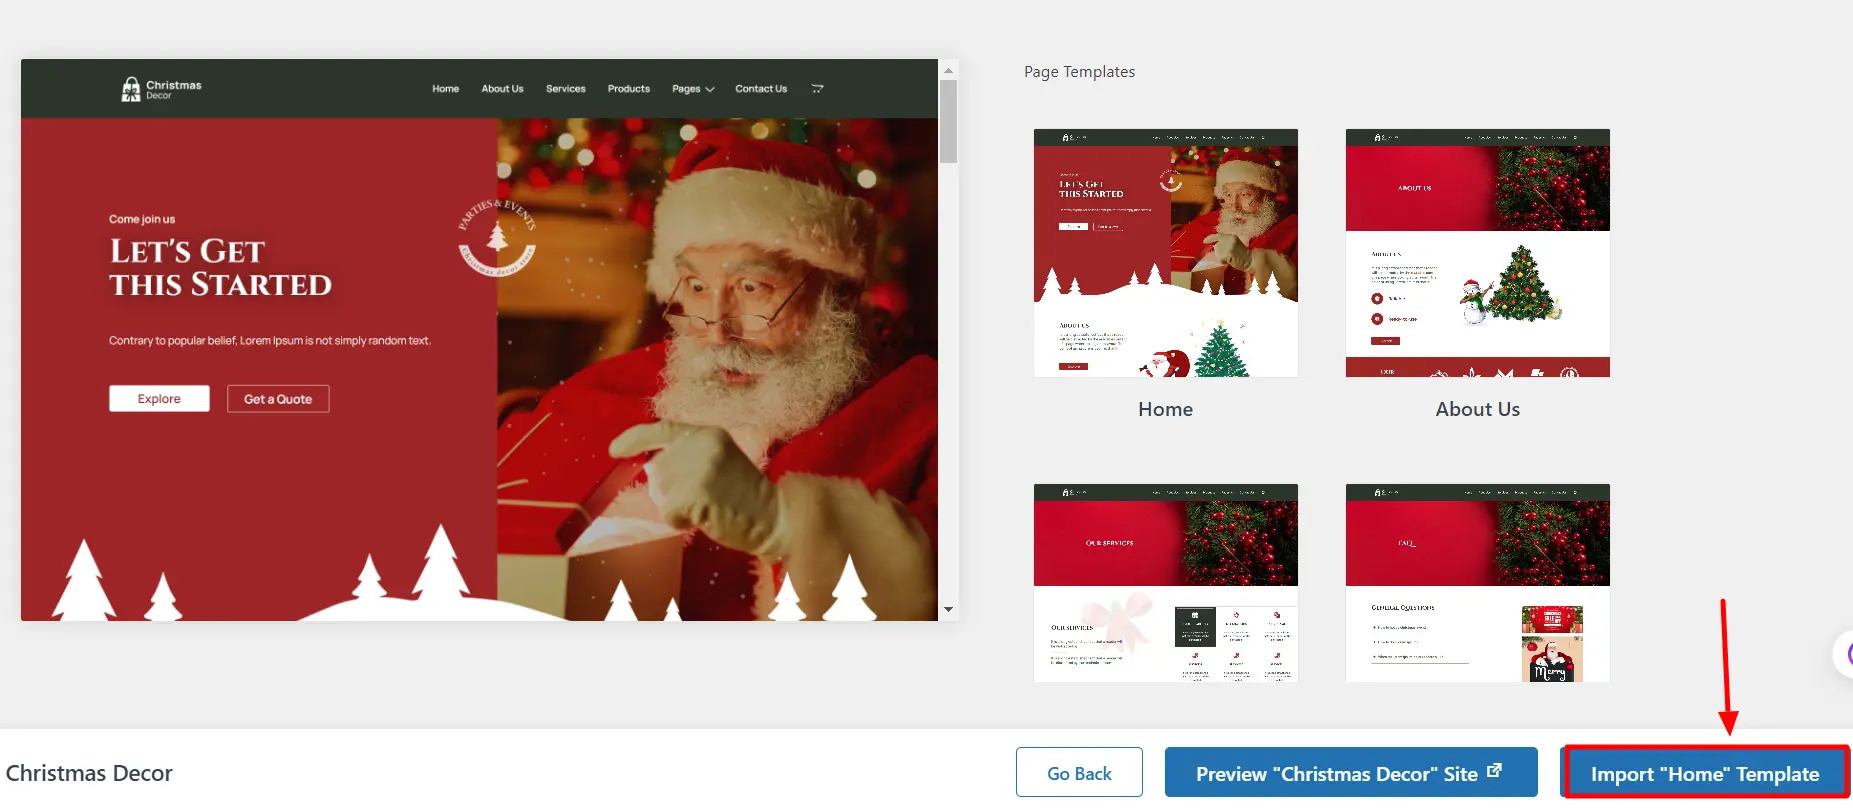
4. Select the specific page template that you want to import and click on the Import “Page” Template button.
[Note: If you try to import a template without connecting your account, a pop-up will appear asking you to create a free account.]

To learn about how to create an account, refer to How to create your account on the Cyberchimps website.
Method 2: How to Import Single-Page Templates Inside Elementor Editor #
Another method to import single-page templates follows a similar first step, which involves installing and activating the Responsive addons plugin.
After activating the required plugin, you can import the templates on your website using the following steps:
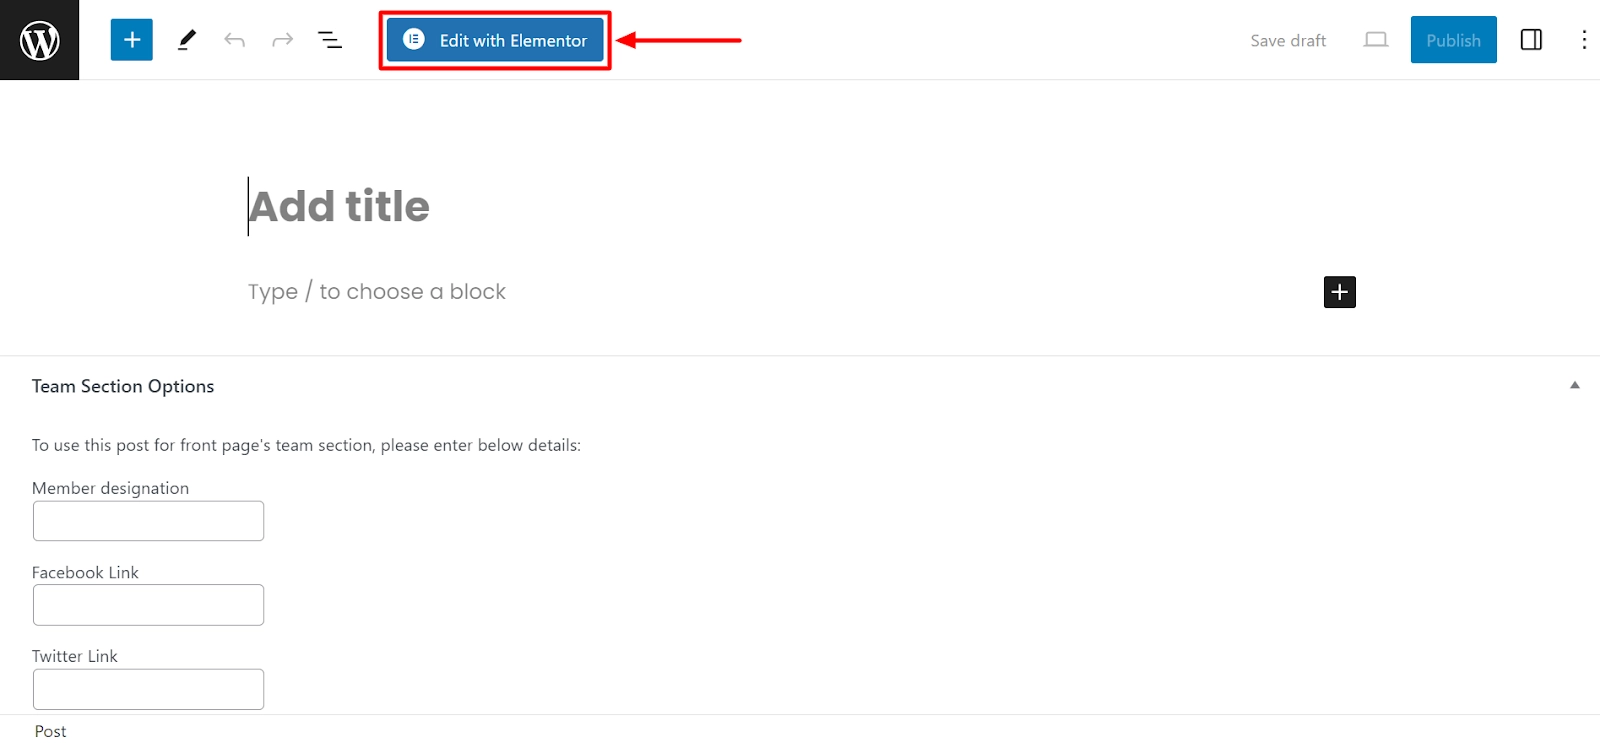
Step 1: Navigate to your post or page and click on the Edit with Elementor button.
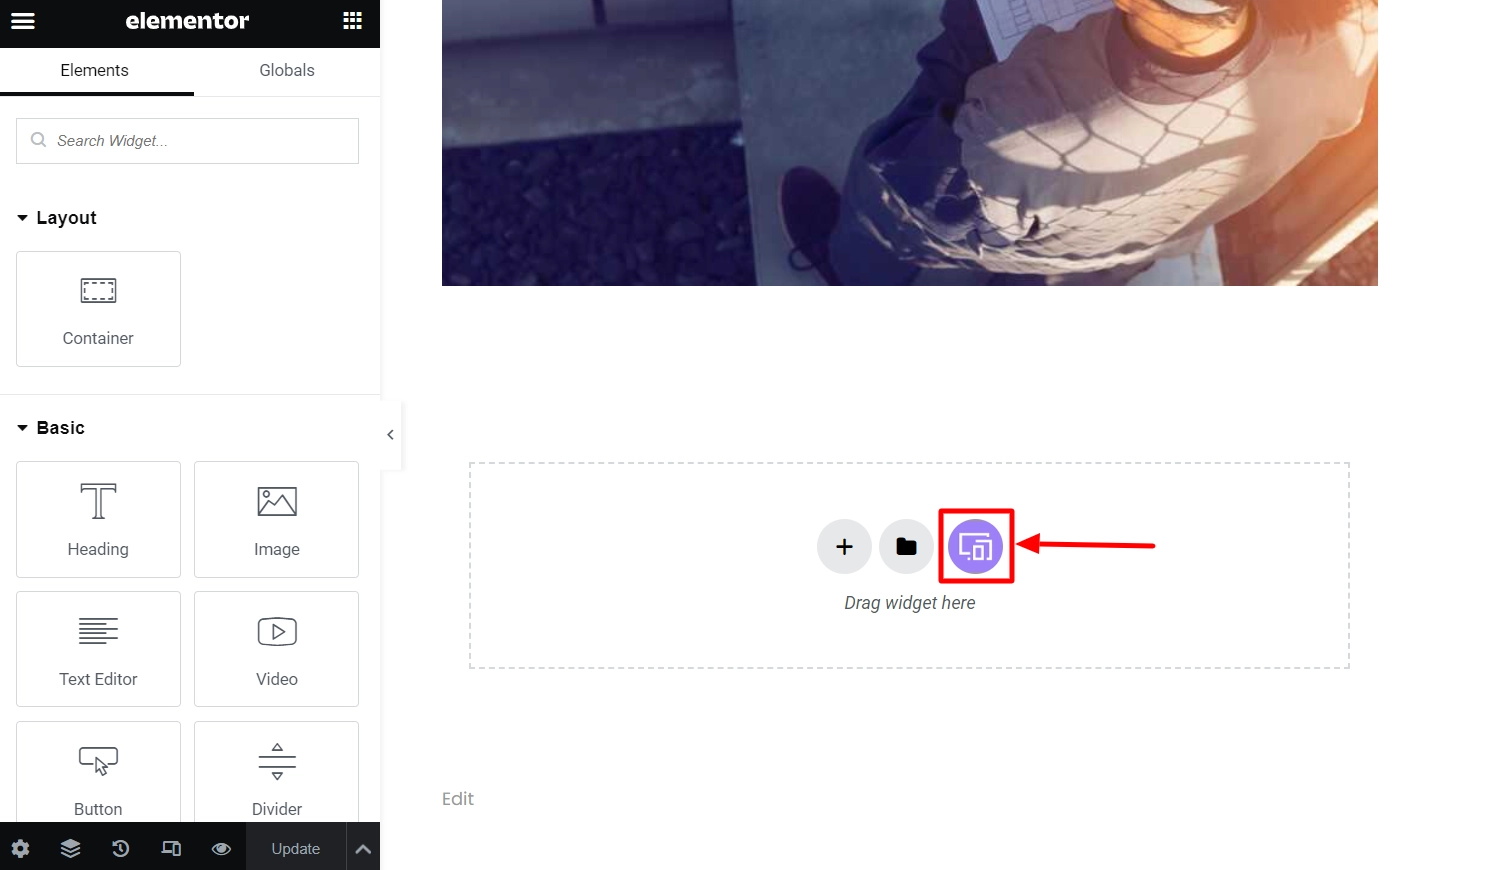
Step 2: Next, click on the Responsive Starter Templates icon.
Step 3: Next, a window will appear showcasing the library of templates. Browse through the library to find the template you need.
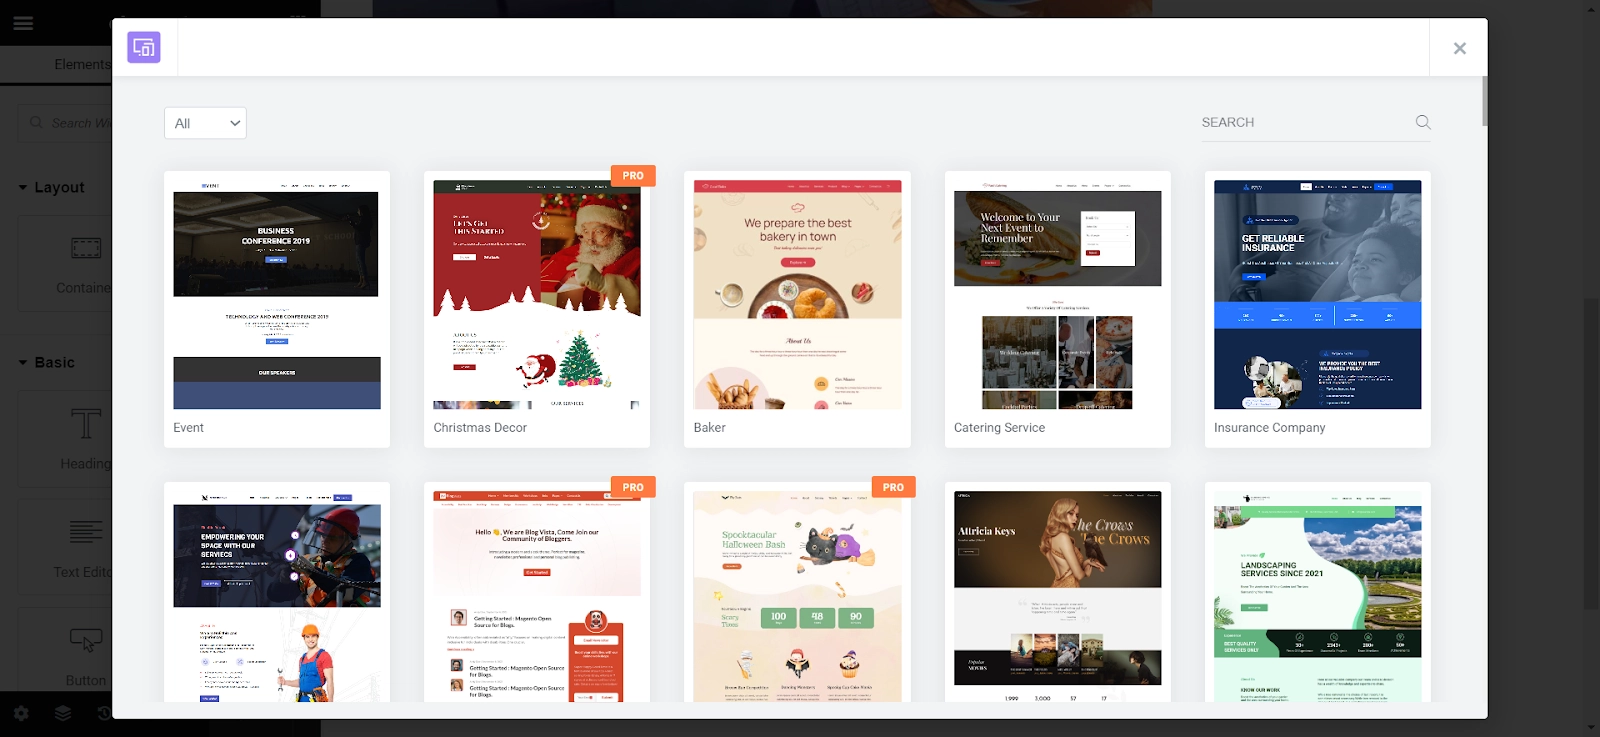
Step 4: Click on the template you wish to import to view single-page templates.

Step 4: Browse through the available page templates, select one, and click “Import Template.”

Step 5: If you don’t have the required plugins installed, they will be installed and activated automatically when you import a page that contains dynamic content.
Step 6: After completing the import process, the imported single page will be automatically viewed as “Draft.” You can edit further and publish the post or page from Dashboard > Posts/Pages.
What is the Get Pro Button? #
If you have come across the Get Pro button while hovering over the premium template pages,
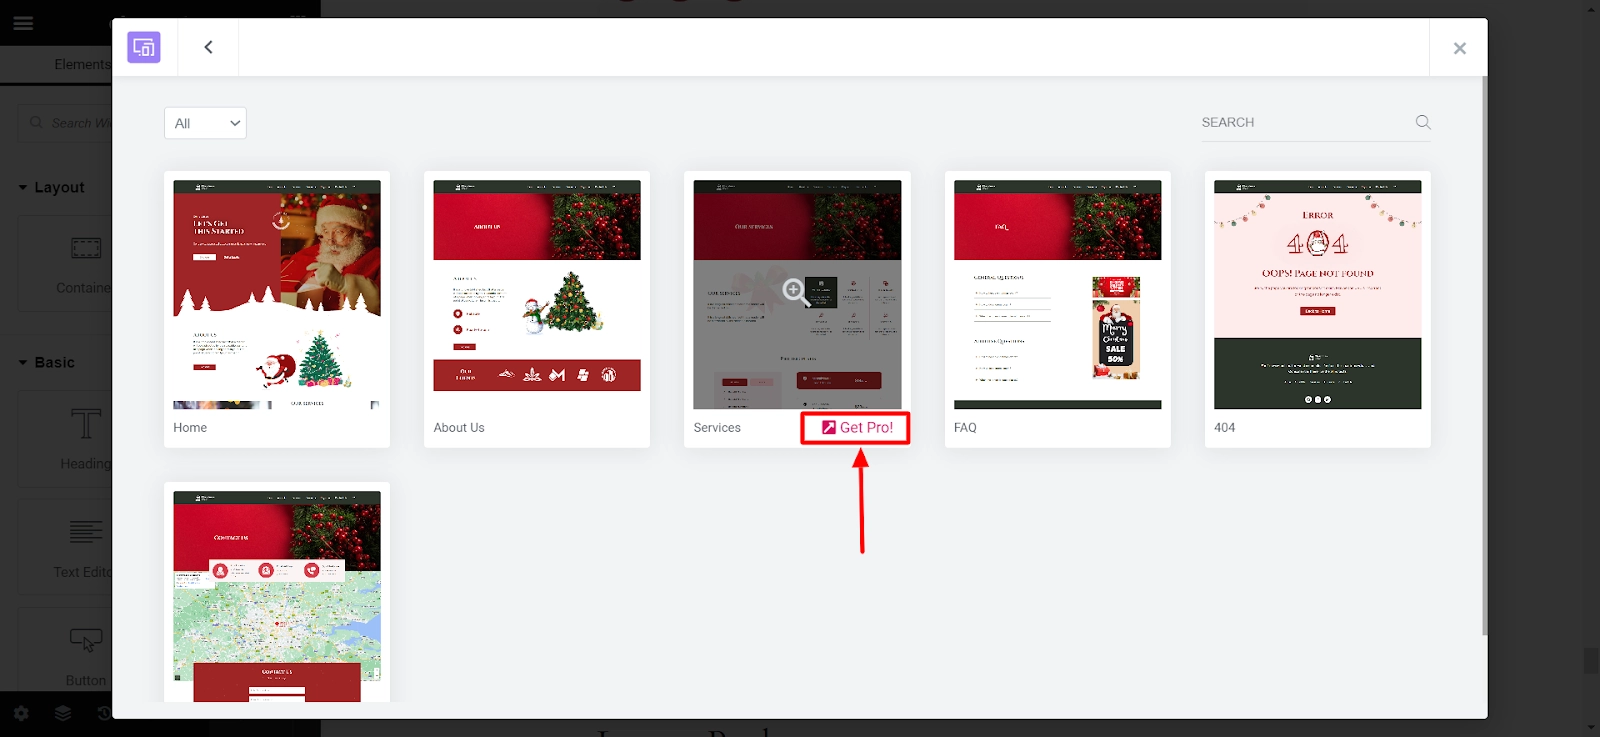
Or when you click on the template page, the Upgrade to Pro button appears instead of Import Template. Then, there are a few things to remember:
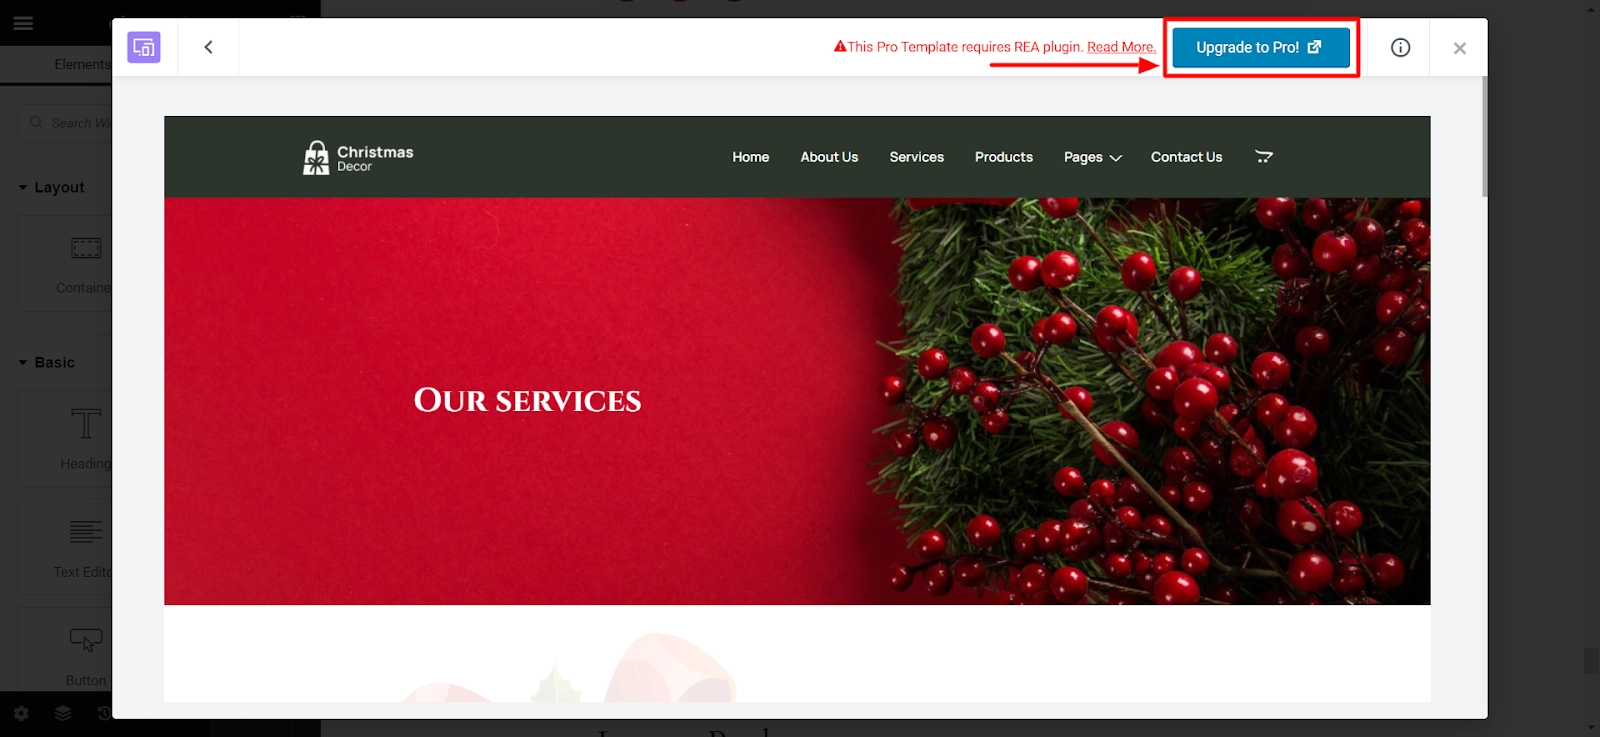
Firstly, you need to install and activate the Responsive Pro plugin to use these templates.
If you have already installed and activated the plugin, there is one more step you need to complete.
You need to activate the plugin license to import premium templates. The Get Pro button will reappear on your Premium templates if you haven’t done this.
To install and activate Responsive Pro, read this document: How To Activate Responsive pro Plugin.


Leave a Reply