
Summary
To create a data table in WordPress with Elementor select the page where you want to add the data table. Then click Edit with Elementor > select RAE Data Table widget, make changes and Publish.
The article guides you to insert a table widget, add rows and columns, and fill in data. It also covers basic styling options like borders, alignment, and text formatting to match your design.
Are you looking to add a data table to your Elementor WordPress website?
Organizing your content visually is crucial for engaging your audience on your WordPress website. It not only makes navigation easier but also helps subtly present data.
A data table is a visual representation of structured data arranged in rows and columns that allows users to view, analyze, and interact with information easily.
This article will help you easily create a data table in WordPress.
Read till the end to find out how easy it is to make one!
- What Is Elementor Table?
- Tools Required to Create a Data Table in WordPress
- Creating a Data Table in WordPress Using Elementor
- FAQ
- Conclusion
Responsive Addons for Elementor is the Best Elementor Addons plugin – Get it for free!
What Is Elementor Table?

An Elementor table allows you to display information in an organized way by creating rows and columns of information with widgets.
Table structure helps organize information more clearly so users can read, compare, and understand the information on your website. Elementor and plugins including Responsive Addons for Elementor provide several methods for creating different type of tables including pricing tables, comparison tables, etc.
The level of customization offered by these tables is very high. Text, icon, image and link can be added while adjusting style (color, alignment, spacing) to reflect the style of your website.
Tools Required to Create a Data Table in WordPress
Before we understand how to create a data table in WordPress, it is important to know the tools required to create one.
You have limited options When creating interactive and functional data tables on your WordPress website.
While Elementor, the popular page builder plugin, offers a built-in Data Table widget, it offers limited features and customization options.
Hence, it is recommended to use a powerful plugin like Responsive Addons for Elementor for more advanced features and customization.
Responsive Addons for Elementor is a comprehensive solution that extends the capabilities of the Elementor page builder. It is a WordPress plugin that provides 50+ Free Elementor widgets to help you build a user-friendly and interactive website.
📢 My Real-World Test Results:
- Number of widgets: 80+
- GTmetrix Performance Score: 100%
- Includes Cross-site Copy-paste feature
- 5+ Extensions like Scroll animations, Sticky Section, Page Duplicator, & more.
- Save design time with 100+ Premium-grade Starter templates
The Responsive Addons for Elementor and various other widgets also offer a free data table widget. This widget displays data in a tabular format within a website and allows you to create tables with various data types, including text, images, and links.
With this free widget, you can design data tables that seamlessly blend with your website’s branding and aesthetic, offering a wide range of customization options.
Moreover, the widget allows you to integrate your data tables with external data sources, such as CSV files, keeping your content up-to-date. Additionally, you can use various powerful formatting options, including text alignment, font styles, and background colors, to enhance your data’s visual appeal and clarity.
Creating a Data Table in WordPress Using Elementor
Now that you know the tools needed to create a Data table, let’s understand the process of creating one.
To create a data table in WordPress, follow these simple steps:
[Note: To use the Elementor flip box widget, you must have a website template built with Elementor page builder].
Cyberchimps offers 100+ Elementor templates that you might consider using to build your website instantly.
Step 1: Install and Activate Responsive Addons for Elementor
Navigate through your WordPress Admin dashboard and go to Plugins > Add New Plugin.
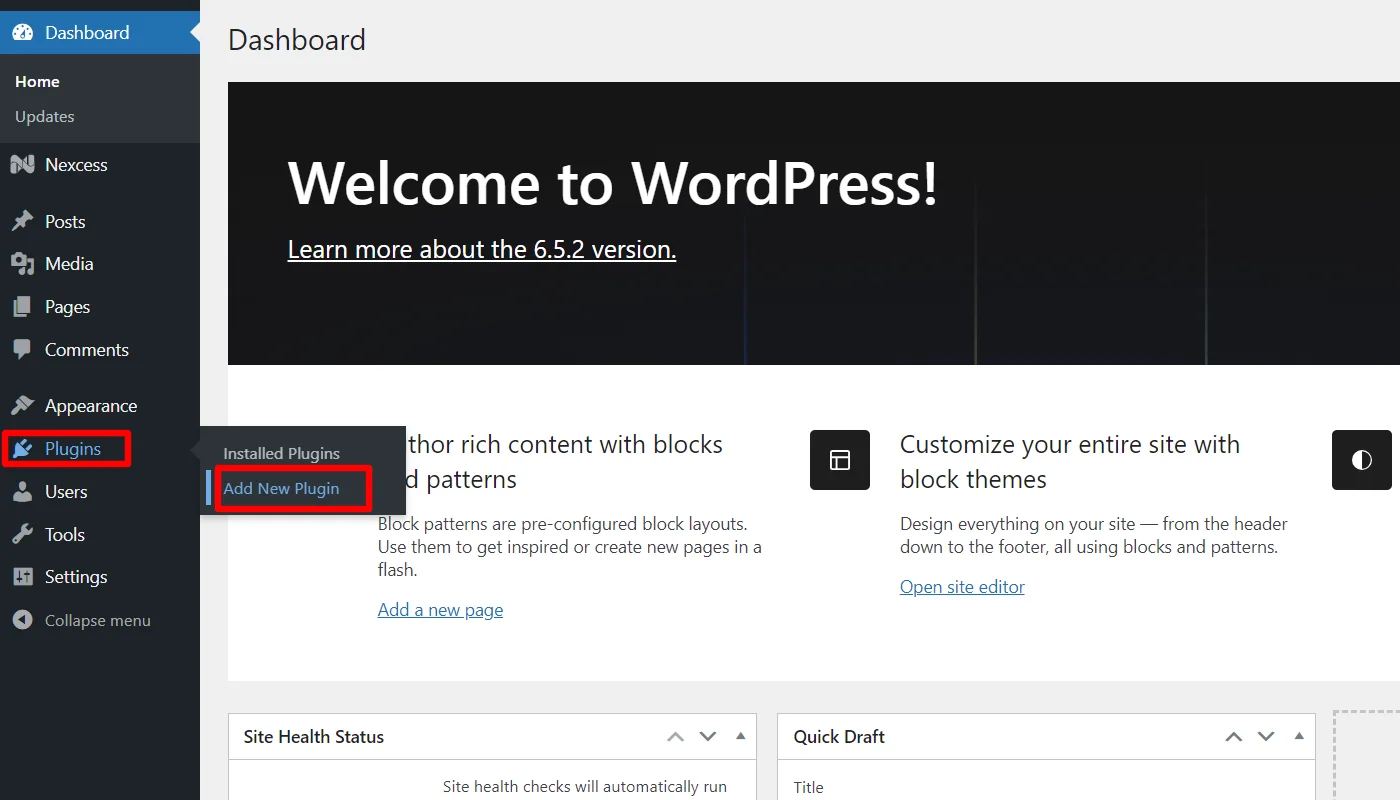
Go to the search bar above and search for Responsive Addons For Elementor.
Next, click on Install Now to download the Responsive Addons for Elementor plugin.
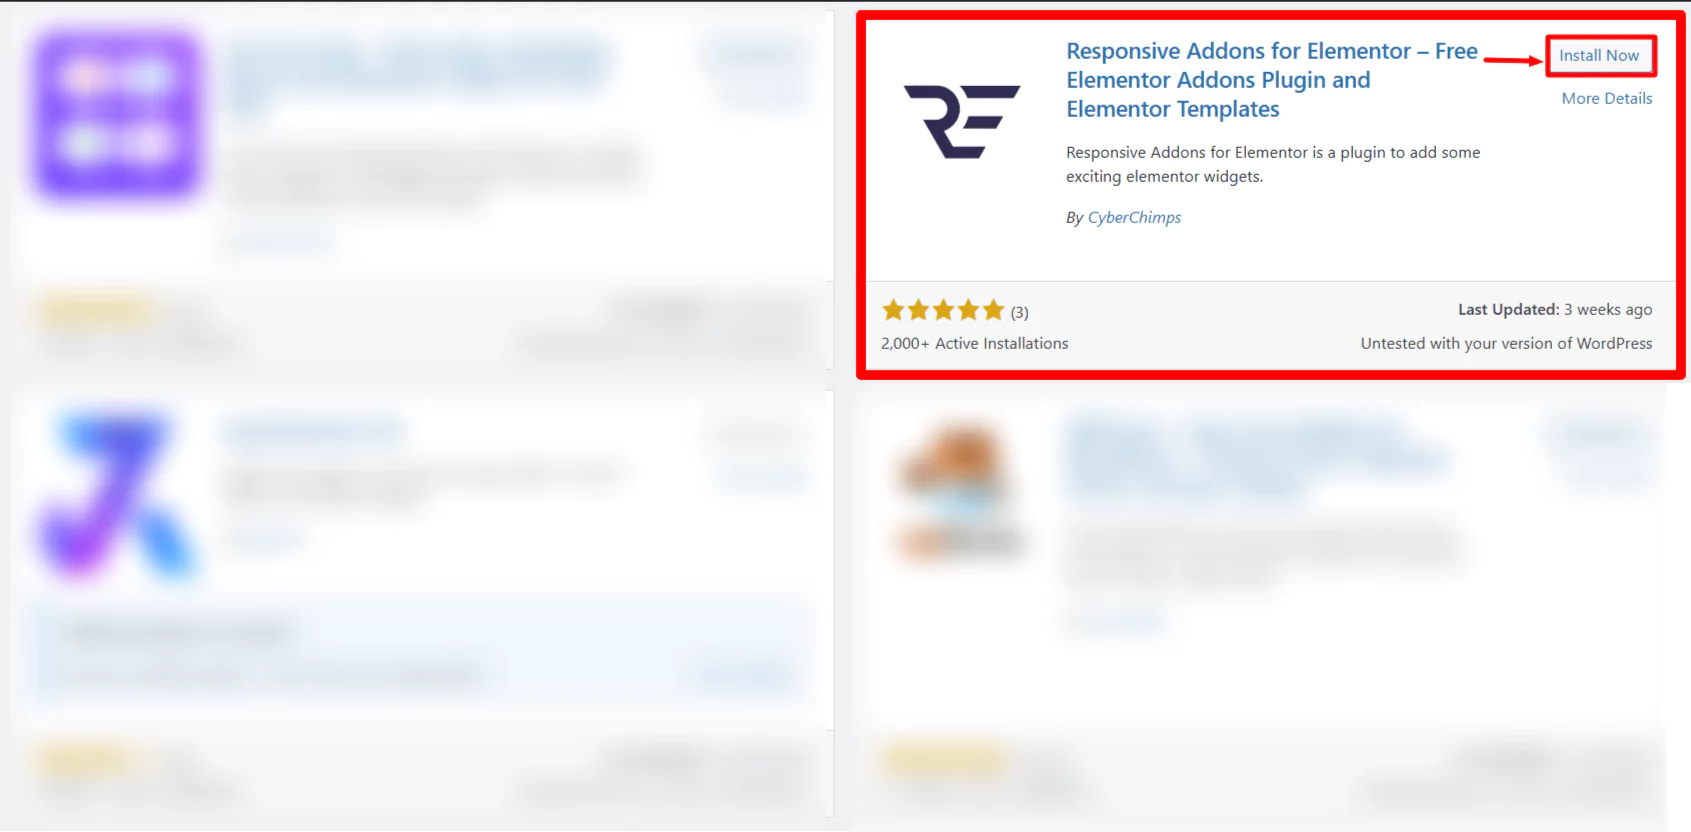
Click on Activate to activate the plugin.

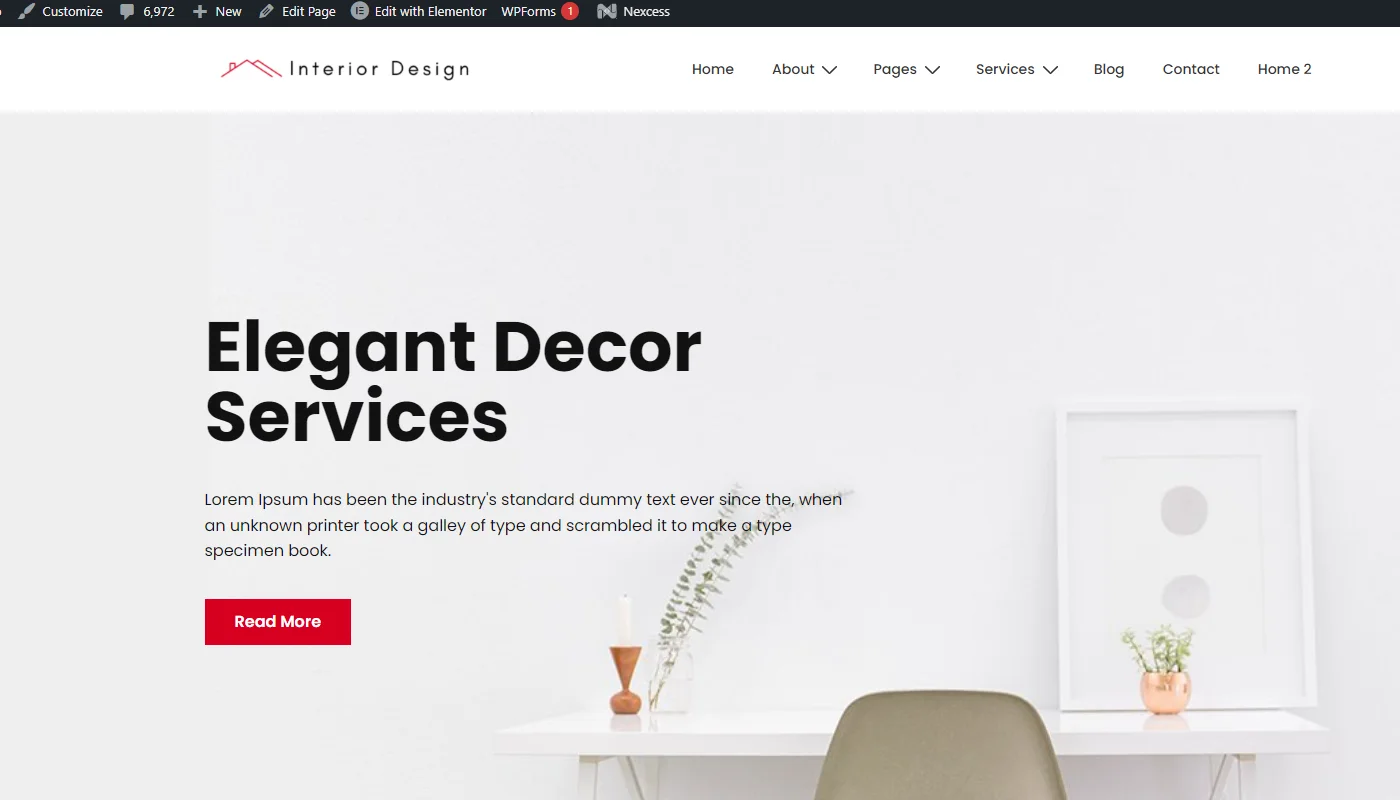
Once you activate the plugin, open the page where you want to add the data table. For tutorial purposes we’ll be using Interior design WordPress Website Template.
Step 2: Add The Data Table Widget
Click on Edit With Elementor on the page you want to edit.

Next, on the left sidebar in the search widget tab, search for the RAE Data Table.
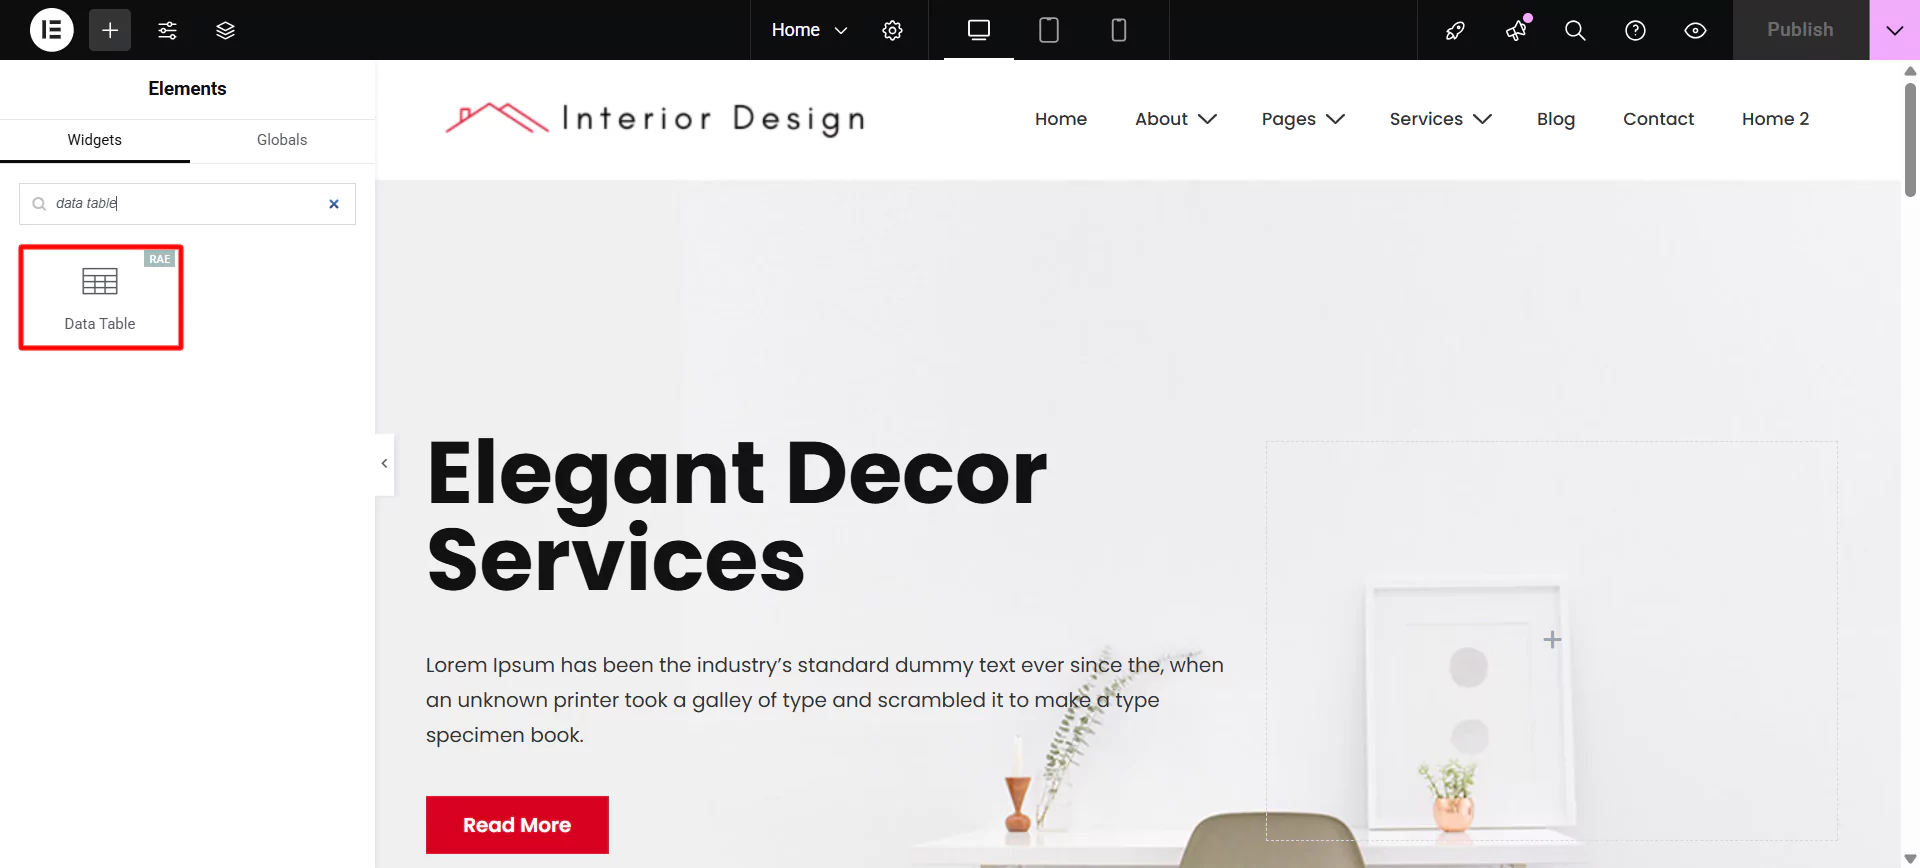
Drag and drop the RAE Data Table Widget in the section where you want to add the flip box.

With this, you have successfully added the free data table widget; now, let’s customize it.
Step 3: Customizing the Data Table Widget
The data table widget allows you to customize various features:
Editing The Header
Click the Header tab to edit the heading of the data table.

Next, click on the specific Table Header you want to edit.

You can sort the data table by enabling the Table Sorting Button.
Further, each header item has the following controls for configuration, which you can edit:
- Column Name – You can add a header item name to the table’s column.
- Column Span – You can add the number of columns the header item should span.
- Enable Header Icon – You can show or hide icons to be displayed with the header items.
- Header Icon Type – Choose the icon type. Available options are None, Icon, and Image.
- Icon – You can add an icon for the header item. This control is only available if the Header Icon Type is set to Icon.
- Image – Add the image for the header item. This control is only available if the Header Icon Type is set to Image.
- Image Size(px) – You can also set the image size for the header item’s image. This control is only available if the Header Icon Type is set to Image.
- CSS Class – This option allows you to add a CSS class if required.
- CSS ID – This allows you to add a CSS ID if required.
Similar to customizing this heading, you can customize all the headings.

Editing The Content
Click the Content tab to add the content under each heading.
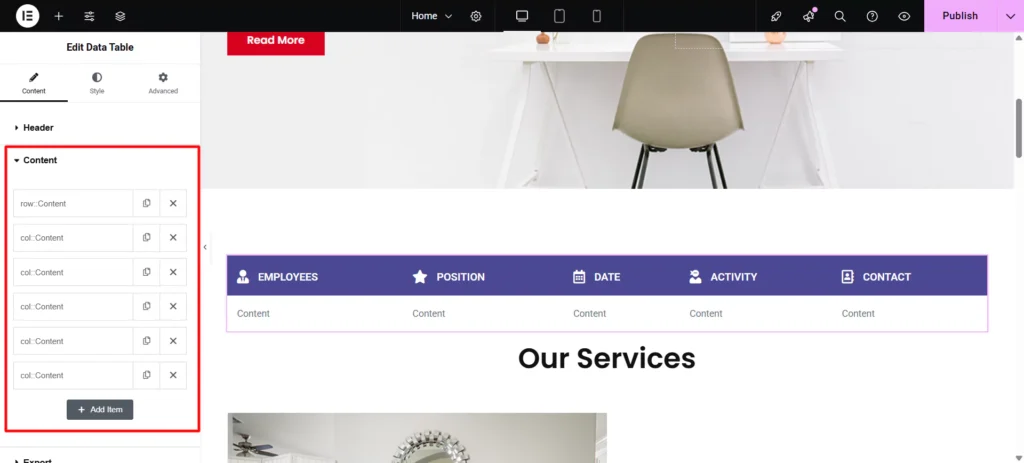
First, you need to add more rows to your data table. Click on Content, then select Row Type as Row.
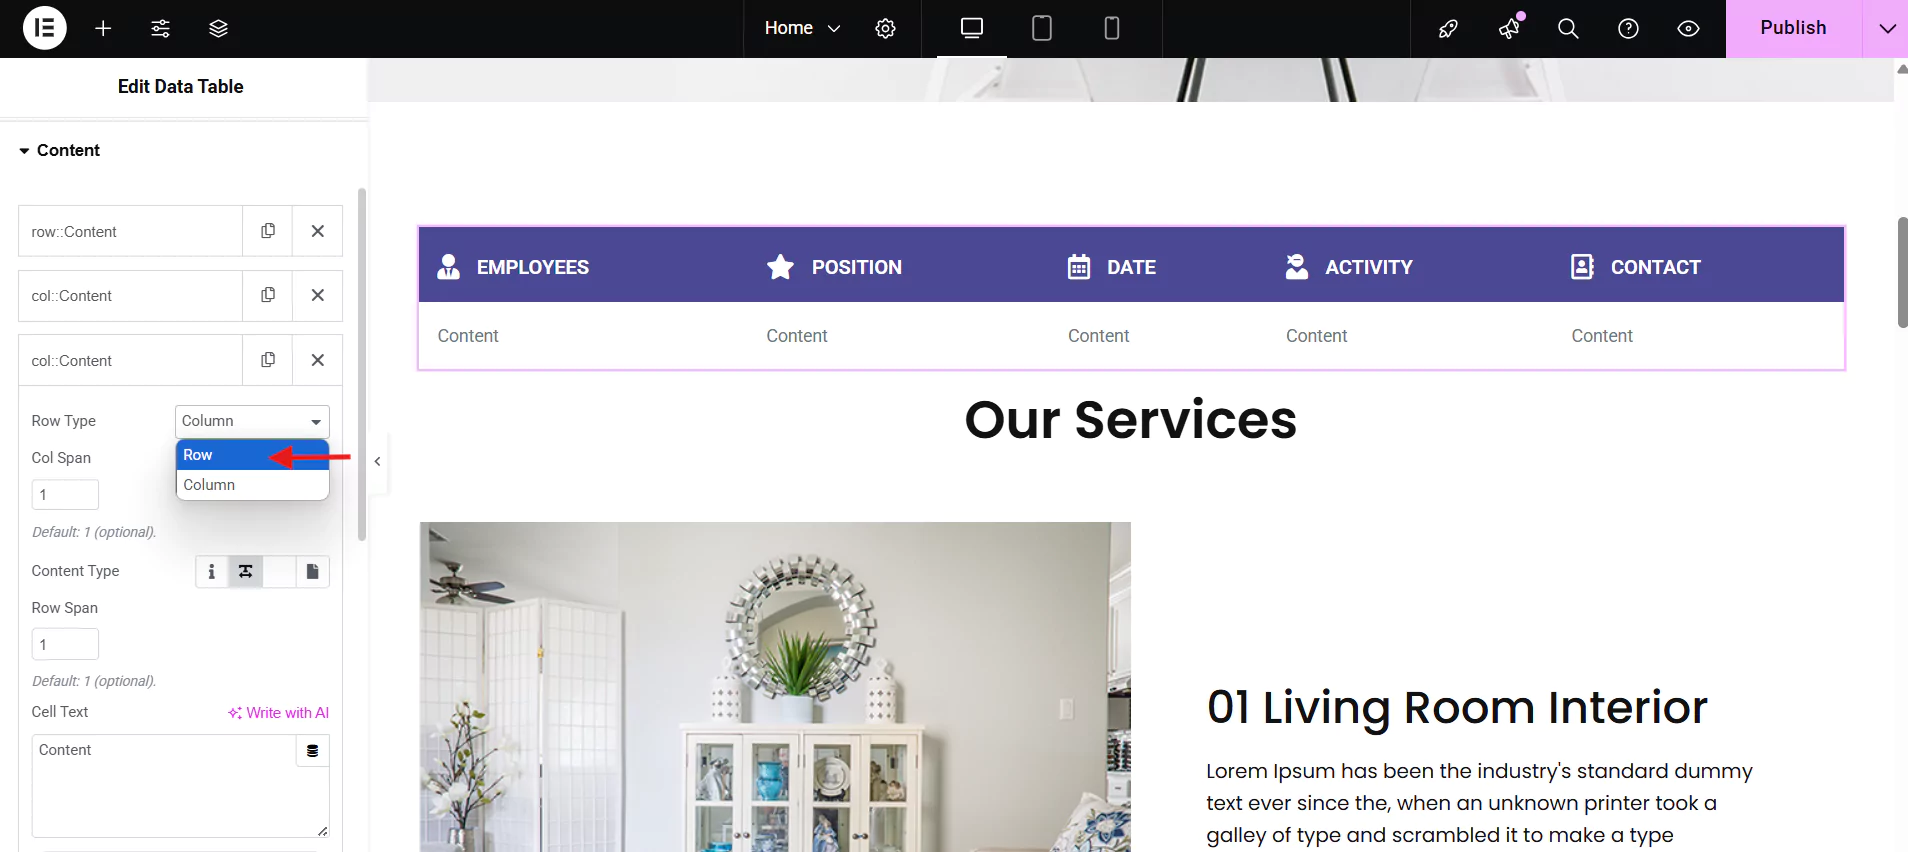
Alternatively, make it a row and a column

Now, you need to add a column to your data table. Simply duplicate the column under the row.

If Column is selected, then the following controls for the column content will be available:
- Col Span – You can use this to set the column span for that particular item. Default: 1.
- Content Type – Choose the content type for the column. Available options: Icon, Text area, Editor, and Templates. Default: Text area.
- Row Span – Set the row span for that particular item. Default: 1.
- Cell Text – Add the text content for the column content item. This control is a Text area if the Content-Type is set to Text area or a text editor if the Content-Type is set to Editor.
- Icon – Add the icon for the column content item. This control is available only if the Content-Type is set to Icon.
- Choose Template – Select a template from which the column content data should be fetched.
- Link – Add a link for the column content item.
- CSS Class – This allows you to add a CSS class if required.
- CSS ID – This enables you to add a CSS ID if required.

Similarly, you can edit each row or column content in the data table.
Exporting Data Table
To export the Data Table, click on the Export tab.
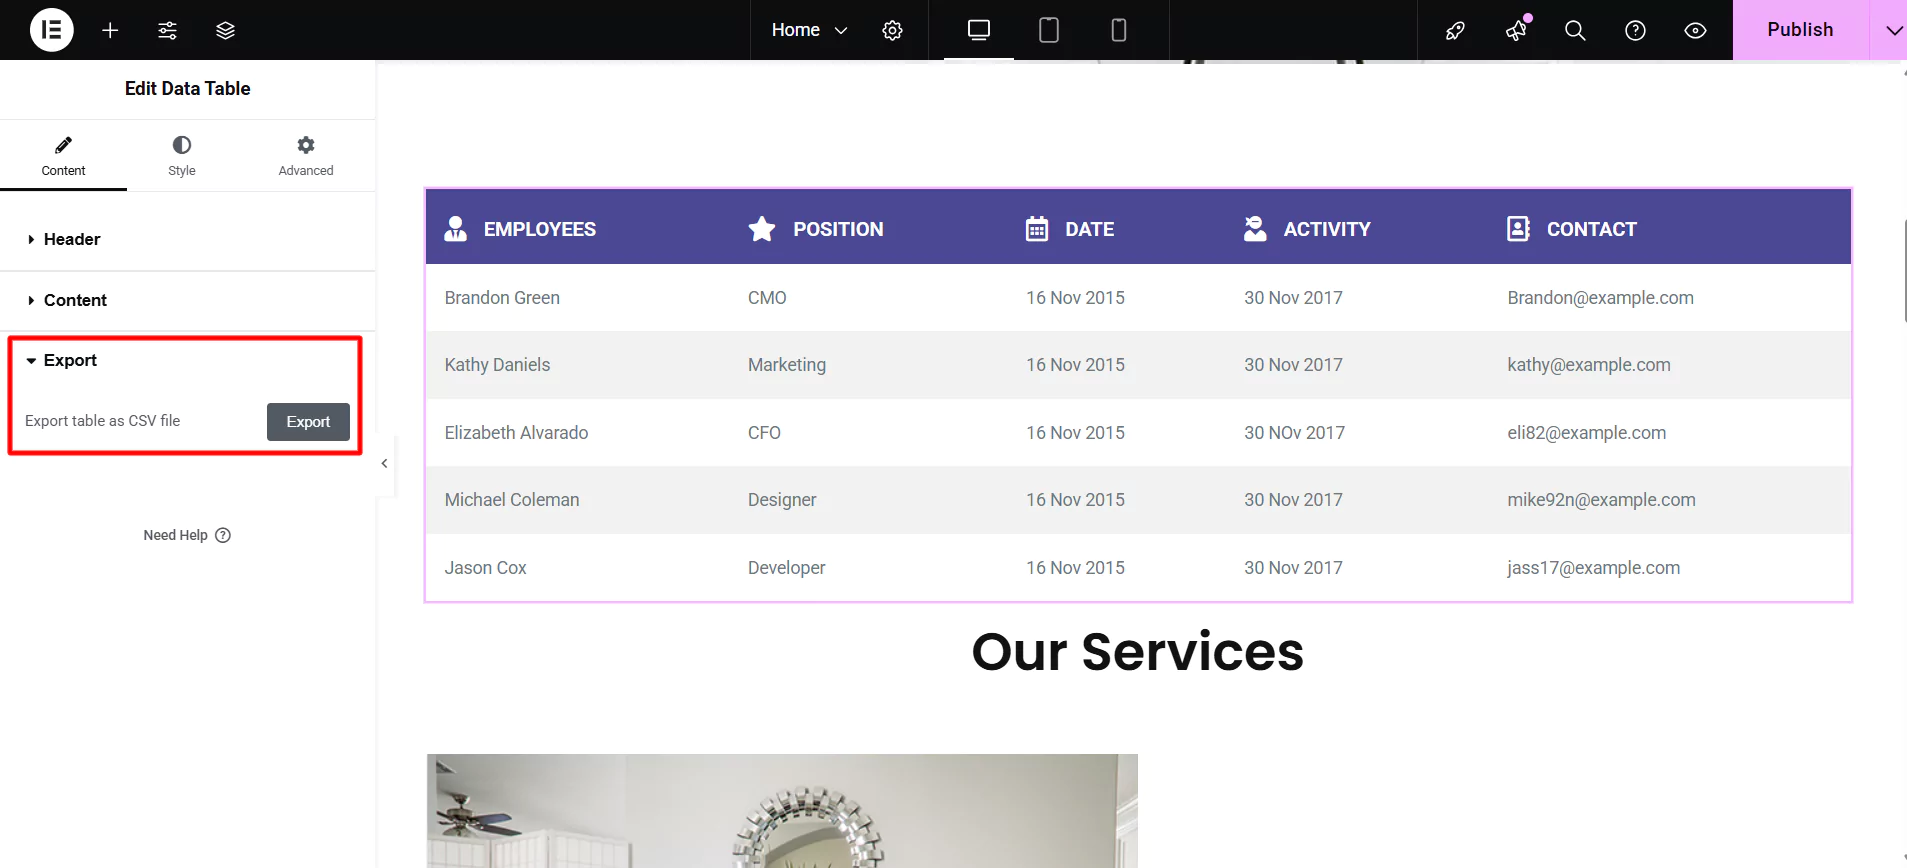
Next, click on the Export button. This allows you to export the table data as a CSV file.

Step 4: Style the Elementor Data Table Widget
To style the Data table, click on the Style tab in the sidebar.

The Elementor data table widget offers a range of styling options. These include:
1. General Style
To edit the general style, click on the General Style tab.

This allows you to edit:
- Width – Set the width of the table.
- Alignment – Choose the table’s alignment.
2. Header Style
To edit the style of the header, click on the Header Style tab.
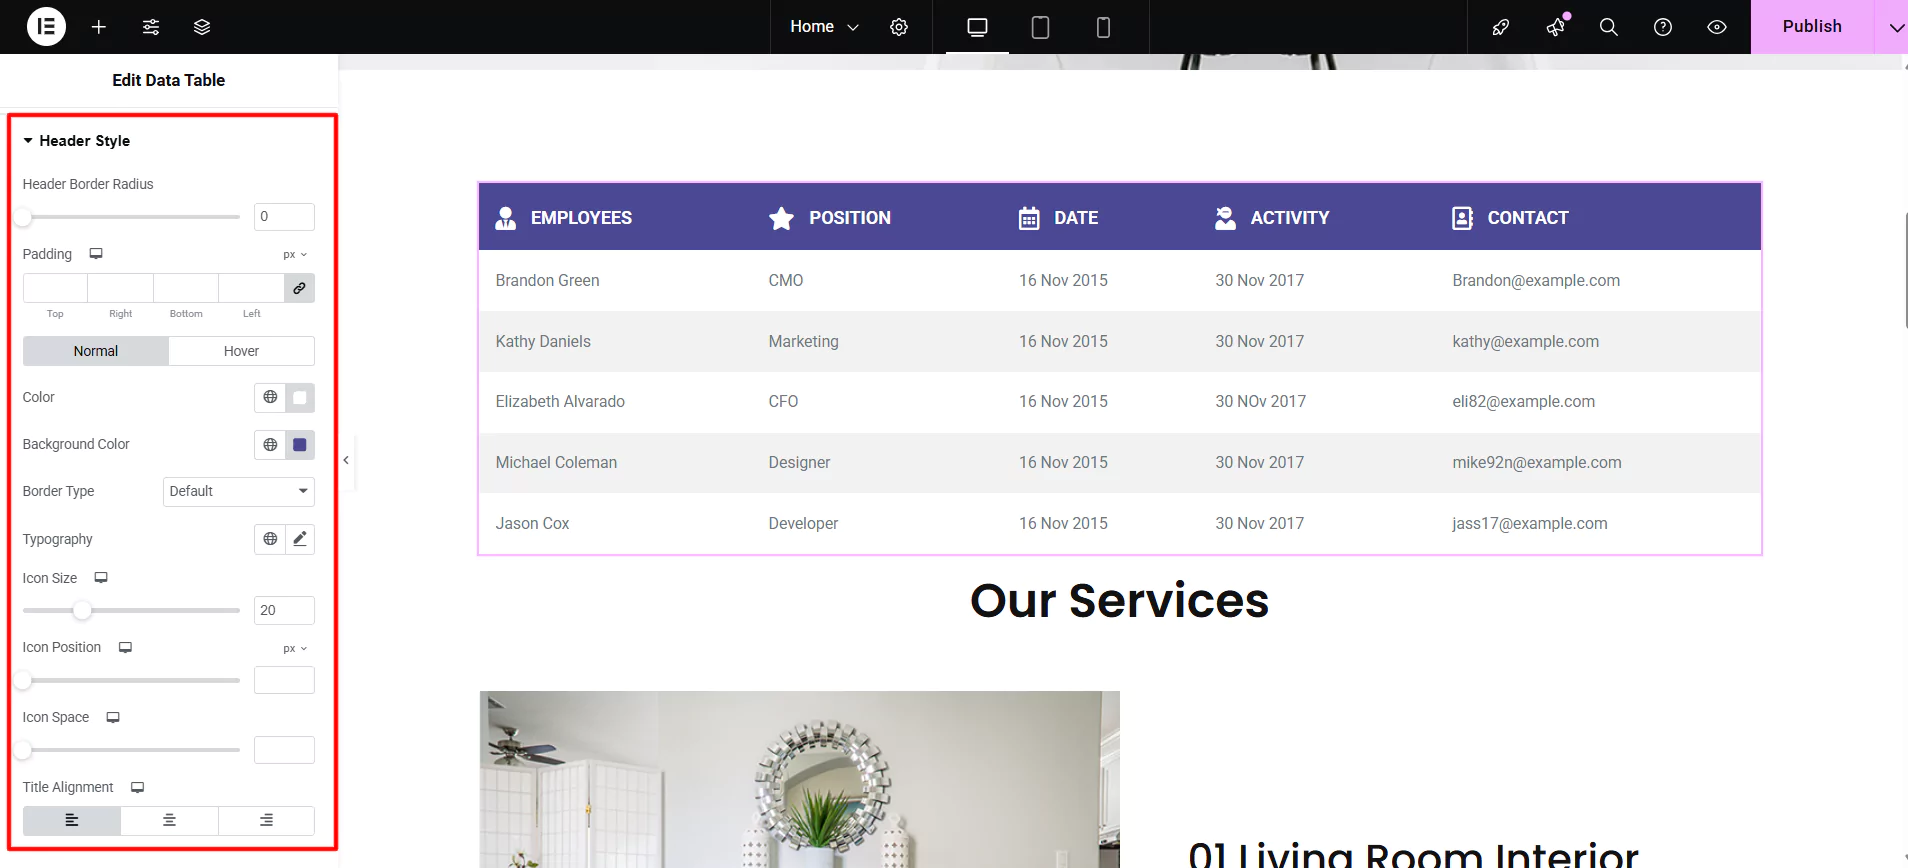
The header style allows you to edit the following options:
- Header Border Radius – Set the border radius for the table header.
- Padding – Set the padding dimensions for the table header.
- Normal/Hover State:
- Color – Set the text color for the table header.
- Background Color – Set the background color for the table header.
- Border Type – Set the border type for the table header. If the Border Type is not set to None, then the Border Width and Border Color controls will be available.
- Typography – Set the typography settings for the table header.
- Icon Size – Set the icon size for the table header.
- Icon Position – Set the icon position for the table header.
- Icon Space – Set the icon spacing for the table header.
- Title Alignment – Set the alignment for the table header item text.

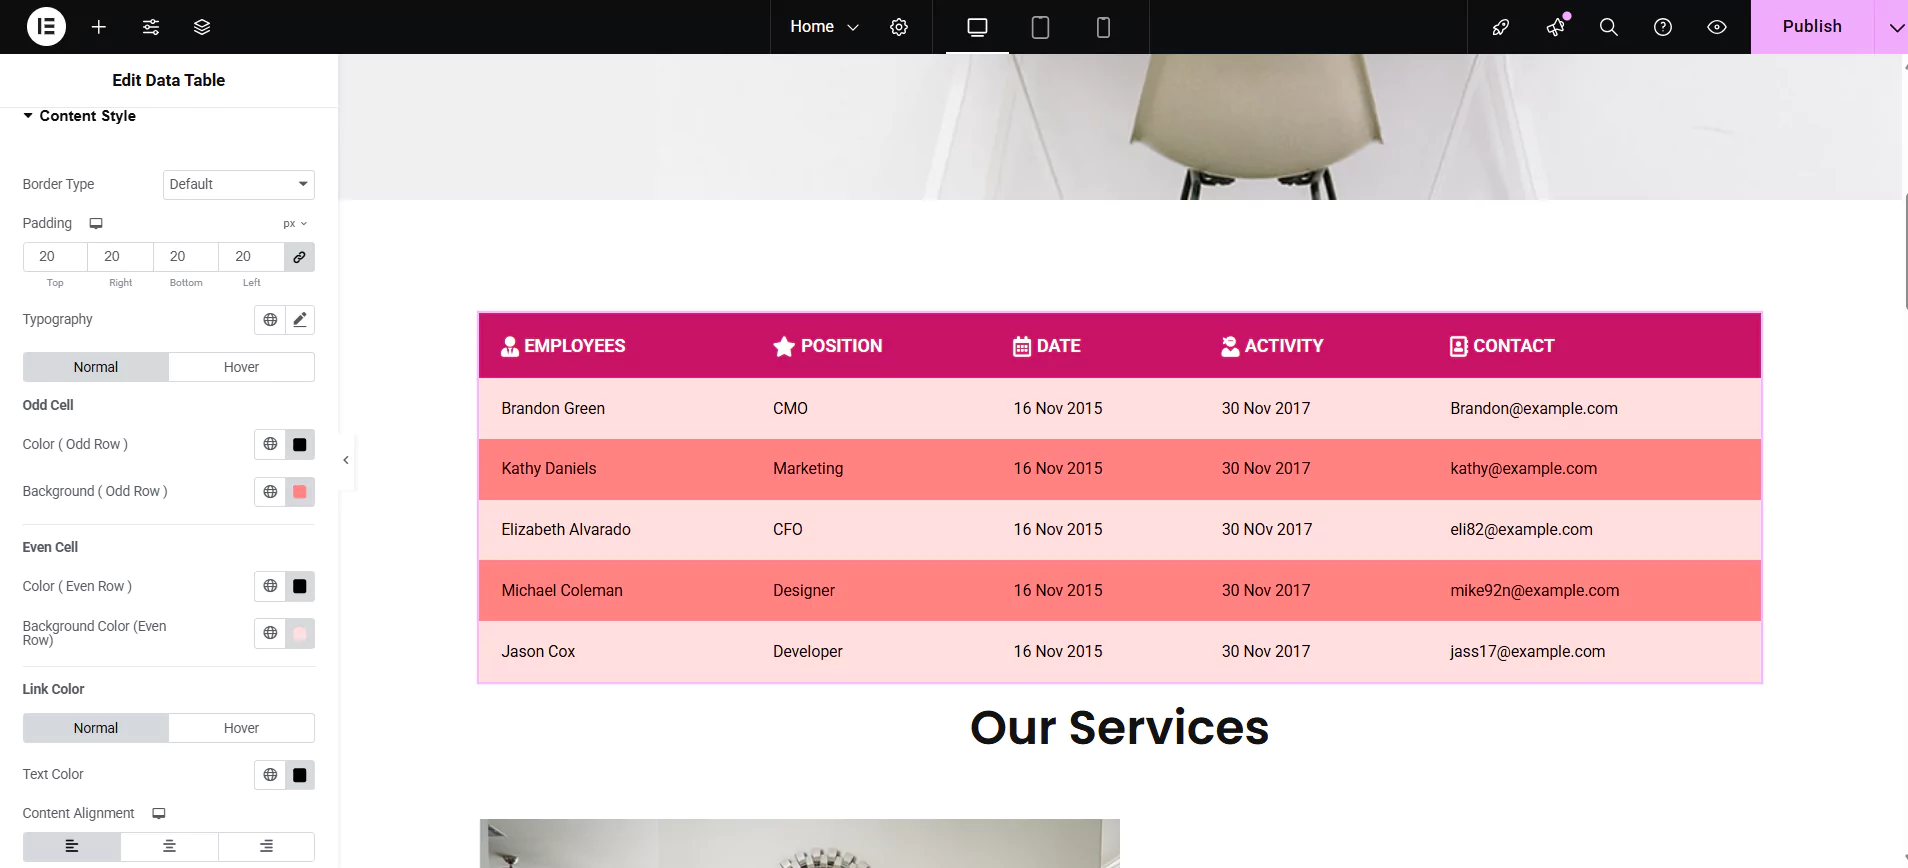
3. Content Style
To edit the content style, click on the Content Style tab.
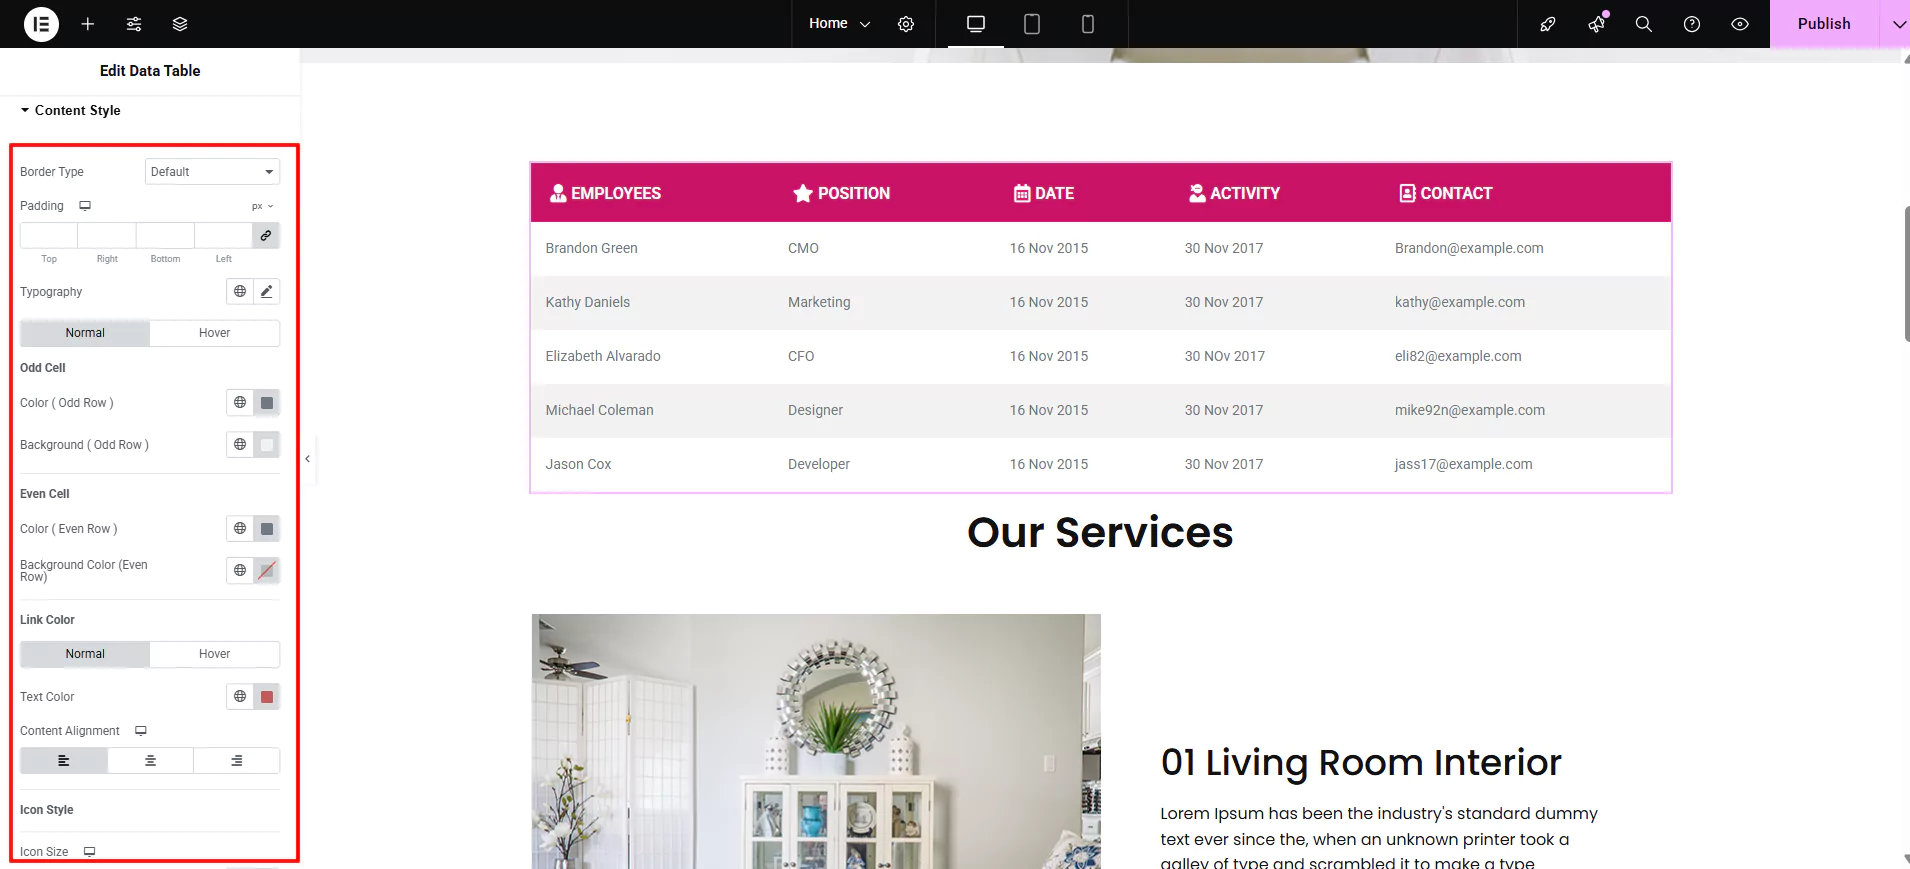
The content style allows you to edit the following options:
- Border Type – Set the border type for the content item cell. If the Border Type is not set to None, then the Border Width and Border Color controls will be available.
- Padding – Set the padding dimensions for the content item cell.
- Typography – Set the typography settings for the content item cell.
- Normal/Hover State :
- Color(Odd Row) – Set the text color for the odd row cells.
- Background(Odd Row) – Set the background color for the odd row cells.
- Color(Even Row) – Set the text color for the even row cells.
- Background(Even Row) – Set the background color for the even row cells.
- Link Color
- Normal/Hover State:
- Text Color – Set the text color for the link in the table content.
- Content Alignment – Set the alignment for the table content item.
- Normal/Hover State:
- Icon Style
- Icon Size – Set the icon size for the table content item.
- Normal/Hover State :
- Icon Color – Set the icon color for the table content item.
4. Responsive Options
To configure the responsiveness of the data table, click on the Responsive Options tab.

To Enable Responsive Table toggle table responsiveness, which will provide you with the following controls:
- Width – Set the table width for different devices.
- Color – Set the color for the table for different devices.
- Background Color – Set the background color for the table for different devices.
- Typography – Set the typography settings for the table.
- Border Type – Set the table’s border type. If the border type is not set to None, the controls for Border Width and Border Color will be available.

This is how you can add, configure, and style the Elementor data table widget.
FAQ
The best plugin for adding a data table in WordPress is the Responsive Addons for Elementor. This popular plugin provides a wide range of features to enhance your website-building experience. It includes 50+ Elementor widgets, 150+ ready-to-use WordPress Website Templates, and advanced features like custom breakpoints, responsive padding and margin, and more.
Yes, you can create tables in Elementor for free using plugins like Responsive Addons for Elementor that offer a data table widget.
To Create a data table with Elementor, install and activate the Responsive Addons for Elementor plugin. It offers 50+ Elementor widgets, including the data table widget, to help you add a table and easily make your site look beautiful.
Conclusion
Mastering the art of data visualization is a crucial component for every website in the present business.
Website tools and plugins such as Responsive Addons for Elementor make the process of creating an interactive website easier.
This article has covered all the essentials for creating data tables. You can now effortlessly create data tables for any purpose.
If you liked this article, you can also consider reading:
- How To Create Flip Box Overlays And Hovers In WordPress
- How to Create a Countdown Timer For Your WordPress Website
- How To Show/Hide WordPress Blocks Based On Screen Size
Are you looking to make your website beautiful? Grab the Free WordPress templates and Responsive theme now!