
Summary
The article explains backup and restore for a WordPress website. It defines why backing up your site is essential and how restore works when needed.
It also highlights key methods, tools, and best practices for creating backups and restoring data. Helping readers protect their site and recover it easily after issues.
What’s the most crucial element of a WordPress website or any website for that matter?
It’s the content.
While the domain name, hosting, and the other elements are essential, content still reigns supreme in importance as it is the foundation of your website.
Many budding bloggers and website owners fail to realize the importance of this, and hence they don’t prioritize to back up their website data. The biggest problem of not regularly backing up the data is that if in future you lose your website data, it will be next to impossible recover it. Therefore, you need to run scheduled backups of your website data.
In this article, we will understand how to backup and restore your WordPress website.
Why Backup and Restore WordPress Website?
Before we begin, let’s look at the four reasons why you should routinely backup your WordPress site.
1. Hackers and Malware Threats
There are many reasons that make your website susceptible to getting hacked. Some of them include not using a strong password, going with an unreliable web host, or not updating to the latest version of WordPress, theme, and plugins. And despite using a security plugin, it is not a 100% guarantee that your website will be immune to malware attacks. Whatever the reason may be, you need to have the right systems in place that would allow you to reverse any data loss that might happen due to a multitude of reasons.
2. Hosting Server Issues
Regardless of what your web hosting service provider promises, it is impossible to deliver a 100% uptime. Due to unforeseen issues with your web host, your site may go down, and you stand the risk of losing website data. Even though the web host might retrieve the data, it will depend on the most recent backup taken by the web host. So, in such scenarios, you may lose some data depending on the data of the last backup.
3. Software Update Fails
When you are updating to the latest version of WordPress, it affects all files and folders that are included in the main WordPress installation. Therefore, before you begin updating WordPress, make a point to back up your website data so that even if the update process goes train wreck due to any problem, you can always restore your website data.
4. Loss of Data and Revenue
The biggest risk of not regularly backing up your website data is losing your website data altogether. Along with data, you also risk losing a massive chunk of revenue in retrieving the data or creating the site from ground-up which entails you to re-invest a considerable sum of money along with time and personnel.
Types of WordPress Backup and Restore
Now that we’ve understood the significance of regularly backing up a WordPress website, let’s look at the three ways in which you can back up your WordPress site:
1. Backing Up the Data Through Your Web Host
If you are planning to backup your website data through your web host, ensure that the company provides daily backups of your WordPress website (WordPress files, theme, plugins and database). To make the backup even safer, you can download the latest backup file on your local computer or upload it on a remote cloud location.
2. Backing Up the Data Manually
Your WordPress directory contains multiple subfolders that consist of your uploads, plugin, theme files, etc. If you’ve ever visited the Theme Editor section, you would’ve noticed a set of PHP files. Well, those are just theme files, and along with them, you need to back up the rest of the website data as well.
You can download your website data manually through cPanel → File Manager or using an SFTP. But if you’re not well versed with it, we’d like to recommend an easier way, i.e. with the help of a plugin.
3. Backing Up the Data Using a Plugin
The third alternative to creating backup files is by using a plugin. There are plenty of reliable plugins available on WordPress that allow you to backup your website data and download it on a local computer or store it on your cloud accounts such as Google Drive or Dropbox.
Top WordPress Backup Plugins
In this section, we will look at the five plugins that are widely used by among the WordPress fraternity:
1. VaultPress
VaultPress is developed by Automattic, the parent company of WordPress. The plugin is now a part of Jetpack, which is also developed by Automattic.
To avail the features of VaultPress, you need to subscribe to Jetpack which works in your favour as you get to use plenty of other features that enhance the website performance.
Although you might notice that Jetpack offers a free plan, it doesn’t include website backups.
You can get started with VaultPress for as low as $39/year and depending on your requirements, can go up to $299/year.
The downside of VaultPress/Jetpack is, the plugin doesn’t offer subscription plans for multiple websites. That means you need to buy an individual subscription for each site which will significantly increase your expenditure.
2. BackupBuddy
BackupBuddy is developed by iThemes, and 500,000+ WordPress websites use it. The plugin offers scheduled backups starting from an hourly basis going up to a monthly basis and beyond.
You can download the zip file of your backup, and similarly, you can store it on BackupBuddy Stash, Amazon S3, and Google Drive to name a few.
If you are looking to backup only one site, then you can go with their Blogger plan which costs $80 and provides 1GB of BackupBuddy storage space. Their Freelancer plan backs up ten sites while the Gold plan backs up unlimited websites. The cost of both the plans is $127 and $199 respectively.
BackupBuddy’s all plans come with the iThemes Sync feature, that lets you manage 10 WordPress websites from a single dashboard.
3. UpdraftPlus
With over 2 million users, UpdraftPlus is arguably the most widely used backup plugin.
The free plan supports scheduled backups and website restore feature, and the premium plan supports features such as incremental backups, pre-update backups, data encryption, cloning your site and moving it to a new domain, etc.
Similar to other plugins, you can store your database to cloud services such as Dropbox, Google Drive, Amazon S3, Rackspace, etc.
You can get started with UpdraftPlus for $42/year (Covers one website) and depending on the number of sites you would like to cover, can pay up to $195 (for the first year) and then $117/year which allows you to backup unlimited websites.
4. Duplicator
Duplicator has over 1 million active installations, and it enables you to move or migrate your site between different domains or web hosts. It also allows you to move your live site to localhost when you are making changes to it.
While Duplicator is a free plugin, it has a few shortcomings such as you can’t store your data on a cloud storage location or run scheduled backups.
However, it offers Duplicator Pro, a premium service that comes with plenty of enhancing features and its price ranges between $59 to $359.
5. BlogVault
BlogVault offers incremental backup features along with the ability to store your data on its servers. BlogVault enables you to run both – automatic and manual backups.
It’s backup archive feature lets you compare different backups easily.
While BlogVault is an amazing plugin, it is a bit heavy on the pocket. Its basic plan for a single site starts from $89/year and goes up to $249/year. If you are looking for plans that can accommodate up to 20 websites, you’ll be charged between $499 – $1499/year.
How to Backup WordPress Website With UpdraftPlus?
In this section, we will look at step-by-step instructions on how to backup your WordPress website with the UpdraftPlus plugin. Let’s begin!
Step 1: Installing the Plugin
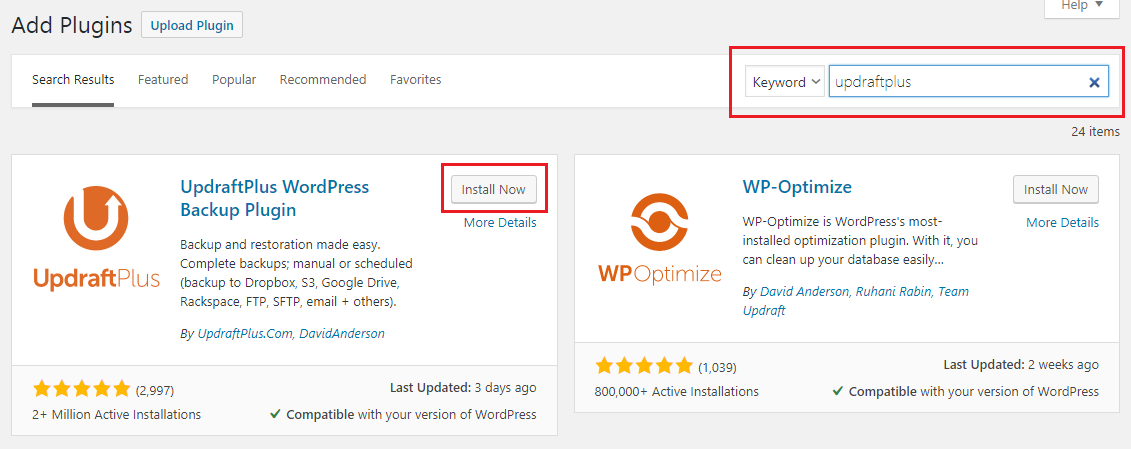
On your WordPress admin dashboard, go to Plugins → Add New in the left pane. In the search bar, type in UpdraftPlus and install the plugin with the title – UpdraftPlus WordPress Backup Plugin.
Step 2: Configuring UpdraftPlus
Go to Settings → UpdraftPlus Backups, and you would be redirected to the UpdraftPlus dashboard.
If you’re setting it up for the first time, the Backup/Restore tab will mostly be empty.
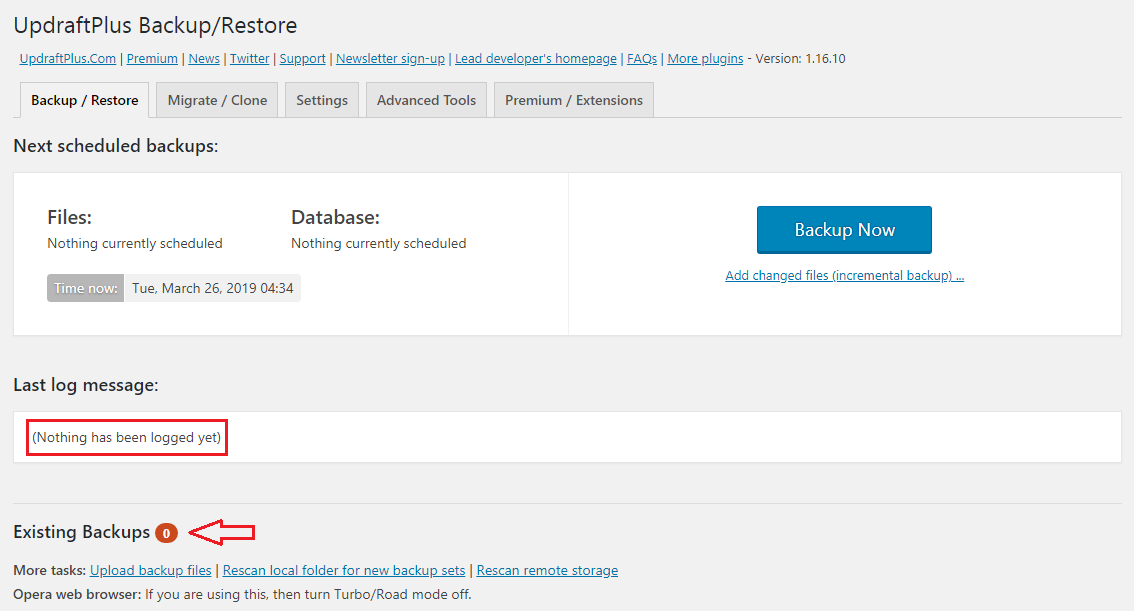
To configure the plugin, click on the Settings tab.
Step 3: Configure Backup Schedule
The first thing you need to setup is the frequency of the backups. While you can run backups manually, it is highly recommended to automate the process as it will save you plenty of time. You need to decide the frequency of backups for files and database both.
UpdraftPlus allows you to schedule automated backups:
- Every 4/8/12 hour
- Daily
- Weekly/Fortnightly
- Monthly
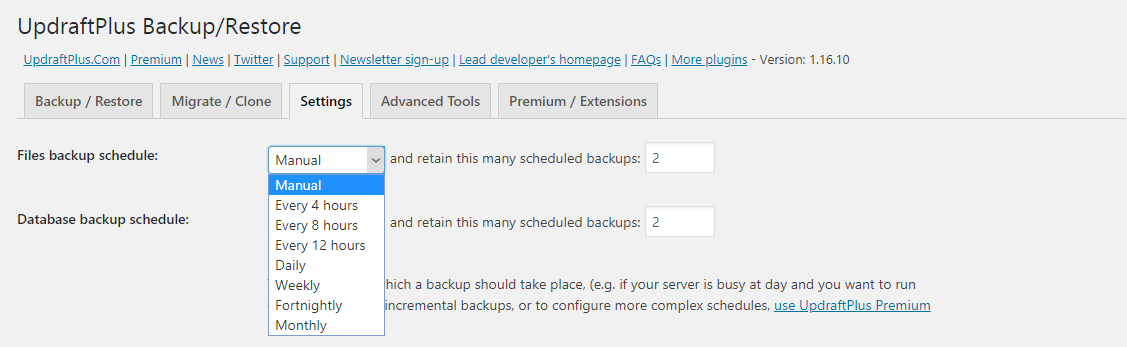
You can also configure the number of backups you would like to retain so that in case if you lose your latest backup copy, you’ll always have multiple copies of your backups that you can still roll back to.
Step 4: Choose the Remote Storage
The next step in the configuration process is to decide where you’d like to store your backup files.
UpdraftPlus currently allows you to store files on:
- UpdraftPlus Vault
- Microsoft OneDrive
- Google Drive
- Amazon S3
- Rackspace Cloud Files and so on
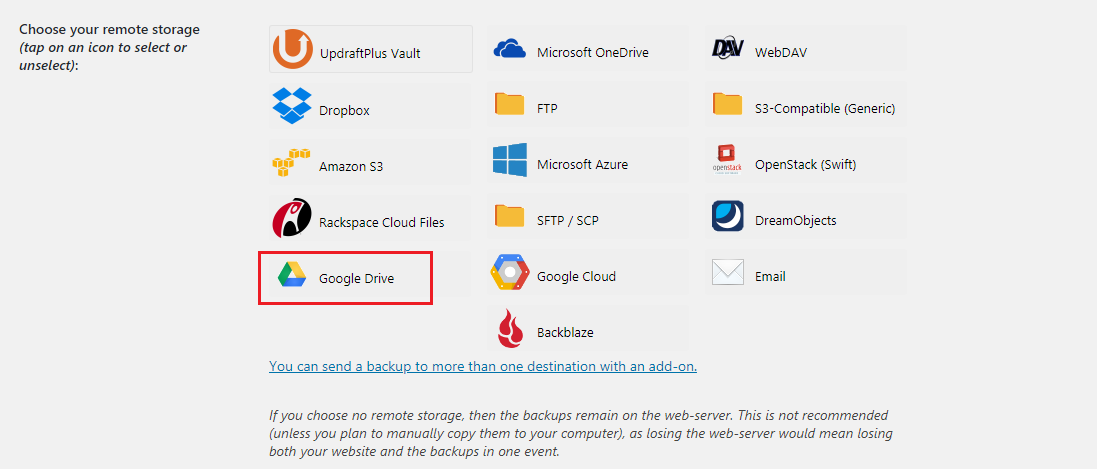
For the purpose of demonstration, we will choose Google Drive. Each remote storage provider will have a different process, but most of them will have an intuitive process so you can select the provider of your choice and follow the required steps.
After clicking on Google Drive, you will see the following two fields. If you’re a premium user of UpdraftPlus, you can edit the name of the folder.
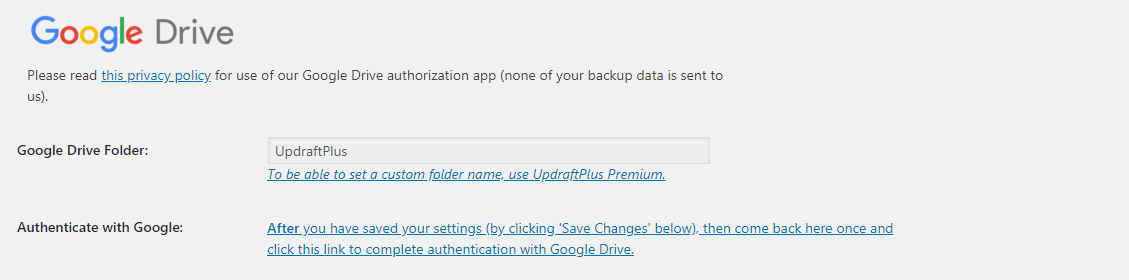
Click on Save Changes at the bottom of the page, and you will see a pop-up like this:
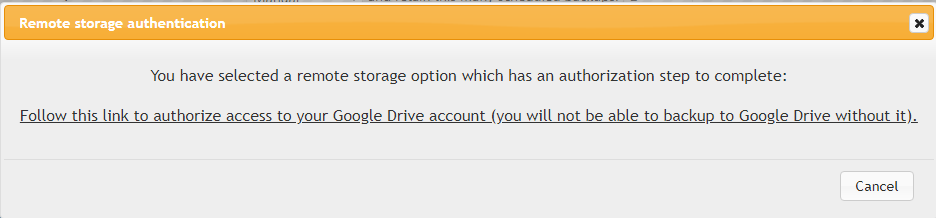
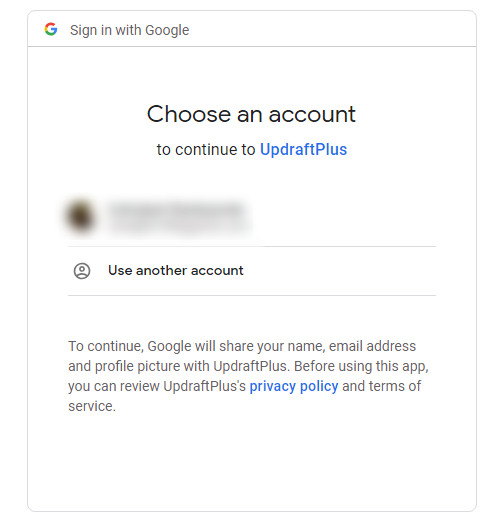
Click on the account where you’d like to setup UpdraftPlus, on the next window, click on Allow that will enable UpdraftPlus to store backups to your Google Drive account.
You will see the following window after permitting UpdraftPlus to store your backup files to remote storage:
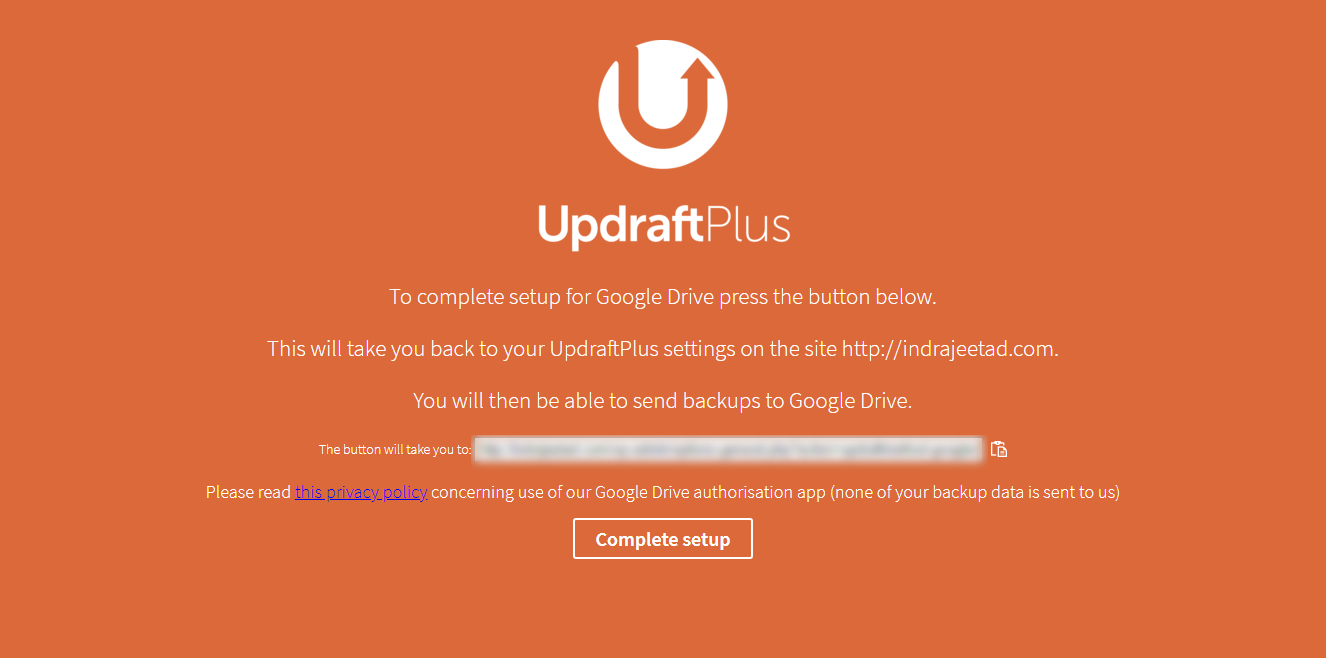
Click on the Complete Setup button to complete the configuration process. You no longer have to worry about losing your data as all the data will be automatically backed up on the pre-decided frequency.
Running a Backup Procedure Manually
It’s a good idea to run a manual backup before running an important update or making heavy changes on the website. Taking a manual backup with UpdraftPlus is as easy as it gets. Let’s look at how to run a manual backup.
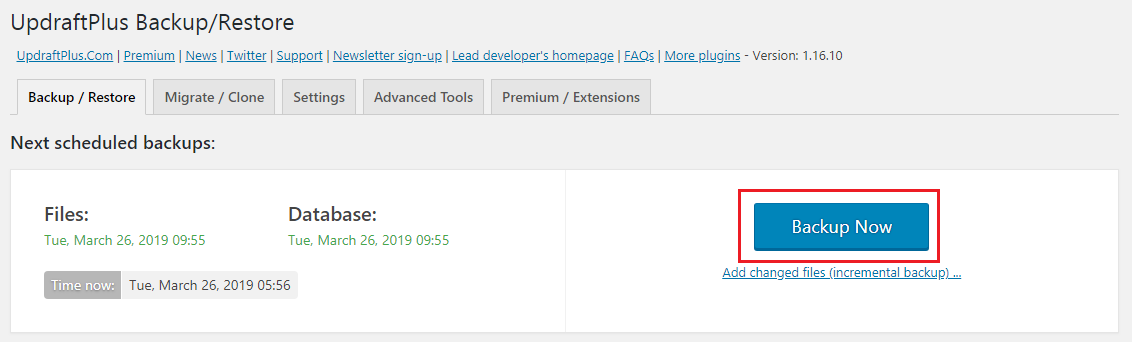
As usual, go to Settings → UpdraftPlus Backups. You’ll land on the Backup/Restore tab. Click on Backup Now to begin the process.
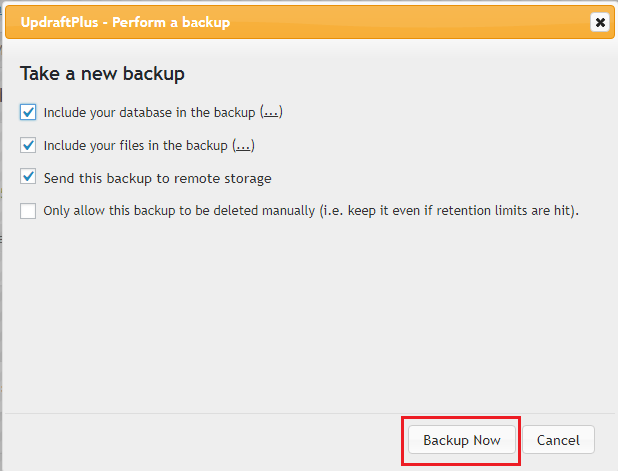
You’ll be asked to choose the data you’d like to backup and its storage location. Check the appropriate boxes and click on Backup Now.
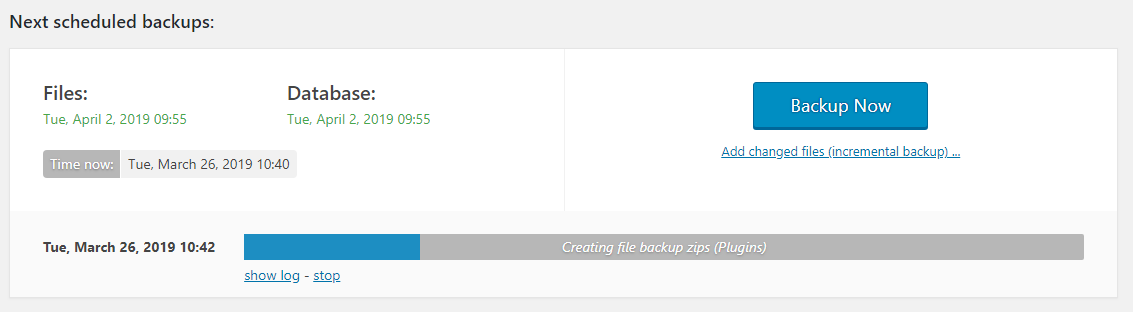
It usually takes a while to complete the process depending on the size of your database.
How to Restore a Website Backup?
UpdraftPlus makes it easy to restore your website data. To get started, scroll down to the bottom of the Backup/Restore tab of the UpdraftPlus dashboard. You’ll see the latest backups along with their date, time, and storage location.

To begin restoring the data, click on the Restore button next to the latest backup. You’ll be asked the data types you’d like to restore such as plugins, themes, uploads, database, etc.
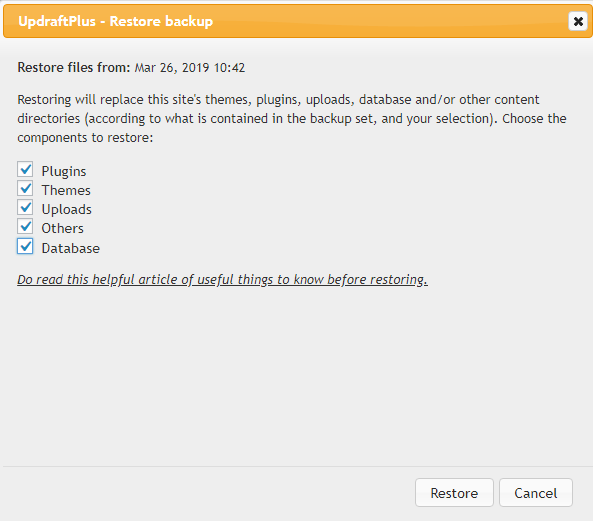
Choose all the applicable fields and click on Restore. The plugin will start retrieving all the selected data from the storage location and will notify once it is done.
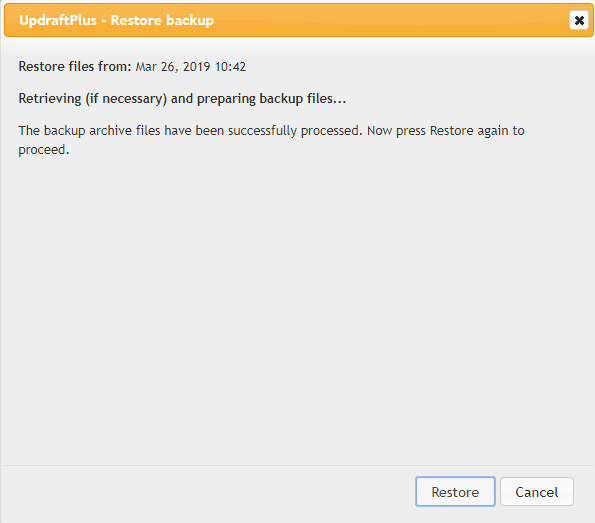
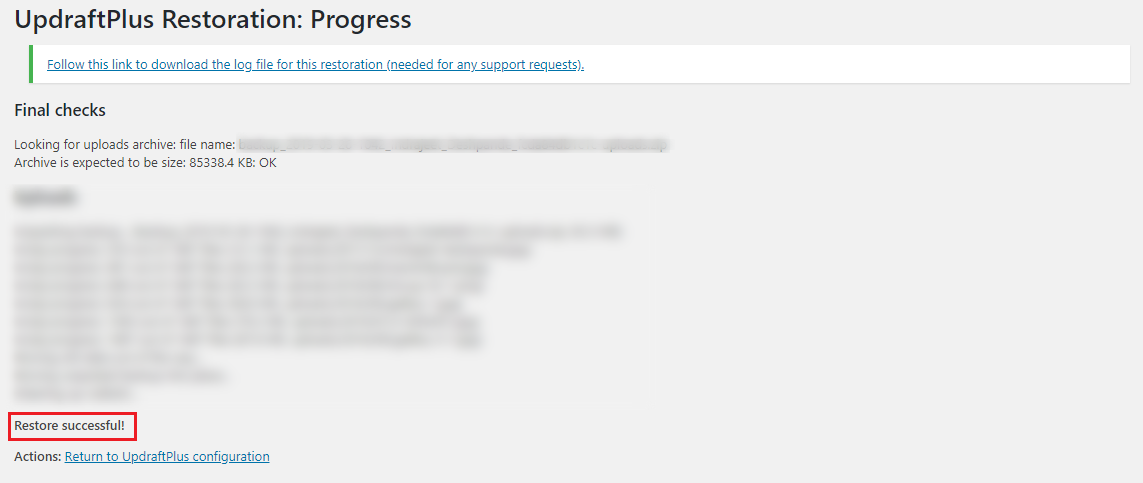
Click on Restore to restore your data. Once the process is complete, you’ll get a success message like this.
FAQ
Backups are critical for protecting your website against data loss, hacking/exploitation, viruses, hosting issues, failed updates, and accidental deletion. They save you time, effort, and lost income due to data loss from these types of events.
Common reasons for website backups are hardware failure on your server, bad updates of themes/plugins, and corrupted files – backups can help recover from all of these events.
No, you can manually back up your files and database, but plugins automate backups, let you schedule them, and often integrate cloud storage.
Closing Thoughts
Routine backups of your WordPress website is necessary as it lets you retrieve your data in case you lose it due to different reasons.
And while we are discussing the importance of backing up the website data, we would highly recommend you to go for the premium plan of UpdraftPlus or any plugin you’re using for that matter.
The premium plans often come with plenty of customizations that free plans do not offer such as automatically running a backup before a major update, uploading backups on multiple storage locations and taking incremental backups (backup only latest changes since the last backup).
Allocating a small budget for such features will often save you money and resources in the long run.
Do you have any queries on how to backup your WordPress website? Ask away in the comments below!