Summary
Drag and drop WordPress themes offer intuitive page builders, ready-made templates and flexible customization.
It also empowering users to design functional and attractive websites without any coding knowledge or technical experience.
Are you looking for some beautiful drag and drop WordPress themes to create a website?
You have come to the right place.
For all of us who do not know how to write a single line of code, the drag-and-drop feature is a lifesaver. This theme feature has completely changed the WordPress interface and has become an enormous success. You can easily create a custom website without any knowledge of coding.
Lucky for us, there are some freemium drag-and-drop WordPress Themes that can make our life a lot easier!
Read on…
- Best Freemium Drag And Drop WordPress Themes
- 1. Responsive WordPress Theme
- 2. Total WordPress Theme
- 3. Composer WordPress Theme
- 4. Surya Chandra Lite WordPress Theme
- 5. Good Store WordPress Drag and Drop Theme
- 6. Mega Shop WordPress Theme
- 7. WK How WordPress Theme
- 8. Homey WordPress Theme
- 9. Bucket Theme
- 10. Primrose Theme
- 11. Store Hub WordPress Theme
- 12. Revelance Theme
- 13. Azoom Theme
- 14. Bands WordPress Theme
- 15. Suffice WordPress Theme
- 16. Colibri WP WordPress Theme
- 17. WP Magazine WordPress Theme
- Wrapping Up!
Cyberchimps Responsive is the Best WordPress Theme – Get it for free!
Best Freemium Drag And Drop WordPress Themes
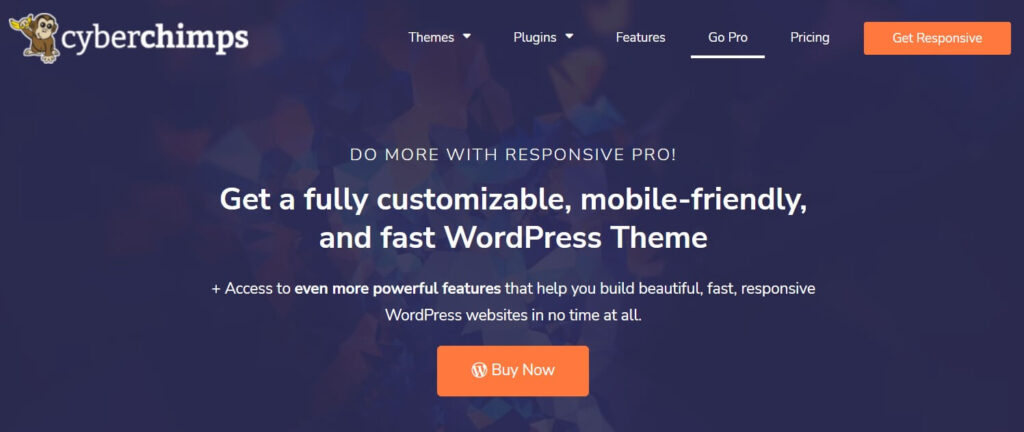
1. Responsive WordPress Theme
📢 My Real World Test Results:
- Load time on shared hosting: 0.78 seconds
- GTmetrix Performance score: 100%
- Total theme size: Under 80KB
- Mobile PageSpeed score: 99/100
- Save design time with 100+ Premium-grade Starter templates
Responsive theme is one of the fastest WordPress themes to create any unique website. It is a premium theme with many essential features to make your work easy. Now, let’s look into the features.
Responsive theme is blazing fast, and SEO optimized, helping your website rank on the first page of Google.
This theme provides you with 100+ starter templates that you can use for any business. When using Responsive, you just have to drag and drop the options into the starter template, and your website is ready in 5 minutes!
Features
- Fully Customizable Theme: Responsive theme offers you all the necessary customization settings to customize your layouts, typographies, colors, and loads at a blazing fast speed.
- 100+ Readymade Starter Templates: Responsive Starter Templates plugin offers you a library of premium Elementor and block templates to launch your website quickly. Just select your favorite website template, click import and launch your website.
- Integration with Popular Plugins: Responsive is 100% compatible with popular plugins like Contact form 7, Mailchimp, Yoast, WooCommerce, WP Legal Pages Pro, and much more!
Dentist WordPress Template

Dentist is a WordPress theme for dentists and any healthcare business and medical-related practices.
Transport WordPress Template

Transport is a template with everything you need to build a transportation & logistics website. It supports popular plugins like WPCargo so that you can track and trace cargo/freight.
2. Total WordPress Theme

Total is a Drag & Drop WordPress theme that offers flexible website features. Get started with 40+ ready-made site templates, or create your designs from scratch using the 80+ page builder modules and more than 500+ live theme Customizer settings.
Features
- WooCommerce ready
- Speed optimized
- Custom CSS
- Overlay and parallax
- Tons of shortcodes
3. Composer WordPress Theme

Composer is a high-performance, multipurpose WordPress theme bundling with many WordPress plugins like Visual Composer and Revolution Slider. The theme is responsive and retina ready. There are many premade pages and header styles. You get multiple portfolio layouts and menu designs to choose from.
Features
- WooCommerce ready
- Speed optimized
- Custom CSS
- Overlay and parallax
- Tons of shortcodes
4. Surya Chandra Lite WordPress Theme

Surya Chandra Lite is a multipurpose drag-and-drop WordPress theme suitable for corporate websites, agencies, portfolio sites, and blogs. It has full-width templates, featured images, right and left sidebars, and threaded comments. The theme is easy to use and customize. It is flexible and feature-rich.
Features
- Drag and drop page builder
- One-click import
- Custom logo
- Custom menu
- SiteOrigin page builder
5. Good Store WordPress Drag and Drop Theme
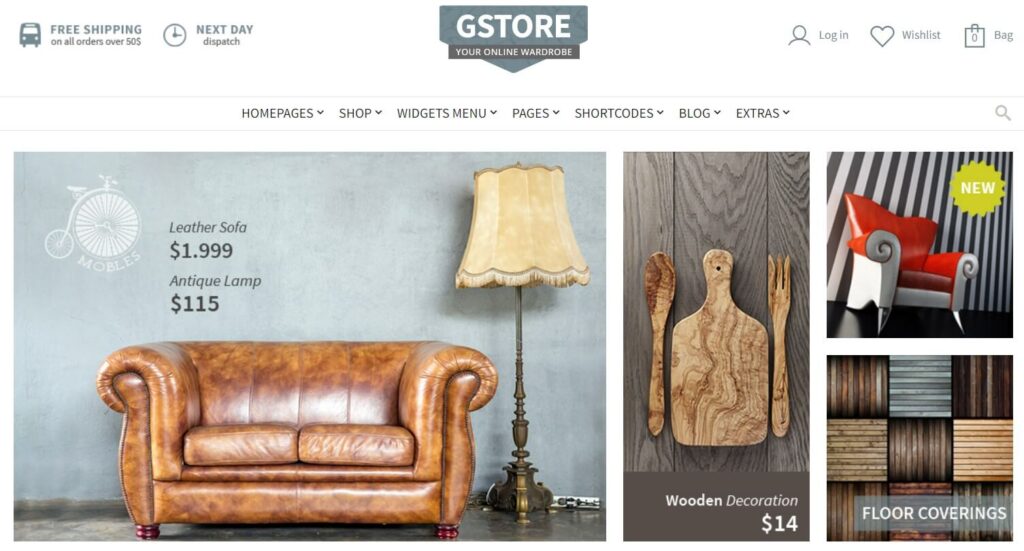
Good Store is a business WordPress drag-and-drop theme that is best suitable for eCommerce stores. It has 22 skins and many different demos. You get boxed and wide layouts to choose from. The theme is mobile-friendly and SEO optimized. It is easily customizable.
Features
- Product box styles
- WooCommerce integrated
- Layout manager
- 2 different mobile menu styles
- Premium slider for products
6. Mega Shop WordPress Theme

Mega Shop is a WooCommerce drag-and-drop WordPress theme that lets you convert your website into an online shop with a few clicks. There are drag-and-drop shopping cart options, horizontal and vertical mega menus, an image slider with a zoom magnifier, and product quick view options. The theme has custom portfolio types, product grid options, and Wishlist options. It is SEO-friendly and translation ready.
Features
- Revolution Slider included
- WooCommerce integrated
- PSD files included
- Social media integrated
- Child theme compatible
7. WK How WordPress Theme

WK How is a simple and beautiful WordPress drag-and-drop theme most suitable for knowledge and educational websites, professional writers, and bloggers. It is WooCommerce-integrated and well-documented. There are a ton of features that allow you to showcase your articles or blogs nicely on your site.
Features
- Custom Menu
- Right Sidebar
- Featured Images
- Full-width Templates
- Translation Ready
8. Homey WordPress Theme

Homey is an online booking theme for WordPress. It brings along many rich features that allow you to shape your website the way you want using its drag-and-drop interface. Advanced search options, stunning carousels, and a custom field builder exist. You can manage your users’ profiles manually. You get total control over user listings. The theme is easy to use and well-documented.
Features
- Drag and drop page builder
- Drag & drop search composer
- Pre-built demo
- One-click installation
- Booking calendar
9. Bucket Theme
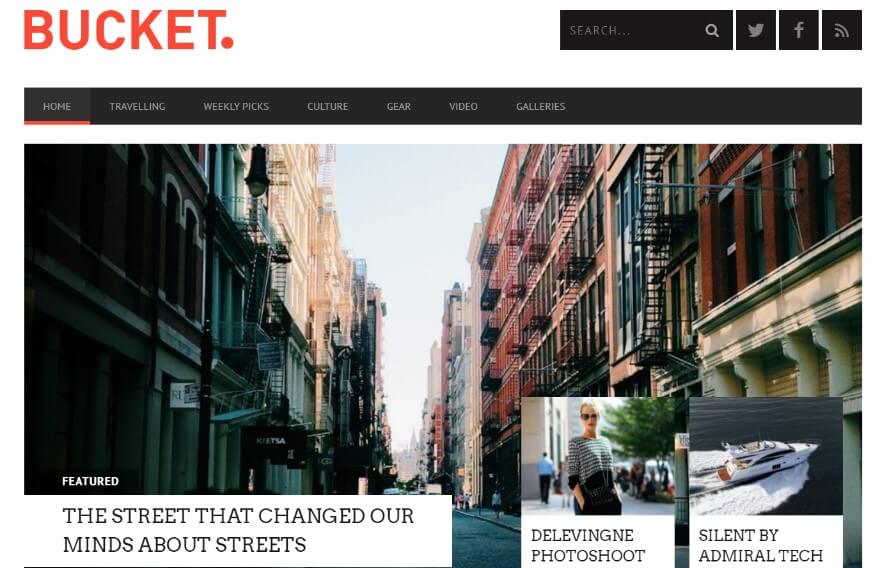
Bucket is a modern WordPress drag-and-drop theme that is useful for online magazines and news websites. It has 600+ Google fonts, two color schemes, powerful theme options panels, and many shortcodes. Custom widgets allow you to showcase your latest posts, reviews, and comments. The theme is responsive and translation ready.
Features
- One-click install
- 3 header types
- Custom page builder
- Drag and drop mega menu
- Social sharing options
10. Primrose Theme
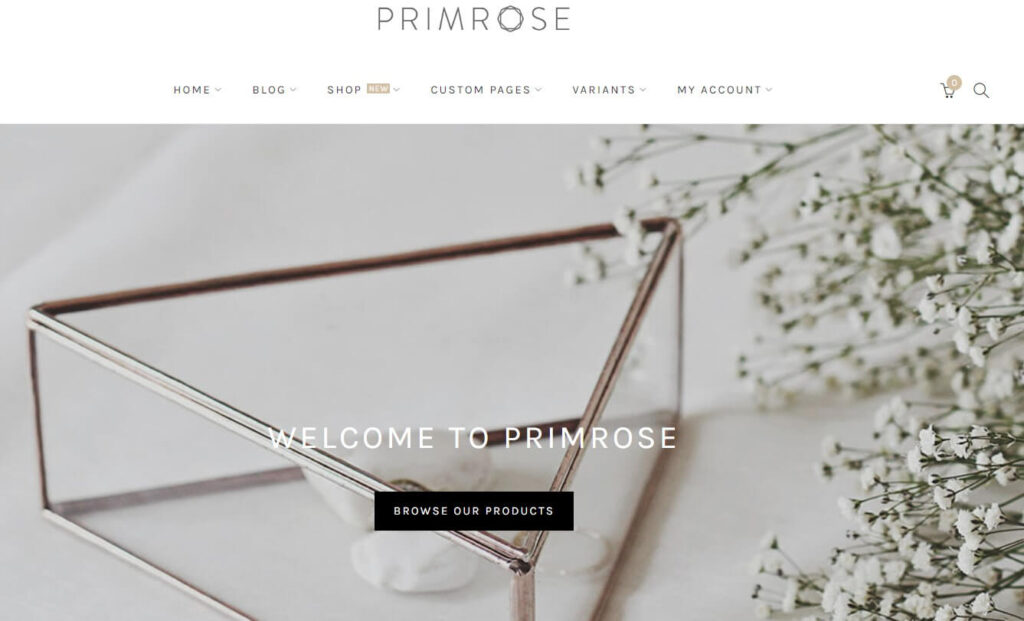
Primrose is a minimalist WooCommerce drag-and-drop theme for WordPress. It is specially designed for the eCommerce business. You can build any online Store with this theme. The theme is responsive and well-documented. It has 700+ Google fonts and unlimited color styles. There are tons of features to showcase and promote your products.
Features
- One-click demo import
- Drag and drop page builder
- Custom product page
- SEO optimized
- Friendly support
11. Store Hub WordPress Theme
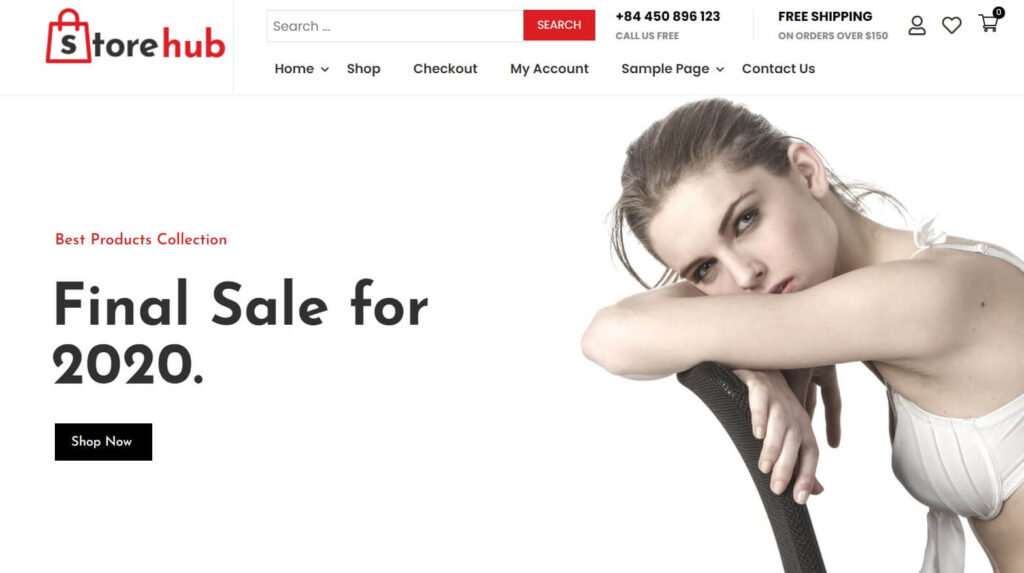
Store Hub is a drag-and-drop WordPress theme for eCommerce. It offers you many store layout options. Many header possibilities, multiple sidebar options, and unlimited color styles exist. It has YITH WooCommerce Wishlist and YITH WooCommerce Compare. The theme is flexible and user-friendly.
Features
- Elementor compatible
- WooCommerce integrated
- Custom widgets
- Threaded comments
- Translation ready
12. Revelance Theme
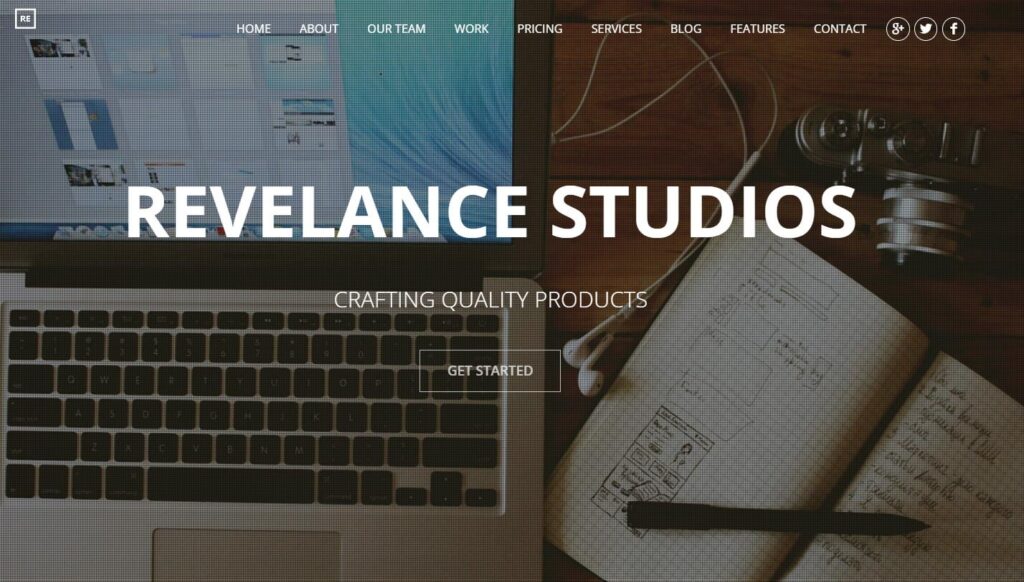
Revelance is a parallax theme for WordPress that comes with a pixel-perfect design. There are unique portfolio styles and unlimited color options. You can add jquery animations to your site and use the theme for any device. The theme has many layout options. It is SEO optimized and cross-browser compatible. There is a live customer.
Features
- Drag and drop page builder
- Layered PSD files included
- Slider Revolution included
- Video and parallax section
- Easy shortcodes
13. Azoom Theme
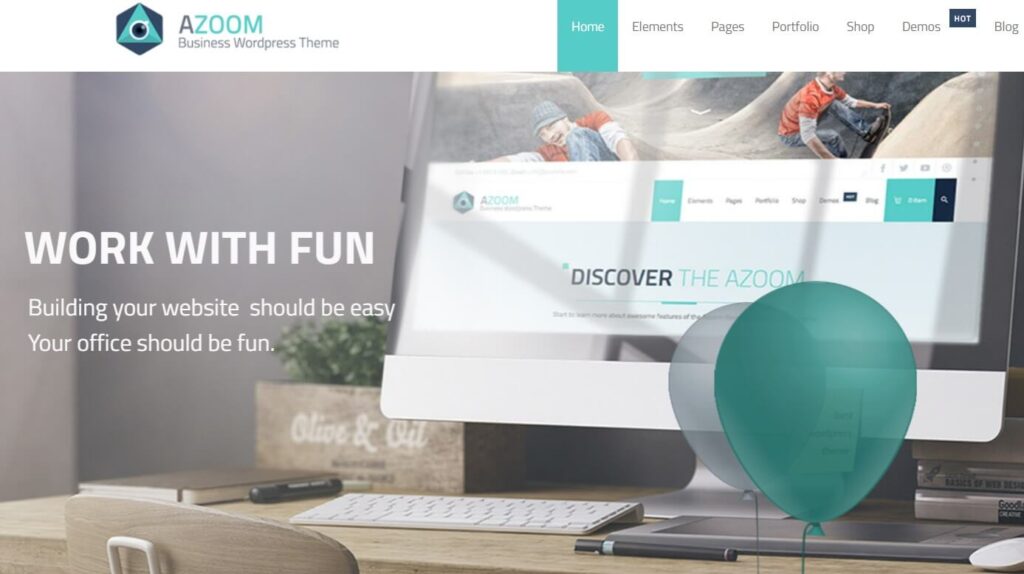
Azoom is one of the rare drag and drop WordPress themes that comes with an animation builder. It offers you hundreds of rich layout options. You can use background images with overlay colors. There is a content area above the header section, full-width RPB elements, and smooth-side navigation options. The theme is responsive and WooCommerce-ready. It has a mega menu, Ajax search options, and featured images. You can customize the hook easily. No technical skill is required for that.
Features
- Animation builder
- Rock form builder
- Full-width slider area
- Parallax background
- Deep Linking sections
14. Bands WordPress Theme

Bands is a feature-rich drag-and-drop WordPress theme for a musician that is equally useful for bands and individual audio artists. There are premade page templates, custom colors, custom sliders, and custom fonts. The theme is WooCommerce integrated and has social sharing options. It is responsive and SEO ready.
Features
- Custom header
- Footer widgets
- Custom background
- Left and right sidebars
- Translation ready
15. Suffice WordPress Theme

Suffice is a multipurpose free WordPress drag-and-drop theme. You can use it for any website. It offers you lots of rich features to design an attractive website. You can choose from single-column and two-column layouts. There are advanced typography and unlimited color options. The theme is SEO-friendly and translation ready.
Features
- Grid layout
- Custom logo
- Custom menu
- eCommerce ready
- Translation ready
16. Colibri WP WordPress Theme

Colibri WP is a multipurpose WordPress drag-and-drop theme with more than 25 drag-and-drop elements. There are grid layouts, full-width templates, threaded comments, and many different theme options. The theme has video and slideshow background options. It is easily customizable and well-documented.
Features
- Pre-designed homepage
- 5 header designs
- 35 layout content blocks
- Portfolio layouts
- Translation ready
17. WP Magazine WordPress Theme

WP Magazine is a stylish WordPress theme for blogs, magazines, and online news portals that comes with tons of features that a writer or a blogger requires. The theme has multiple layout options for header, footer, sliders, category news, and featured news. There are many editor styles, portfolio layouts, and RTL language support. It is a beginner-friendly theme.
Features
- Grid layout
- Custom background
- Custom header
- Footer widgets
- Blog layouts
Wrapping Up!
Here we have provided you with the best drag-and-drop WordPress themes.
If you still need clarification about choosing the best WordPress theme, we recommend using the Responsive theme. It provides some unique features that do not come with other themes. Also, this theme makes your work simple as they provide unlimited widget options.
Hope you liked reading this article. If you did, don’t forget to check our other articles:
Looking to build a business website already? Grab the Responsive theme now!