Are you looking to launch an interior design website?
The days of roaming around with a physical portfolio with real sketches and many interior design photographs are quickly fading. While many interior designers are still working with physical swatches, the road seems to be leading to an all-digital industry.
We can help you with that! This guide will help you create an interior design website in just a few clicks, and that too at a minimal cost. Yes, you read that right. We have also shortlisted one of the best interior design themes, so you don’t have to browse through dozens of design themes to launch your website.
All you need is a domain name, web hosting, and the free responsive theme for interior design that has been specially created for interior designers like you who just want to get their interior design website up & running in minutes.
Read on…
- Here are all the steps to launch your interior design WordPress website:
- Step 1: Domain name And Web hosting
- Step 2: How to install WordPress?
- Step 3: Install and Activate Responsive Theme
- Step 4: Install Responsive Starter Templates plugin
- Step 5: Importing the “Interior Design” ready-site demo template
- Step 6: How to change the logo of your Interior Design website?
- Step 7: How to edit your Interior Design website using Elementor?
- Conclusion
Here are all the steps to launch your interior design WordPress website:
Step 1: Domain name And Web hosting

A domain name is a string of text that a user types to reach a website. For example, the domain name for CyberChimps is ‘cyberchimps.com’. The Internet is basically a giant network of computers just interconnected to each other.
Each one of the computers has been assigned an IP address. The computers don’t have a problem remembering these numbers, but these are not really user-friendly, so domain names were invented.
Web hosting is a service that companies provide to lease a space on the internet so that the website is accessible around the globe.
A domain name can cost from $0.99 up to $12 per month, while web hosting costs about $8 a month on average. That sounds like a lot of money! Doesn’t it?
Bluehost, which is one of the best hosting providers are, providing a free domain name with about 65% off on its web hosting plan.
Let’s purchase the domain name and host the interior design website.
When you open Bluehost, click on the Get Started button and select the plan that best suits your need. After selecting the plan, choose the domain name that best describes your business.
Now add your account information and finalize the package info to complete the purchase.
After adding the payment details, you’ll receive a confirmation mail and instructions on logging in to your control panel. And you’re done!
Step 2: How to install WordPress?
WordPress is one of the fastest-growing CMS platforms. It powers 39.5% of the internet. One of the most important reasons for its wide usage is that it is free. You are free to download and modify it according to your needs. All you need is a domain name and web hosting. That you’ll get at a minimal cost with Bluehost.
Bluehost offers a 1-click installation of WordPress. Follow these steps to install WordPress:
1. Log into Bluehost
2. Go to the control panel
3. Click on the WordPress icon (Install WordPress), which you can find under the website section
4. Choose the domain where you’d like to install WordPress
5. Enter the site name, admin username, and admin password of your choice, and once you’re done, click on Install Now

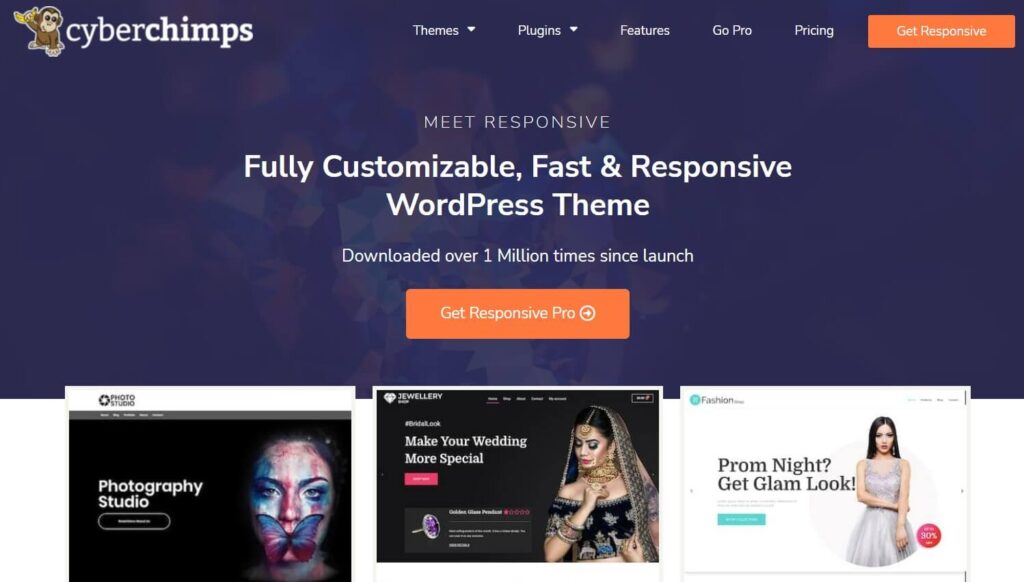
Step 3: Install and Activate Responsive Theme
The Responsive theme is a free and easy-to-use theme that comes with 100+ pro and free starter templates that will help you build fully functional websites in just a few clicks.
These templates fit any business niche, so you don’t have to do anything from scratch. You can get a free copy of the free theme from the website. Alternatively, you can also download it from the WordPress repository.
Log in to your WordPress Dashboard and go to Appearance > Themes > Add New
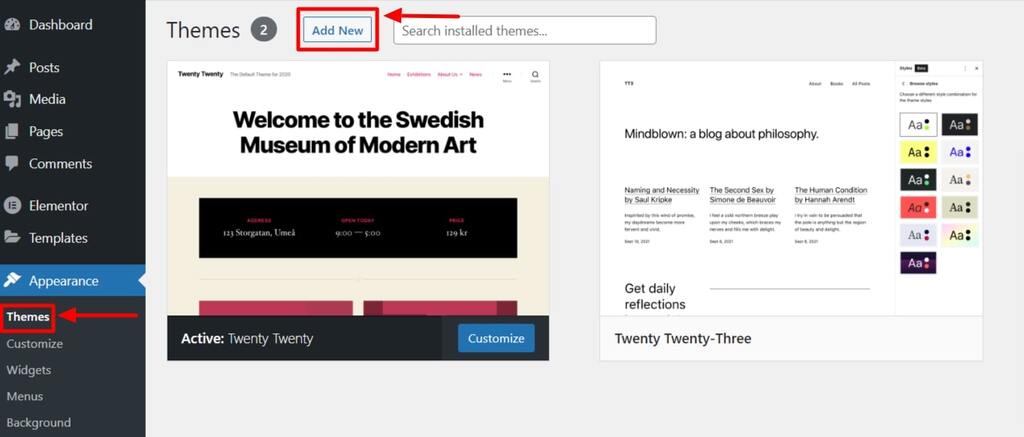
Upload the downloaded theme zip file
Install and Activate the Responsive theme
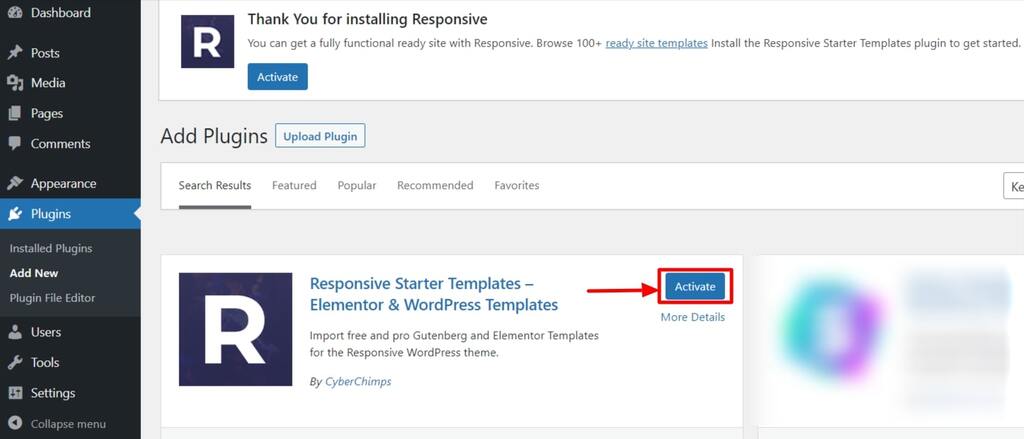
Step 4: Install Responsive Starter Templates plugin
As you know, Responsive theme comes with 100+ starter templates that will help you launch your website in minutes. You need to install and activate a free plugin to import these templates. You can find CyberChimps’ Responsive Starter Templates plugin in the WordPress repository.
After downloading the plugin zip file:
1. Log in to your WordPress Dashboard
2. Go to Plugins > Add New
3. Upload the downloaded plugin zip file
4. Install & Activate the plugin.
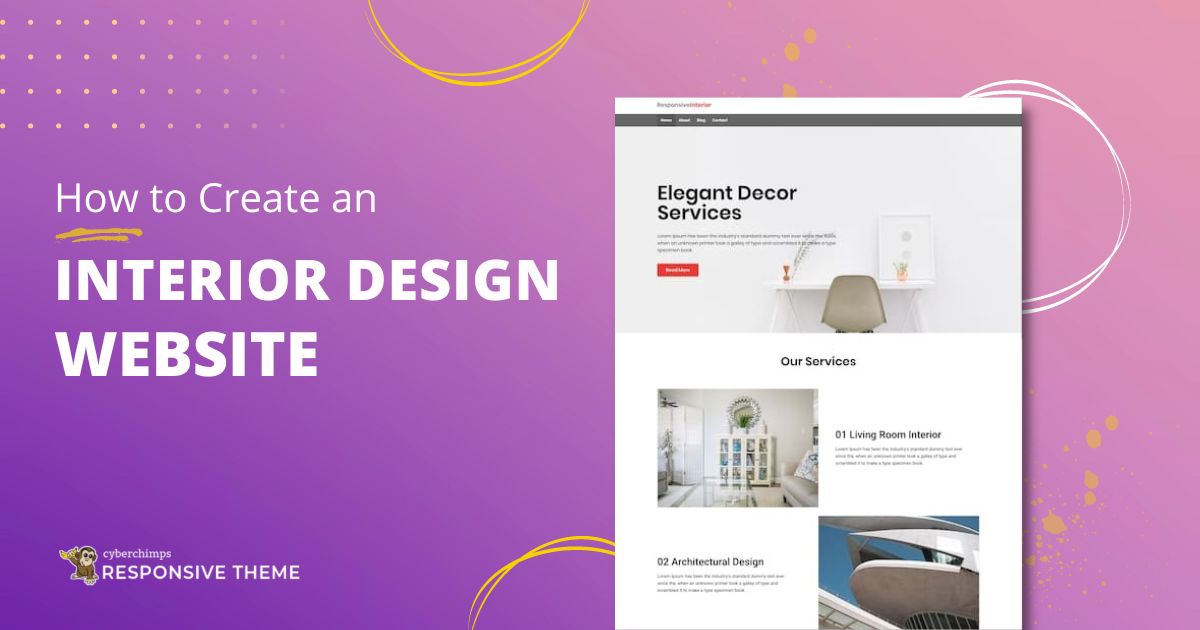
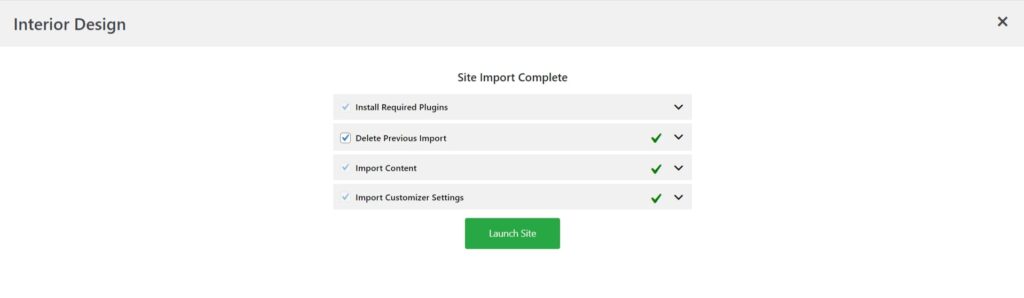
Step 5: Importing the “Interior Design” ready-site demo template
This fully modern free interior design theme has all the features to grow your interior design business. The theme comes with pre-designed pages (Home page, About page, Contact page, etc.) that you can import in a click, change the content, and launch.
This interior design theme lets you display your recent projects in a grid-style layout. With the pro feature of the theme, you can also launch your own online store with the help of some amazing WooCommerce shop layouts.
The Ultimate Collection Of Top Free WordPress Themes & Templates
To import the Interior design template, go to Responsive > Ready sites on your WordPress dashboard.
Select the Interior design portfolio template and click preview
To start importing the template, click on the Import Site button

After the Import is complete, the Launch Site button will take you to the newly created website.
Step 6: How to change the logo of your Interior Design website?
If your company is not branded properly, you might lose your target audience to your competitors. Let’s find out how you can easily change the logo of your website and make your brand stand out!
On your WordPress dashboard, go to Appearance > Customize
Alternatively, you can also click on Customize at the top of your website
Click on Site Identity
Now click on Change logo to select your logo. We suggest dimensions of 300*100 to upload your logo.

After you’re done, just click publish.
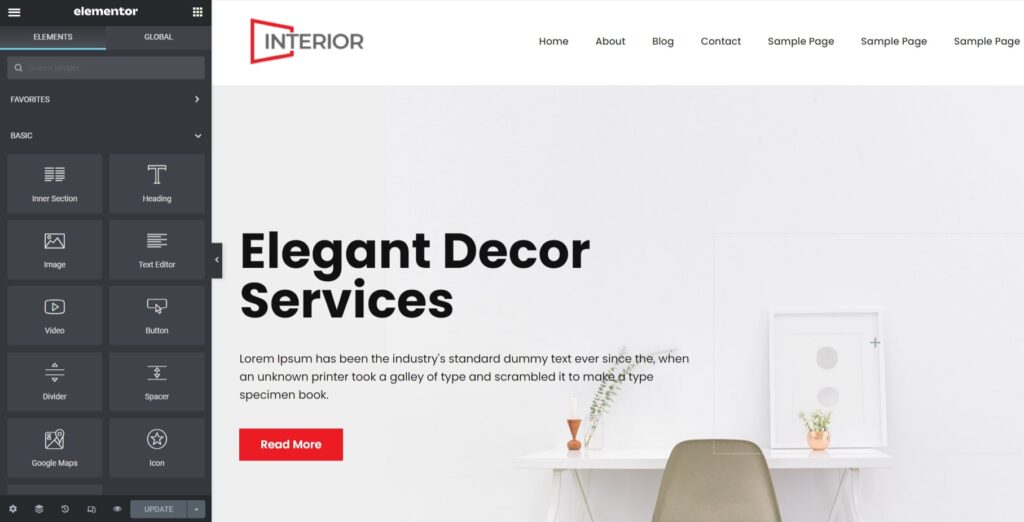
Step 7: How to edit your Interior Design website using Elementor?
Go to any page that you want to edit with Elementor. Just click on “Edit with Elementor” on the top.
3. On the Elementor editor page, you’ll see two blocks, Elements (1) and Global (2) tabs, that enable you to change global settings and choose the content modules for adding and editing.
4. When you click on one of the content options that you want to edit, that will be encased in a thin blue frame. It means that the section is active now.
5. After you are done with the editing, just click update at the bottom.
Congratulations! You’ve successfully set up your interior design website. If you have any feedback for us, drop your comments below. We would love to hear from you.
Conclusion
To wrap up, creating an interior design website is an excellent way to showcase your talent and attract new clients.
And now that you have a better idea of how to make an interior design website using WordPress, it’s time to grab the Responsive theme and start building your own interior design website.
If you enjoyed this article, check out our other articles:
- Why You Should Have A .Design Domain
- Best Responsive Blogger Templates
- Best Interior Design WordPress Themes
- How to Create an Entrepreneur Website with WordPress (Free)
If you’re planning to create an interior design WordPress website, then you should get the Responsive theme right away!