Are you planning to create a WooCommerce Auction Site Using WordPress?
In this article, we will show you an easy way. A WordPress account and a WooCommerce auction plugin are all you need to have for the purpose.
WordPress offers you lots of easy features to design your site the way you want, and a WooCommerce auction plugin allows you to both convert the site into an auction store and add some additional functionalities to it.
We will give you a detailed guide about how to build a WordPress auction site with step-by-step instructions.
Why build an auction site using WordPress?
An auction site is an easy way to give your community a platform to buy and sell their products in an auction environment. Though there are many popular auction sites like eBay, building your own auction site has its own benefits.
It allows you to hold a niche-specific auction. Users can reach their target group through your site and both buy and sell products among like-minded people. After all, it is an easy way for you to earn money online.
You can set a fee for both listing products and charge a commission on every sale. Other than these, there is no middleman involved. It saves a large amount of money.
WordPress is an easy tool to build your website. It is one of the best content management systems today. As per the latest WordPress report, WordPress covers 35% of the web in 2020.
It is beginner-friendly and both well-documented and easy to use. You can use it to build any kind of website. It is cheap compared to other platforms.
You can begin with a free account and then upgrade it to a premium version if you wish to. So, if you are planning to create an auction website, WordPress is your option.
Requirements for Building an Auction Site with WordPress
- A domain name
The domain name is the identity of your site. It is the name that appears in your URL. Your target groups know you by this name. In short, it is your site address.
- Web hosting account
A web hosting account is a secure place where you store all your site files.
- SSL certificate
SSL certificate allows a secure connection on your site for accepting online payments.
- An eCommerce plugin
An eCommerce plugin adds extra functionality to your site. It enables you to both add CTA buttons and integrates with different payment gateways, reviews, and many more.
- An auction addon
An eCommerce addon for auction adds auction features to your website.
How to build an auction site with WordPress?
To create a WordPress auction site, here are the steps you need to follow –
1. Set up Your Auction Site
The first and foremost step to setting up an auction site is you need to buy a domain name and a web hosting service. You also need to get an SSL certificate.
2. Install and Activate the WPAuction plugin
Now you need a WooCommerce auction addon. We would recommend the WPAuction plugin.
- Head on to your WordPress dashboard.
- Search for the WPAuction plugin.
- Both install and activate the plugin.
- Go to “WPAuction” in your WordPress dashboard.
- You can configure the plugin settings to suit your auction site’s requirements.
- Now you can start listing your auction items.
3. List an Auction Item
Listing auction items with the WPAuctions plugin is quite easy. Similar to adding products using the WooCommerce plugin, adding auction products is simple.
You must give more information required to put up an auction.
- Go to your WordPress dashboard.
- Go to Products >> Add new.
- Choose “Simple Auction” from the product type dropdown.
- Enter product details in the relevant tabs.
- Press the “Publish” button.
In the following tabs, you can enter product information:
Auction Settings Tab
- Product Type – You can choose the type of auction you want from a list: simple auction, penny auction, or reverse auction.
- Virtual – Check this box if the product is virtual, meaning it exists only online and not in the physical world.
- Downloadable – Check this box if the product can be downloaded. If it can be downloaded, you can provide a file for people to download and offer other download options.
- Item Condition – Select whether the product is new or used, indicating if it’s in brand-new condition or has been previously owned.
- Start Price – This is the starting bid price for the auction. The initial bidder must set a price that is equal to or more than the start price.
- Bid Increment – Each time a bid is placed, the bid price should rise by this amount. The next bid must be at least $36 if the current offer is $34 and the bid increment is $2, for instance. A default value will be applied if no bid increment is supplied.
- Date From – Pick both the day and time that the auction starts.
- Date To – Choose both the day and time that the auction will end.
- Reserve Price – This is the lowest price that can be bid during the auction before someone can buy the item. There won’t be a winner if the reserve price is not reached before the auction closes.
- Buy It Now Price – During the auction, users can purchase the item outright for this cost. The “Buy It Now Price” has to be greater than the reserve price or equal to it. Users won’t see it as an option any longer if the bid price exceeds the “Buy It Now Price.”
- (For Penny Auction Products only) Time To Increase After Bid Placed (Seconds) – In a penny auction, the end time of the product will be extended by the provided number of seconds after each bid is placed.
4. Manage Your Auction
Once the auction is live, users can start bidding on the item. WPAuction provides several management options to both oversee and control the auction process.
Auction Relist Settings
- Relist Auction – Check this box if you want the auction to be relisted under certain conditions.
- Relist If Fail (hours) – Specify the number of hours after that which the auction will be relisted if it fails to have a winner (no one wins the auction).
- Relist If Not Paid (hours) – Determine the number of hours given to the auction winner to purchase the product. If the auction winner doesn’t buy the product within the provided hours, the auction will be relisted.
- Relist Duration (hours) – Regardless of the previous two settings (Relist If Fail and Relist If Not Paid), the auction will be relisted after the provided number of hours. Setting a value greater than the other two settings is recommended to ensure the auction functions properly.
The product will look like this on the front end of the website. Additionally, the website’s front end and admin both allow you to view the auction history.
5. Allow Users to List Auction Items
To allow your users to list auction items on your site, you need to turn your site into an auction store. For this, you need an auction plugin. We would recommend WC Vendors. It is a free WordPress plugin.
Here are the steps you need to follow –
- Go to your Dashboard
- Install and activate the plugin
- Navigate to WC Vendors >>Settings.
- In the General tab, you will find an option for vendor registration.
- Click on the checkbox to allow users to become both vendors and add auction items to your site.
- In the Commission tab, you can set the commission rate for every successful WooCommerce auction.
- Click on the “save changes” button
- And you are done
Promoting Your Auction Site
Promote your auction site by taking it to social media platforms to share exciting auction items, sending engaging emails to potential bidders and sellers.
Use Google Ads to attract targeted visitors, collaborate with influencers to reach wider audiences, and also implement a referral program to encourage word-of-mouth marketing.
Additionally, share success stories and consider offline promotion methods like distributing flyers and attending events to increase visibility.
Recommended Plugins for Auction WordPress Website
Here are some plugins you can use to increase the functionality of your auction website after making the right setup for an auction store –
1. WPForms
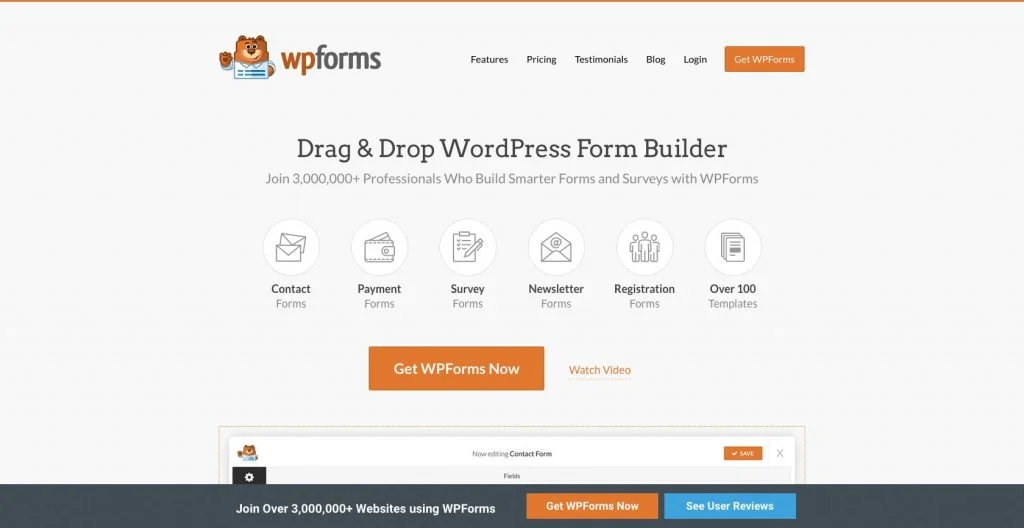
WPForms is a free WordPress form builder. It comes with lots of easy-to-use features to create a contact form.
It even lets you integrate with many latest WordPress add-ons to make your site more user-friendly and feature-rich.
Contact forms help you to collect user details and contact them afterward. It also helps you to create an email list.
Features:
- Entry management
- Multi-page forms
- Spam protection
2. MonsterInsights
MonsterInsights is a powerful Google Analytics plugin for WordPress.
It allows you to add Google Analytics easily to your website.
You can track your visitors’ activities and generate a detailed report using analytics.
Features:
- Enhanced eCommerce tracking
- Affiliate link & ads tracking
- Custom dimensions
3. OptinMonster
OptinMoster is an advanced WordPress lead generation plugin. It helps you to convert your visitor into users easily.
There are options to create personalized campaigns for different sets of viewers based on their behavior.
You can deliver the right message at the right time. It boosts your conversion rate.
Features:
- A/B testing made easy
- Page level targeting
- Analytics and insights
4. Yoast SEO
Yoast SEO is a WordPress plugin to optimize your site for search engines.
It does not just help you to get a better ranking in search pages but also increases traffic.
The number of your site visitors may increase if you use this plugin.
Features:
- Get integrations with powerful platforms.
- 24/7 Premium support
- Set up a solid internal linking structure.
5. WP Super Cache
WP Super Cache is a user-friendly WordPress plugin to improve your site performance. It generates HTML files that your web server can display to visitors.
It is a quicker alternative to PHP script processing. WP Super Cache also reduces the loading time.
Fast-loading sites are favored by search engines as well as visitors.
Features:
- Caching modes
- Preload and garbage collection
- CDN integration
Conclusion
In a world where opportunities await, building a WooCommerce auction site using WordPress is your key to unlock the gateway of success. By seamlessly merging the power of e-commerce with the excitement of auctions, you have the power to create a platform that captivates bidders and sellers alike.
We have tried here to give you a detailed insight into how to build an auction website with WordPress. Try the steps. You will be able to create your auction site on your own within a few minutes. No need to take any help from any developer. No matter even if you don’t have any coding experience.
If you liked reading this article, then check these out too:
- How to Build a WooCommerce Website with Elementor
- Best WooCommerce WordPress Themes
- What is WooCommerce? Beginner’s Guide to Sell with WordPress
Thinking of creating a WooCommerce website? Grab Responsive Theme now!